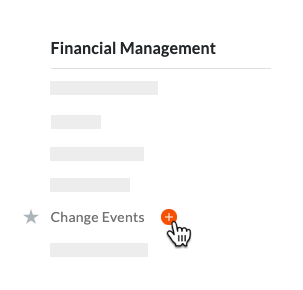
Create Change Events
Objective
To create a new change event using the project's Change Events tool.
Background
A change event is any change that affects a construction project's original scope. It can also be an event that alters the project schedule or leads to unexpected costs. In Procore, creating a change event helps your project's team and stakeholders prepare for potential cost changes before they become actual costs.
Example 1: Create a Change Event to Establish a Change Order
A change event can stem from several sources and start the change order process. Examples include:
- Accommodating an owner's request.
- Accounting for a design flaw.
- Addressing an unforeseen issue caused by a vague document or specification.
Example 2: Create a Change Event to Document a Backcharge
A change event can also document a project condition that led to a backcharge. A backcharge recovers unexpected costs from corrective work a party was contractually bound to do. Users can create a change event to document the conditions that led to the backcharge. Common scenarios include:
- Repairing something that a subcontractor damaged.
- Cleaning up an area that the subcontractor was obligated to clean.
- Replacing defective materials provided by the subcontractor.
- Reinstalling an incorrect installation performed by a subcontractor.
- Bringing a neglected issue into compliance with safety regulations.
- Providing unforeseen equipment rental and use costs.
After a change event is created, you can then send a Request for Quote (RFQ) to your subcontractors. Subcontractors can then respond to RFQs (or a general contractor can enter a response to an RFQ on the subcontractor's behalf). The RFQ response includes all required documentation for the change event's potential cost and schedule impact. Once your subcontractor's RFQ responses are reviewed, your project team has the information needed to create a Potential Change Order (PCO).
Things to Consider
- Required User Permissions:
- 'Standard' level permissions or higher on the project's Change Events tool.
- Limitations:
- A change event 'Number' is limited to a maximum of ten (1) characters.
Prerequisites
- Add the Change Events tool to the project. See Add and Remove Project Tools.
- Configure the tool's settings. See Configure Settings: Change Events.
Steps
Tip
Check out Change Events - Videos for video walkthroughs of these steps and more.Create a New Change Event
- Choose from these options:
- Open the Project Tools menu and click Create
 .
.
OR - Navigate to the project's Change Events tool. Then click the Create button.

- Open the Project Tools menu and click Create
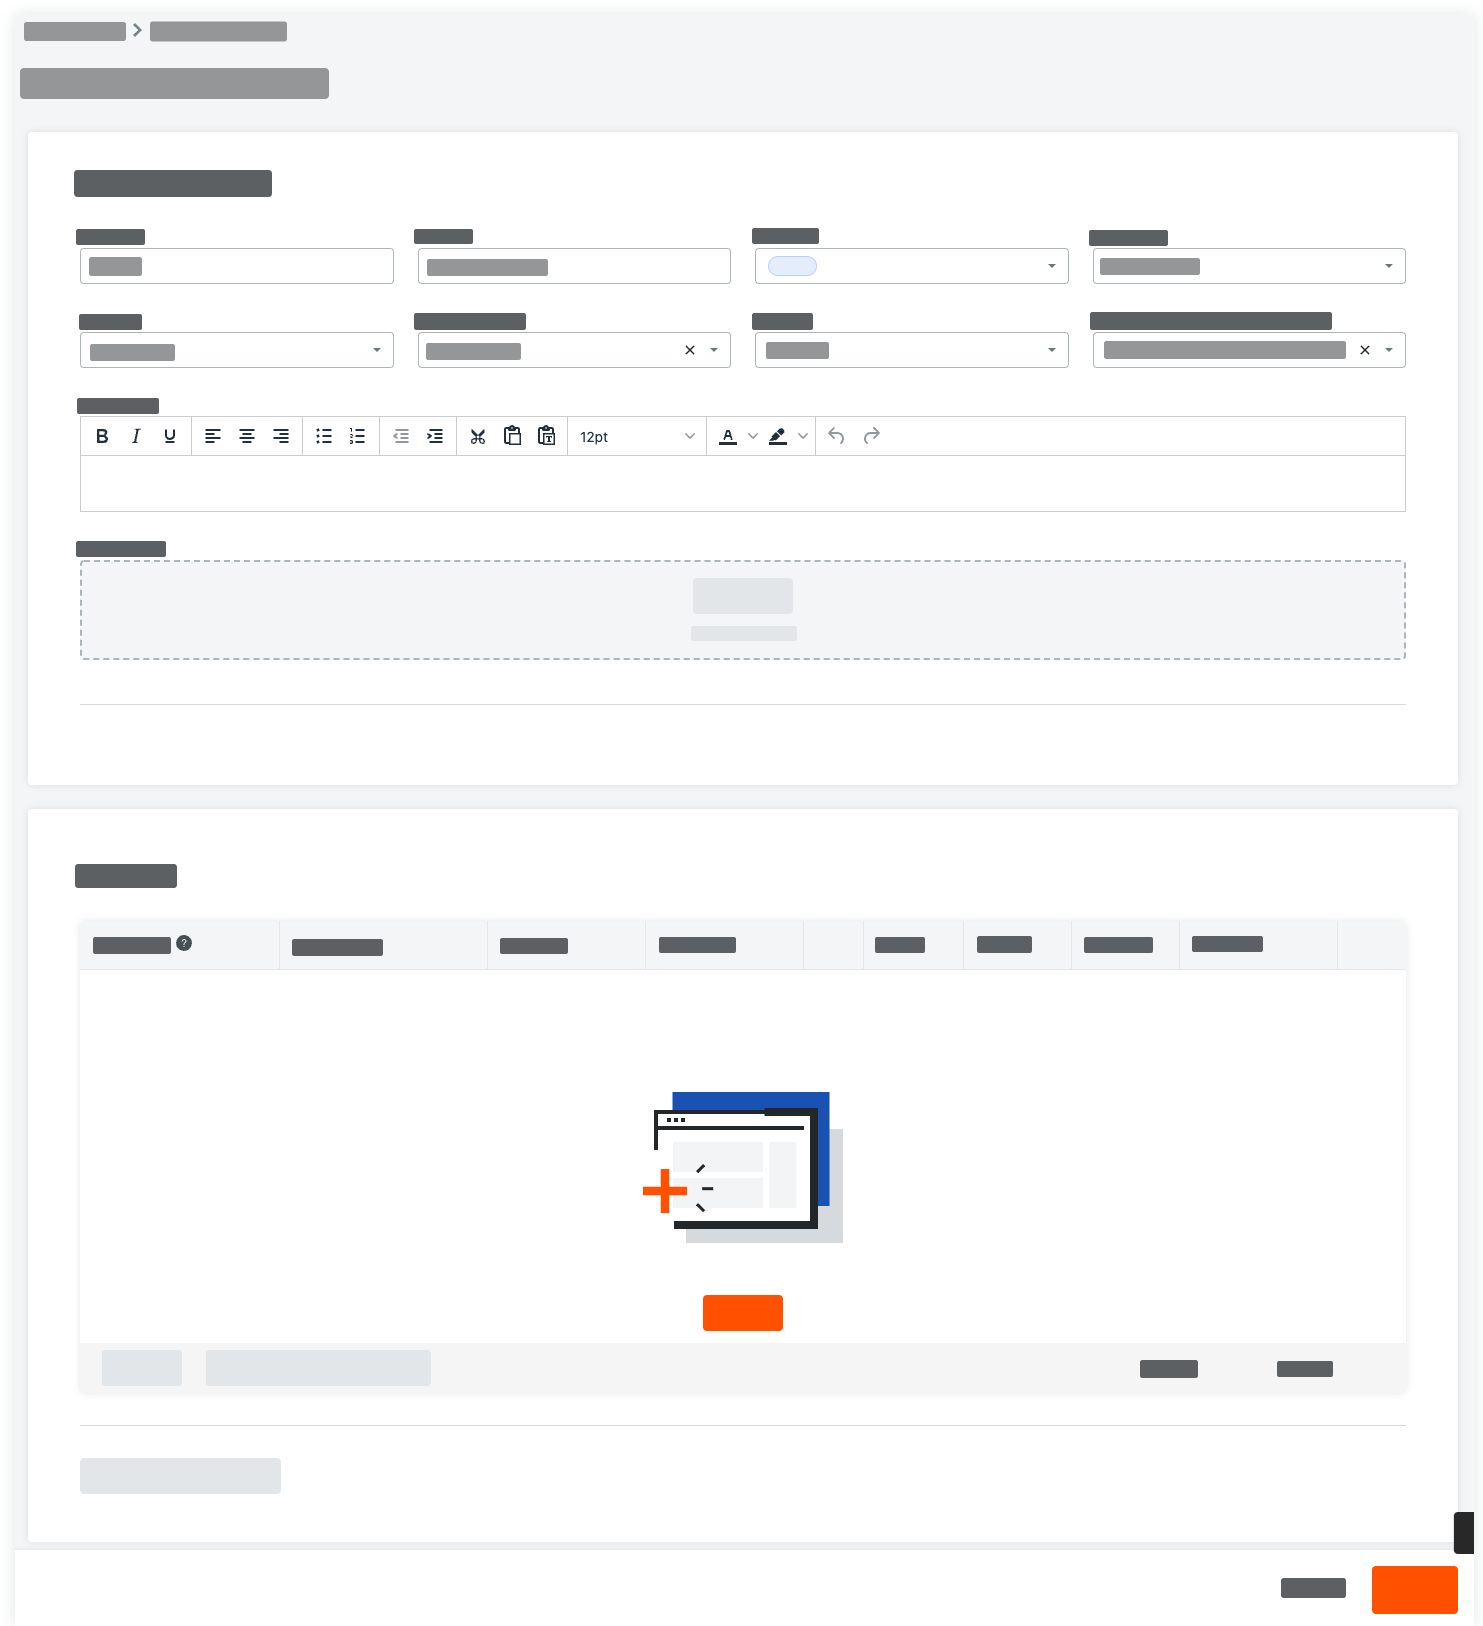
- In the 'New Change Event' page, enter the following:
- Number
Procore automatically assigns new numbers to change events in ascending sequential order.Notes
- The default numbering scheme is 001, 002, 003, and so on.
- You can customize the numbering scheme for the change events on your project at any time by typing an alphanumeric numbering scheme over the default value. For example, CE001, CE1000, CE-1000, and so on.
- After customizing the numbering scheme, Procore uses it to assign new numbers to subsequent change events.
- The change event number is limited to a maximum of ten (10) characters.
- Title
Enter a descriptive title for the change event. - Status
Select a status for the change event from the drop-down list.Tip
Which statuses are available for change events? For details, see What are the default statuses for change events in Procore?. Your company's Procore Administrator can also customize the options in this list. See Customize Change Event Statuses. - Origin
Select the Procore tool and item from which your change event originates. - Type
Select the change event type. Your options include: TBD, Allowance, Contingency, Owner Change, or Transfer. See Set the Default Change Management Configurations. - Change Reason
Select a reason for the change from the drop-down menu. See Set the Default Change Management Configurations.
Note: When you enable the Change Events - Empty Default "Change Reason" feature in Procore Explore, the change reason for Change Events is empty by default. - Scope
Select one of the available scope options from the list: In Scope, Out of Scope, or TBD. See What are the default scope options for change events in Procore? - Expecting Revenue
Select YES or NO. If YES, select one of the options from the Line Item Revenue Source field. If NO, Revenue ROM amounts will be set to zero (0). - Line Item Revenue Source
Select one of the options from the list: Match with latest cost, No revenue expected, or Quantity x Unit Cost. - Select the contract that contains the markup settings that you want to use to calculate the markup on the Rough Order of Magnitude (ROM) values. Procore automatically selects the contract with the lowest number.
- Description
Describe the event that may result in a change in costs. - Attachments
Attach any relevant files.
- Number
- Click Save.
Procore saves the new change event.
Add Change Event Line Items
Tip
Did you know a user with 'Admin' settings on the Change Events tool can turn the Change Events tool's 'Column Display' settings ON and OFF? For best results, your project's column display settings should be determined at the beginning of a project. To learn more, see How do the Change Events tool's column display settings work?- Navigate to the project's Change Events tool.
- Choose from these options:
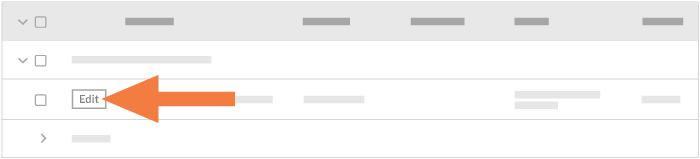
- Click the Detail tab. Then find the change event to update and click Edit.
OR - Follow the steps in Create Change Events.
- Click the Detail tab. Then find the change event to update and click Edit.
- In the 'Edit Change Event' page, scroll to the 'Line Items' card.
- Choose from these options:
- To add one (1) new line item on the change event, click Add Line.
OR - To add line items in bulk using line items from all of the project's commitments in the 'Approved' status, click Add Lines for All Commitments.
OR - To import line items from a CSV file, see Import Change Event Line Items from a CSV File.
- To add one (1) new line item on the change event, click Add Line.
- Complete the line item data entry as follows:
- Budget Code
Select a budget code or click Create Budget Code. See What is a budget code in Procore's WBS?Tip
Need help creating a new budget code? For step-by-step instructions, see Create Budget Codes in Procore's Project Financials Tools. - Description
Enter a description for the line item. - Vendor
Select the vendor's company name from the drop-down menu. See Add a Company to the Project Directory. - Contract
Select the impacted purchase order or subcontract from the drop-down menu. See Create a Purchase Order or Create a Subcontract. - Qty
Enter a numeric value in this box to indicate the number of units that correspond to the unit of measurement that you specify. - UOM
Select a Unit of Measure (UOM) from the drop-down list. To learn about the default selections in this list, see Which units of measure are included in Procore's master list? and Add a Unit of Measure to the Unit of Measure Master List. - Unit Cost
Enter the monetary cost in this box to indicate the cost per unit of measurement. - Cost ROM
Enter a numeric estimation of the cost's Rough Order of Magnitude (ROM). This entry has NO financial impact on values in other Procore tools. You can add the ROM to the Budget by following the steps in Add Cost ROM, RFQ & Non-Commitment Cost Source Columns to a Budget View. - Non-Committed Cost
Enter the amount of costs that are not associated with a Commitment or Commitment Change Order.NoteS
- If you are using the enhancements for unit-based financials, this column will capture unit changes to UOM on both Rev ROM and Cost ROM.
- If you follow those steps to show the ROM value in the budget, and the change event line item ends up having no cost, you will need to zero out the ROM to remove it from the budget
- Budget Code
- Click Update.
Note
If the budget code was not included on the project's original budget, a confirmation message appears for you to confirm that you want Procore to add these line items to the budget. Procore adds the new line item(s) to the project's budget and a question mark ![]() appears next to each partial budget line item. To learn more, see What is a partial budget line item? and Add a Partial Budget Line Item.
appears next to each partial budget line item. To learn more, see What is a partial budget line item? and Add a Partial Budget Line Item.
Update Production Quantities
Next Step