Manage Company Information
Limited Release
This article describes features that may not yet be available in your Procore account. See Procore Construction Network.Objective
To manage company information in the Company level Admin tool.
Things to Consider
- Required User Permissions:
- 'Admin' level permissions on the Company level Admin tool.
- Additional Information:
- At this time, logos cannot be added for individual addresses.
- You must complete your Company Type, Market Sector, Address, and Legal Name before you can manage your business visibility sections for the Procore Construction Network.
- If you do not see the 'Company Information' section in your Admin tool, please confirm that all offices have accurate addresses, then reach out to support@procore.com.
Steps
Manage Company Information
- Navigate to the Company level Admin tool.
- Under 'Company Settings', click Company Information.
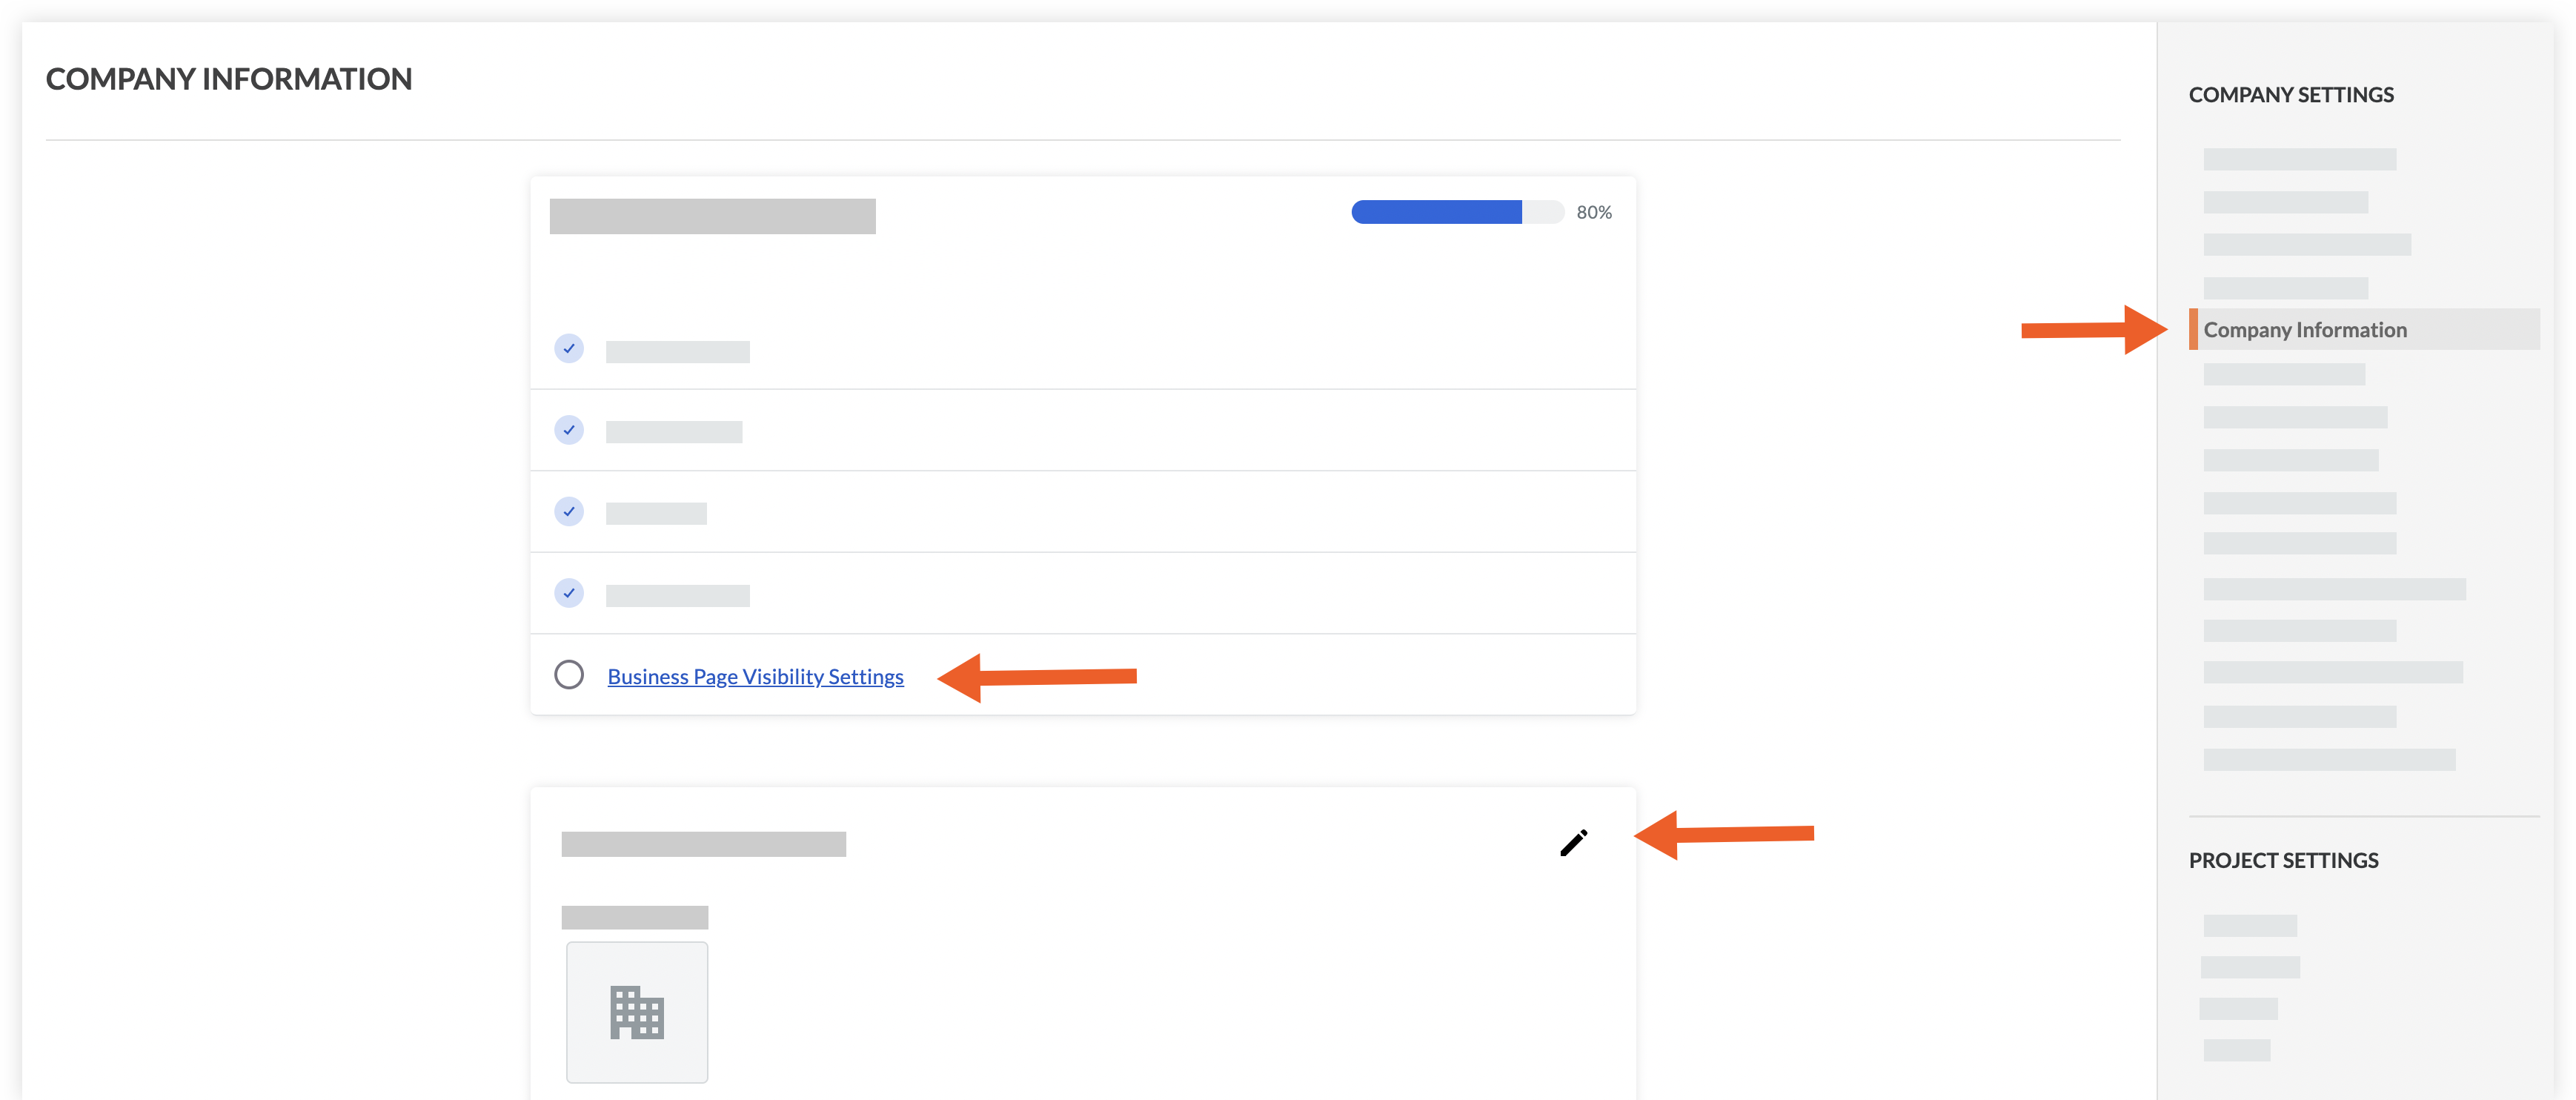
- Click Business Page Visibility Settings to manage your profile on the Procore Construction Network.
- Make your profile visible on the Construction Network: Mark this checkbox to make your company searchable on the Procore Construction Network.
- Display your Procore Activity on the Construction Network: Mark this checkbox to showcase your Procore activity to solicitors on the Procore Construction Network.
- Your Company is Open to Receiving Bids: Mark this checkbox if you want your company to receive bid invitations through the Procore Construction Network
Note: You will also need to set bid contacts for your company. See Set Bidder Information for Your Procore Company.
-
 edit icon to add or update the following fields:
- Company Logo
- Legal Company Name
- Doing Business As
- Company Type
- Website
- Construction Sectors
- Project Types
- About Us
- In the 'Trades and Services' section, click the edit icon to add or update the list of services that your company provides.
- In the 'Addresses' section:
- Click +New Address to add a new address.
- Click the edit icon next to an existing address to update it.
- Click the
 vertical ellipsis icon next to an existing address to set it as the primary address or delete it.
- In the 'Service Area' section, click the edit icon to add or update the states included in your company's service area.
Manage Office Reporting Settings
- Navigate to the Company level Admin tool.
- Under 'Company Settings', click General Settings.
- In the 'Office Reporting Settings' section, click Edit to update the following:
- Office Logo: Click Choose File or drag-and-drop a file from your computer that will serve as the office logo. Office logos must not exceed 200 x 70 pixels and have a file size limit of 3.0 MB. The logo that you upload here will appear on most emails, forms, pages, and reports associated with the office.
- Click Save.