Add a Meeting Item
Objective
To add meeting items to a meeting.
Background
A Meeting Item (also called an 'agenda item') is a single, distinct topic on a meeting agenda. If you are facilitating a meeting using the Project level Meetings tool, you can add meeting items to any meeting that you create.
Things to Consider
- Required User Permissions:
- 'Admin' level permissions on the project's Meetings tool.
OR - 'Read Only' level permissions or higher on the project's Meetings tool with the 'Manage Meeting Items' granular permission enabled on your permissions template.
- 'Admin' level permissions on the project's Meetings tool.
- Additional Information:
- You can create meeting categories to organize your meeting items.
- Email notifications are not sent to the assignee of a meeting item. However, the item will appear on their My Open Items list on the project's Home page. See View My Open Items in the Portfolio Tool.
- The 'Meeting Origin' column reflects the 'Meeting #' the item was created in.
Steps
- Navigate to the project's Meetings tool.
- Click the arrow next to a meeting to expand the series.
- Click the meeting's title.
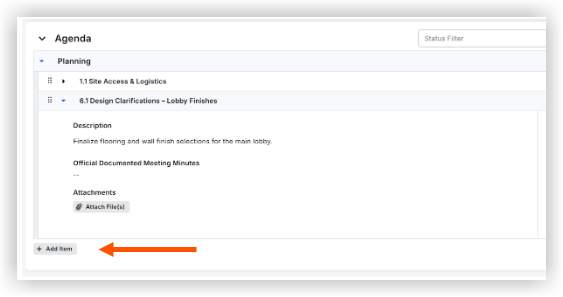
- Click the arrow to expand the Agenda section.
- Under the 'Agenda' section, click +Add Item.
- Enter the item information.
- Click Save or Save And Add Another Item to start creating another meeting item.