Edit a Change Event
Objective
To edit a change event from the project's Change Events tool.
Background
You can edit a change event using the options in the Change Events tool. However, you cannot edit the cost code, cost type, or contract number if it has been linked to at least one (1) or more of these items:
- Budget Change
- Purchase Order
- Subcontract
- Commitment Change Order (CCO)
- Prime Contract Change Order (PCCO)
- Request for Quote (RFQ)
Things to Consider
- Required User Permissions:
- To edit any change event, 'Admin' level permissions on the Change Events tool.
OR - To edit only the change events you created, 'Standard' level permissions on the Change Events tool.
- To edit any change event, 'Admin' level permissions on the Change Events tool.
Prerequisites
Steps
- Navigate to the project's Change Events tool.
- Click the Detail tab.
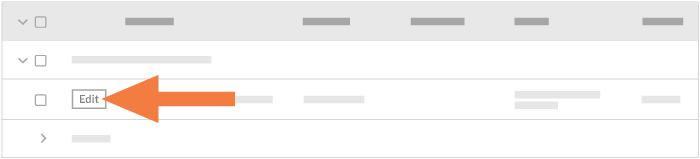
- Locate the desired change event in the table. Then click the Edit button.
- Under General Information, enter the following:
- Origin
Select one of the project tools to link the item from which the change event originated. See Which Procore tools can I use to create a change event? - Change Event #
Procore automatically assigns numbers to change events in ascending, sequential order. You can change the number as needed.Note
- The default numbering scheme is 001, 002, 003, and so on.
- You can customize the numbering scheme for the change events on your project at any time by typing an alphanumeric numbering scheme over the default value. For example, CE001, CE1000, CE-1000, and so on.
- After customizing the numbering scheme, Procore uses your new scheme to assign numbers to new change events.
- Title
Enter a descriptive title for the change event. - Status
Select a status for the change event from the drop-down list. To learn about Procore's default statuses, see What are the default statuses for change events in Procore?. Your Procore Administrator can also customize the options in this list. See Customize Change Event Statuses. - Scope
Select one of the available scope options from the list: In Scope, Out of Scope, or TBD. See What are the default scope options for change events in Procore? - Type
Select TBD, Allowance, Contingency, Owner Change, or Transfer to indicate the type of cost you are preparing for. See Set the Default Change Management Configurations. - Change Reason
Select a reason for the change from the drop-down menu. See Set the Default Change Management Configurations. - Description
Describe the event that may result in a change in costs. - Attachments
Attach any relevant files. - Prime Contract (For Markup Estimates)
Select a prime contract to indicate which prime contract’s markup settings should be used to calculate the markup on ROMs. This field will default to the lowest-numbered prime contract.
- Origin
- Optional: Add new line items to the change event. For step-by-step instructions, see Add Change Event Line Items. Then return to these steps.
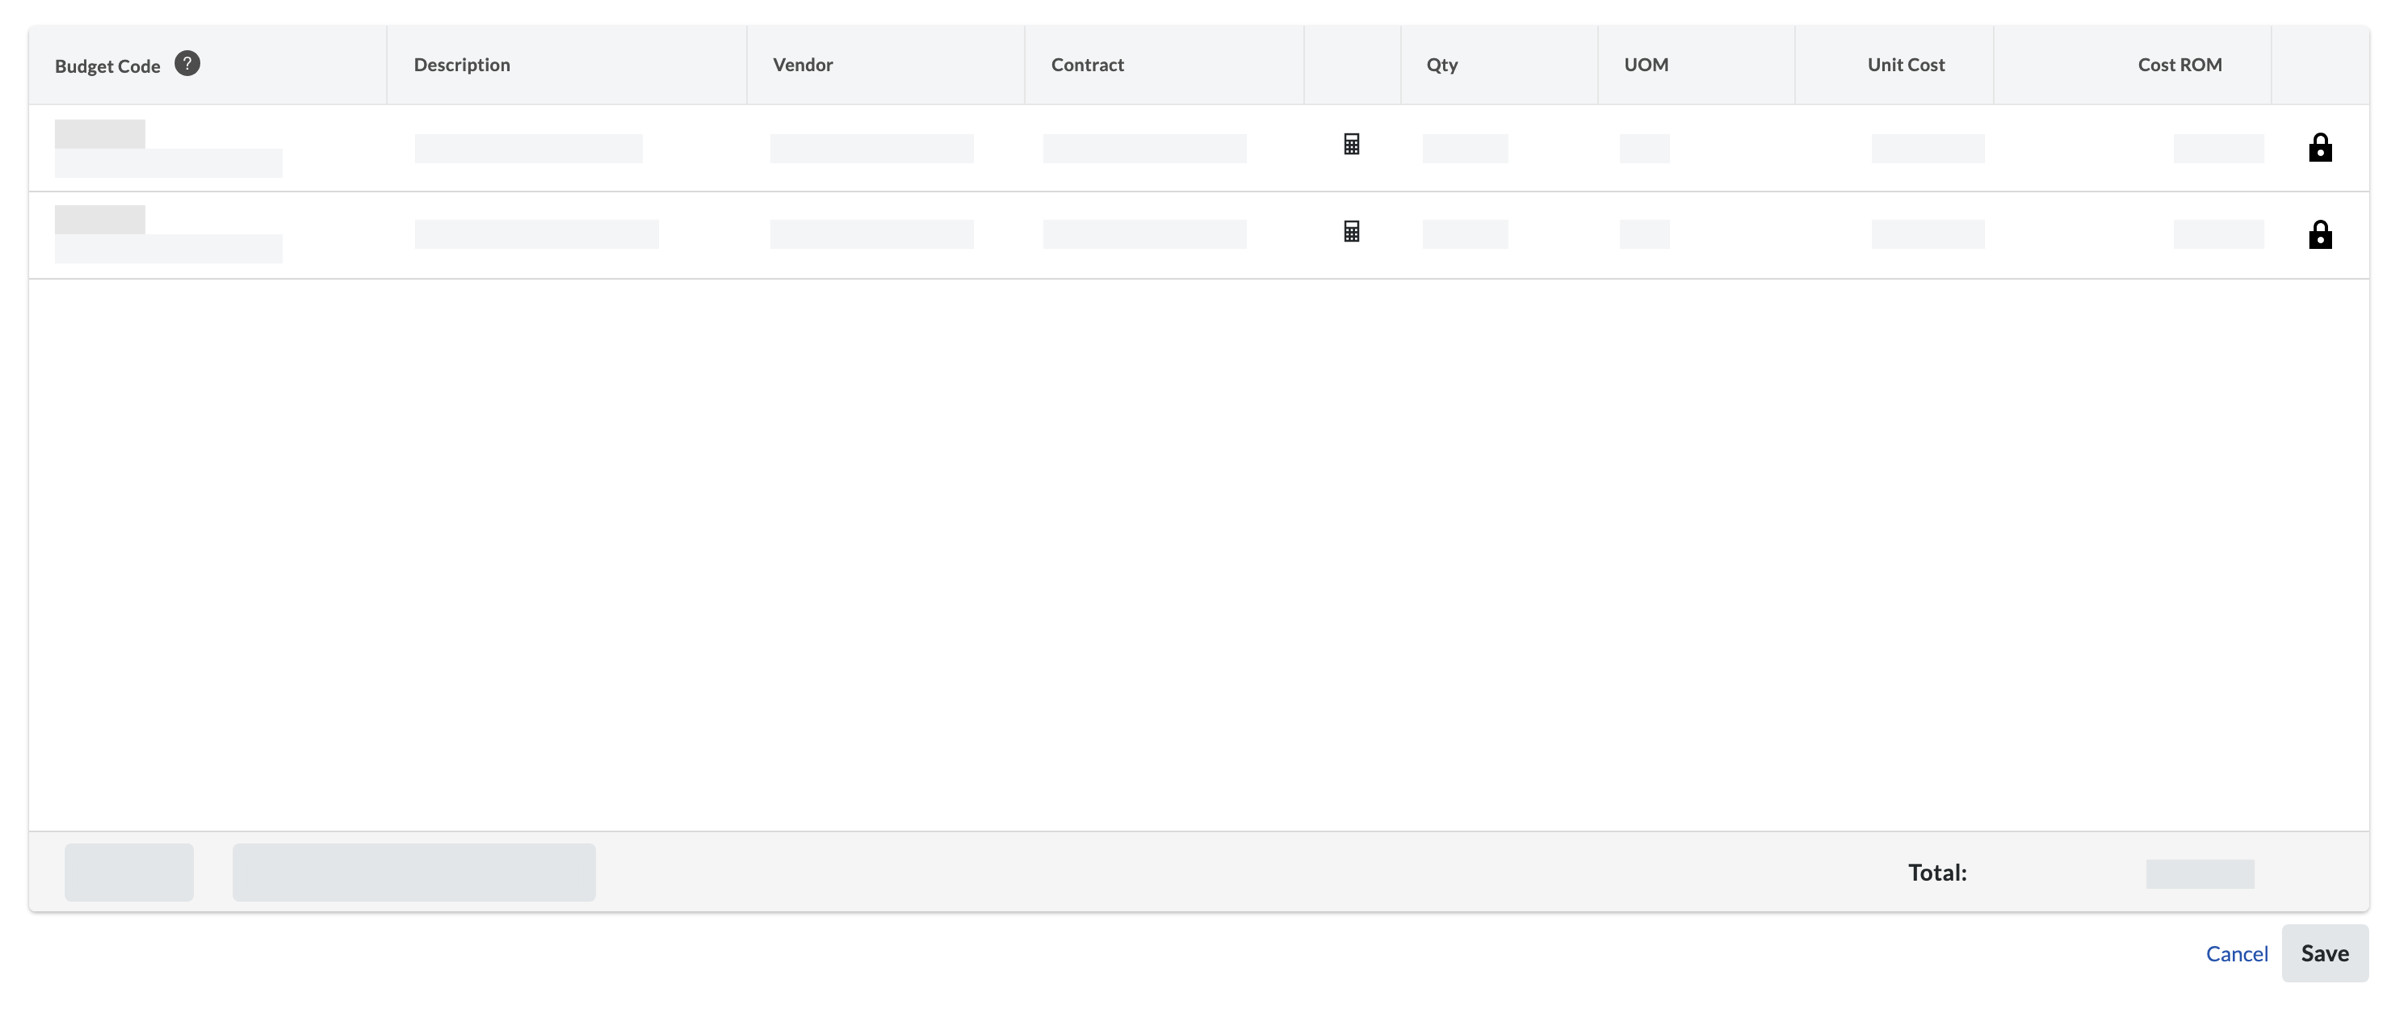
- Use the inline editing options to update any of the existing line items. You can edit these fields inline:
Tip
You can group change event line items while editing a change event by clicking Add Group at the top of the line item adder. You can group line items by the following:
- Sub Job
- Cost Type
- Cost Code
- Cost Code Tier 1
- Cost Code Tier 2
- Cost Code Tier 3
- Cost Code Tier 4
- Cost Code Tier 5
- Budget Code
Click this field and select a budget code from the list or click Create Budget Code to create a new one. See What is a budget code in Procore's WBS? - Description
Click this field and enter a new description for the line item.
Vendor
Click this field and select a different vendor's company name from the drop-down menu. See Add a Company to the Project Directory. - Contract
Click this field and select the impacted purchase order or subcontract from the drop-down menu. See Create a Commitment. - Calculate Subtotal Automatically/Override Subtotal Manually
Click this icon to change how Procore manages the line item subtotal. When the calculator icon is visible, Procore calculates the subtotal for you. When the override icon is visible, you can manually enter a subtotal to override the automatic calculation. - Qty
Click this field and enter a numeric value in this box to indicate the number of units that correspond to the unit of measurement that you specify. - Unit of Measure (UOM)
Click this field and select a unit of measure from the drop-down list. To learn about the default selections in this list, see Which units of measure are included in Procore's master list? and Add a Unit of Measure to the Unit of Measure Master List. - Unit Cost
Enter the monetary cost in this box to indicate the cost per unit of measurement. - Cost ROM
Enter a numeric estimation of the cost's Rough Order of Magnitude (ROM). This entry has NO financial impact on values in other Procore tools. You can add the ROM to the Budget by following the steps in Add Cost ROM, RFQ & Non-Commitment Cost Source Columns to a Budget View.- If you are using the enhancements for unit-based financials, this column will capture unit changes to UOM on both Rev ROM and Cost ROM.
- If you follow those steps to show the ROM value in the budget, and the change event line item ends up having no cost, you will need to zero out the ROM to remove it from the budget
- Optional: Delete any line items by clicking the vertical ellipsis on the right side of the line item and choosing Delete from the overflow menu.
- Click Save.
If you would like to learn more about Procore's change events management software and how it can help your business, please visit our construction change order product page  .
.