Configure the Settings for a Payments Workflow Template
Important
Author note: Log changes to this page on the ILR Jira Board: https://procoretech.atlassian.net/browse/ILR-148General Availability in Select Markets (United States)
 Procore Pay
 Objective
To configure the settings for an existing Payments workflow template.
Background
If your company's Procore Administrator has enabled the Workflows tool and you want to use that tool with Procore Pay, you must create a workflow template for the Payments tool. Once created, only a Payments Admin can configure the settings for the template using the controls in the Workflow Settings page. Typically, this includes choosing a user to serve as the Workflow Manager and adding the appropriate users as assignees for the steps.
Things to Consider
Steps
- Navigate to the Company level Payments tool.
- Click the Payments Settings
 icon.
icon.
This opens the Payments Settings page. The Funding Accounts tab is active by default. - Click Workflow Settings.
- Under Workflow Settings, toggle Enable Workflows on Disbursements to the ON setting.
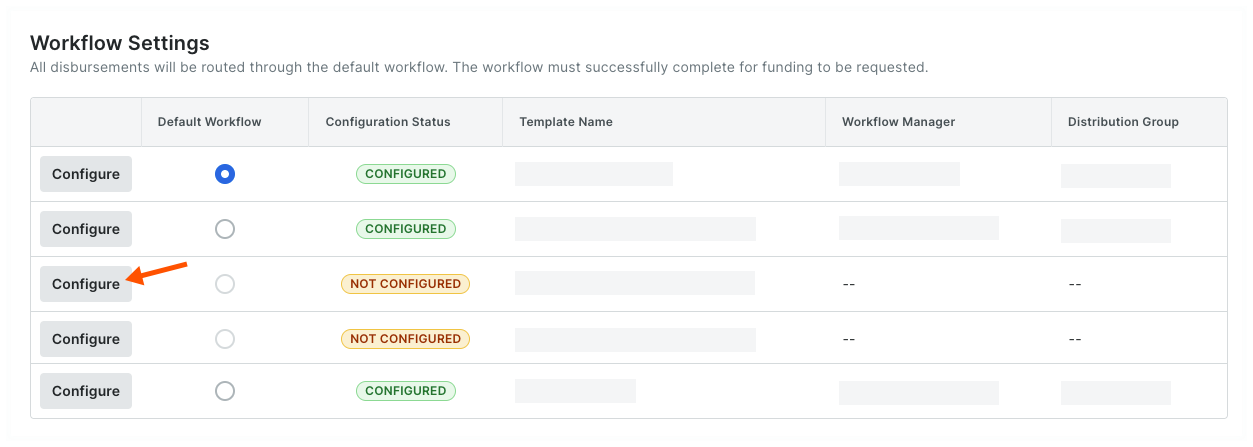
- Under Workflow Templates, locate the workflow template to configure:
- If you are configuring a new workflow template, the configuration status will be Not Configured.
- If you want to reconfigure an existing template, the configuration status will be Configured. You can change the configuration as needed.
- Click the template's Configure button.
This launches the Company level Workflows tool and opens the selected workflow template. - View the step details to configure by clicking the Show Details button.

- Complete the workflow configuration.
Example
In this tutorial, the details are configured using the example workflow from Best Practices for Creating a Payments Workflow, so you'll need to assign the following roles to perform the steps:
- A Payments Admin to be the Workflow Manager. A workflow is only considered complete when a Workflow Manager is assigned to it.
- A Payments Admin or Disburser to be an Assignee for the Controller Review step. Each unique response step in a workflow requires one or more assignees. When there are multiple assignees on a step, the first response given will move the workflow to the next step.
- A Payments Admin or Disburser to be an Assignee for the CFO Review step. Each unique response step in a workflow requires one or more assignees. When there are multiple assignees on a step, the first response given will move the workflow to the next step.
If you have created a custom workflow template, the details you configure will be unique to your environment.
- Click the Save button.
Tip
Can I edit the workflow template later? Yes. You can add or remove steps from your workflow template at a later time. See Edit a Custom Workflow Template. Once editing is complete, you will also need to perform the steps above to re-configure the workflow's details.