Complete Subcontractor Invoices with DocuSign®
| Back | Current Lesson - 18/23 | Lesson 19 - Next |
If you have a valid DocuSign© account and the Procore + DocuSign© integration has been enabled on your Procore project, you can use the steps below to complete a subcontractor invoice using DocuSign©. To do this, you will need to know the email address and password for your DocuSign© account. Once you log in and grant the permissions requested by Procore Technologies, you can then use DocuSign© to add document(s) to an envelope, add recipients, and send it out for signature. You have two options for sending subcontractor invoices to DocuSign©:
Complete a Single Subcontractor Invoice with DocuSign©
- Navigate to the project's Invoicing tool.
- Click Billings.
- Click the Subcontractor tab.
- Click the desired Commitment link to open it.
- Click Edit.
- If you are ready to sign the contract with DocuSign©, click Complete with DocuSign.
- If you have NOT logged in to DocuSign©, you will be prompted to log in to your account as follows:
- Enter your DocuSign© email address in the Email Address box.
- Click Continue.
- Enter your DocuSign© password in the Password box.
- Click Log In.
- Click Accept to accept the required permissions request from Procore Technologies.
Note: If you click Cancel you will not be able to sign in to DocuSign©.
- After the DocuSign© page loads, you have these options:
- Remove a document:
The integration automatically displays any documents that have uploaded to the invoice in Procore. To remove a document, hover your mouse cursor over the Delete icon (illustrated below) and then click the icon.
Notes:- For other options, click the vertical ellipsis
 and select the desired option from the menu.
 - To learn more about the other options, click the Question Mark (?) icon to view the DocuSign© support documentation.
- For other options, click the vertical ellipsis
- Add documents to the envelope:
If you want to add documents to the DocuSign© envelope, use one or more of these methods:- Click the Plus (+) sign or Upload to add documents from your computer.
OR - Click Get From Cloud to add documents from a third-party cloud host.
- Click the Plus (+) sign or Upload to add documents from your computer.
- Add recipients to the envelope:
- Click Add Recipient to add a new recipient.
Note: Unless your project is using a custom form, the recipient role (for example, general contractor and subcontractor) will populate automatically based on what is entered in Procore. - Choose one of these options: Needs to Sign, Receives a Copy, or Needs to View.
Notes:- For other options, click the More link.
- To learn more about the other options, click the Question Mark (?) icon to view the DocuSign© support documentation.
- Click Add Recipient to add a new recipient.
- Remove a document:
- Click Next to review the documents in DocuSign©.
- When you are ready to send the document(s) in your envelope to the named recipients, click Send.
Send Multiple Subcontractor Invoices to DocuSign
- Navigate to the project's Invoicing tool.
- Click the Billings tab.
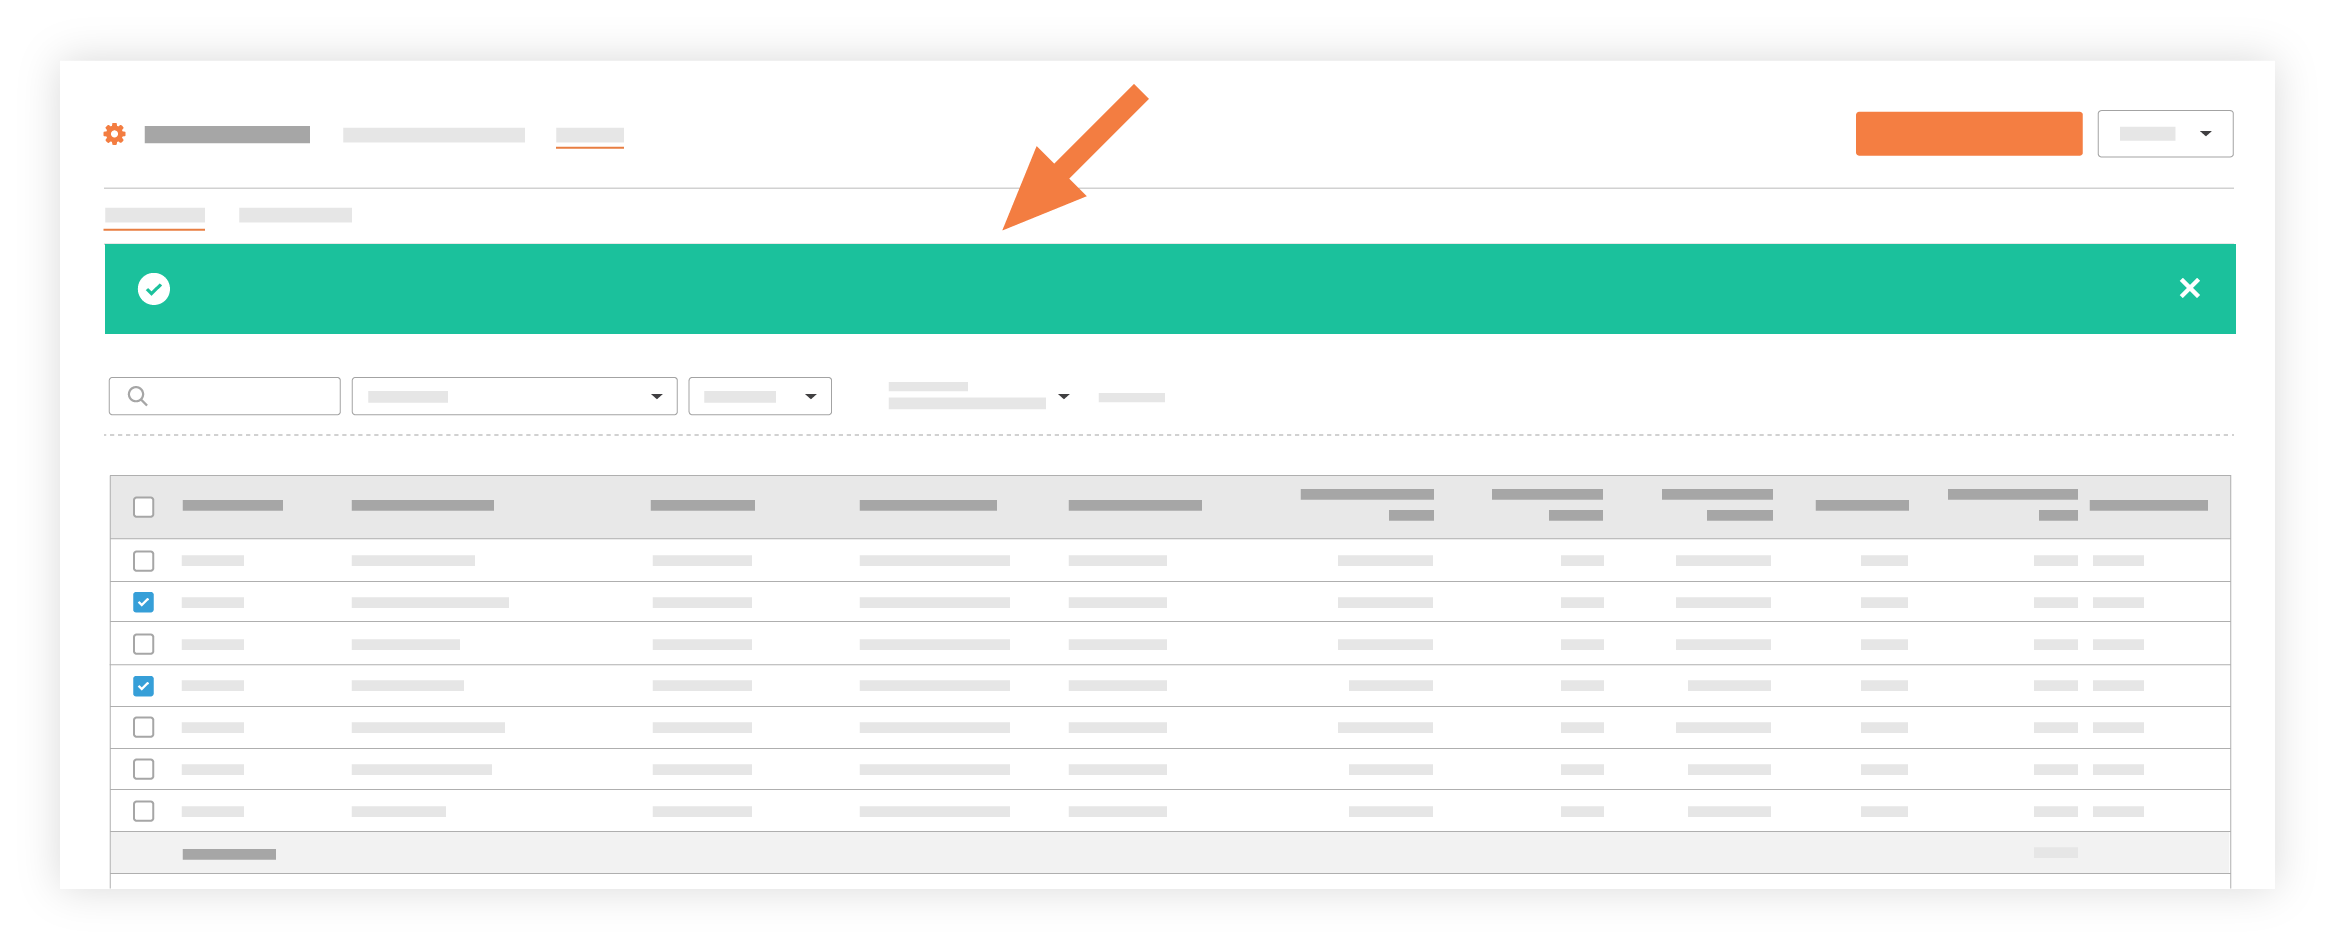
- Mark the boxes next to the invoices you want to bulk send to DocuSign©.
- Click the Send to DocuSign© button above the listed invoices.

The invoices are sent to DocuSign© and you will see a banner at the top of the page.
Note: Each invoice will be sent only to the Invoice Contact(s) listed for signature, and adjustments within DocuSign© (for example, adding signatures, selecting templates, and so on.) are not available when sending to DocuSign© in bulk. If these DocuSign© configurations are required, send each invoice one-by-one . See Update and Set Up DocuSign© on a Subcontractor Invoice.