Email Photos (Outbound)
Things to Consider
-
Required User Permissions:
-
'Standard' or 'Admin' on the project's Photos tool.
-
-
Additional Information:
-
You can only email photos from one page at a time.
-
Steps
-
Navigate to your project's Photos tool.
-
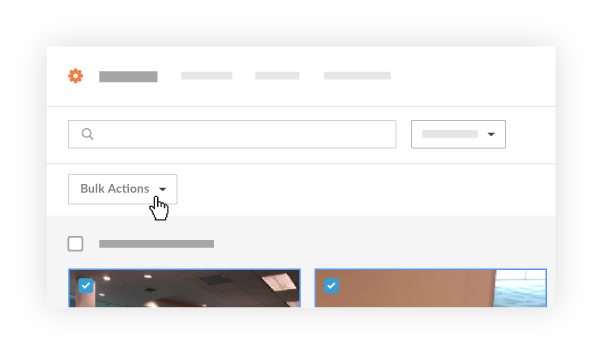
Mark the checkboxes to select the photos you want to email.
Note: Using Shift-click, you can select a continuous range of photos at once, instead of clicking each photo individually. You can also quickly browse and load thousands of photos in a single, continuous view—no more clicking through multiple pages. -
Click the Bulk Actions dropdown menu.
Note: You can only click this drop-down when photos are selected.
-
Click Email option.
-
Fill in the following fields.
-
To: Select people from your directory to receive the email. (Note: You can send an email from the Photos tool to anyone in the Project level Directory.)
-
CC: Select people to be carbon copied on the email. (Note: You can select from anyone in the Project level Directory.)
-
Subject: Fill in a subject for your email.
-
Message: Type in a message for the recipients to read.
Note: You will not need to manually attach the photos you wish to send. They will already be attached. Users can download a .zip file (for multiple photos), or a .jpg file (for an individual photo) from the email using the download link.
-
-
Click Send to send your email.