Add Takeoffs
Objective
To add takeoffs for a project in Procore's Estimating, Bid Board, or Portfolio Planning tool.
Background
A takeoff extracts quantities from a drawing or model and associates with items in your cost catalog to create estimates. Using the Takeoffs tab in Procore's Estimating, Bid Board, or Portfolio Planning tool, you can add and manage a wide variety of takeoffs for different trades.
Things to Consider
- Required User Permissions for the Bid Board tool.
- Required User Permissions for the Estimating tool.
- Required User Permissions for the Portfolio Planning tool.
- Before starting a takeoff, make sure that the plan scale is properly configured. See Set the Drawing Scale for Takeoffs.
- Premium features with the star
 icon are only available for paid Procore customer accounts.
Video
Steps
- Navigate to the Bid Board or Portfolio Planning tool and select the project.
OR
Navigate to the project's Estimating tool. - Click the Takeoffs tab.
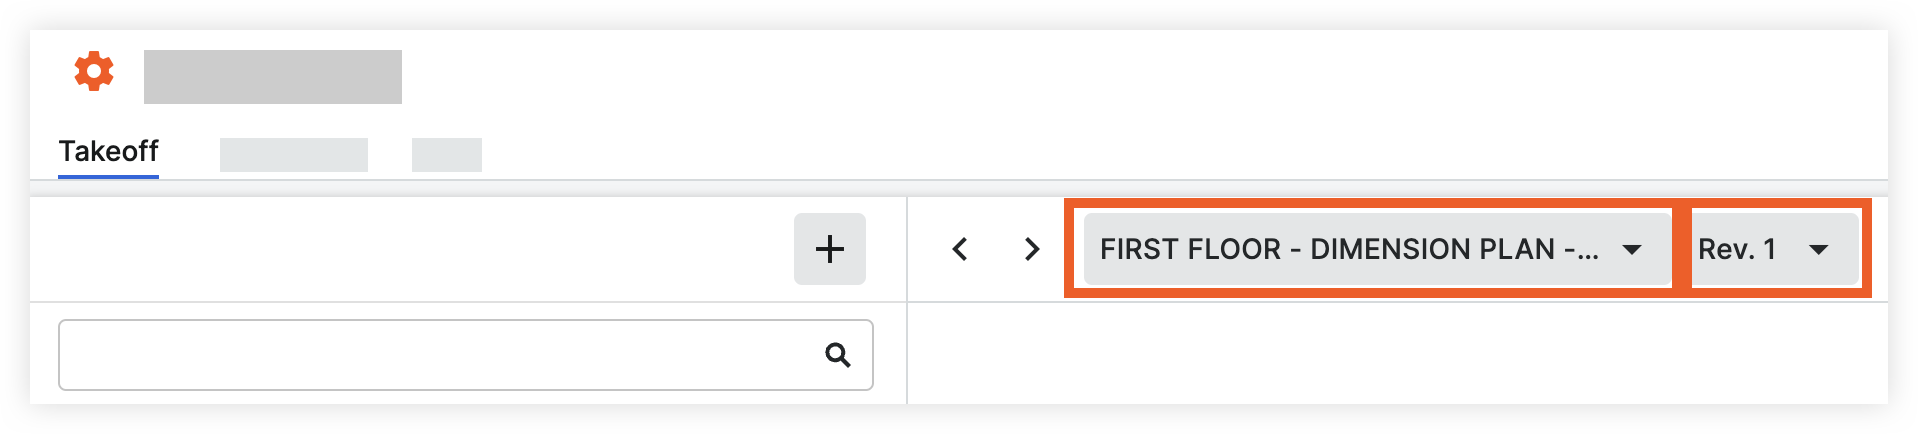
- Select the drawing and revision number.
- Click Create New Takeoff Layer.
- Enter a material name, or click Browse Catalog to select an item from the material Cost Catalog.
Note: If you select a material from the catalog, always check to make sure that it matches the client’s specification and unit prices. - Select a Measurement Type.
- Select Unit of Measurement, Color, Symbol, and Line Width as necessary for your measurement.
- Click Create to initiate 'Drawing Mode'. Then follow the steps below for the relevant takeoff:
- Count Measurements
- Run Auto Count to count similar symbols using Procore advanced symbol recognition feature.
OR - On the drawing, click each symbol to manually count it in your takeoff.
- Run Auto Count to count similar symbols using Procore advanced symbol recognition feature.
- Linear or Count by Distance Takeoffs
- On the drawing, point and click the cursor at the starting point of the measurement and repeat it by segment until you reach the endpoint of the linear measurement.
Note: Add multiple points or segments to accommodate the preferred linear measurement.- To delete a segment, press the BACKSPACE or DELETE key on your keyboard. To delete the entire line placement, press the ESC key on your keyboard.
- A linear measurement will appear:
- Double-click to complete the measurement.
The measured distance value will appear under the takeoff name.
- Double-click to complete the measurement.
- On the drawing, point and click the cursor at the starting point of the measurement and repeat it by segment until you reach the endpoint of the linear measurement.
- Linear with Drop Takeoffs
- On the drawing, point and click the cursor at the starting point of the measurement, click the location of each drop point until you reach the end of the
linear measurement.
Note: To create automatic labels for Drop length points, select the vertical ellipsis next to the the takeoff layer and move the Automatically Label Drops toggle
  ON. Labeling can include a Prefix, Suffix, and Incremental numbering.
 - Double-click to complete the measurement.
- To delete a segment, press the BACKSPACE or DELETE key on your keyboard. To delete the entire placement, press the ESC key on your keyboard.
- Set the drop length for each drop point.
- To set a default drop length for all drop points in the takeoff layer, click the vertical ellipsis next to the the takeoff layer. Then enter the default drop length.
- To set a drop length for an individual drop point, double click the drop point on the drawing. Enter the drop length and click Confirm.
- To set a default drop length for all drop points in the takeoff layer, click the vertical ellipsis
- On the drawing, point and click the cursor at the starting point of the measurement, click the location of each drop point until you reach the end of the
- Area or Volume Takeoffs
- Run Auto Area Takeoff to automatically detect areas in a floor plan.
OR - To manually measure, click the starting point of the area followed by different points to cover the area that you want to measure on the drawing.
- To delete a point, press the BACKSPACE or DELETE key on your keyboard. Delete multiple points by pressing the BACKSPACE key one point at a time. To delete the entire measured area, press the ESC key on your keyboard.
- Double-click to complete the measurement. The selected area will be highlighted by the selected color, and the measured area will appear under the takeoff name.
- Run Auto Area Takeoff to automatically detect areas in a floor plan.
- Count Measurements
- To end 'Drawing Mode', clear the checkbox for the takeoff layer.
- Optional: You can add additional parameters for the takeoff to add more detail for the set on the estimate.
- In the list of takeoffs, click the vertical ellipsis icon for the takeoff you are working on.
- Click Additional Parameters.
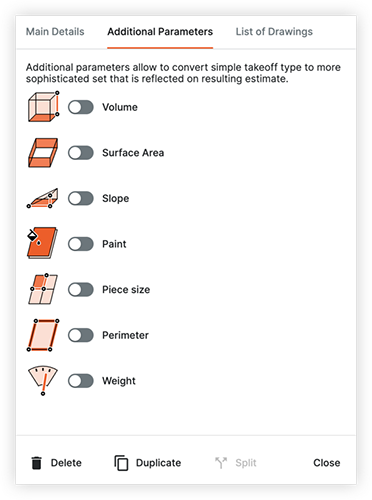
- Click the toggle
 ON for a parameter that you want to add details for.
 - Enter information as necessary.
- Click Close
- In the list of takeoffs, click the vertical ellipsis