Upload Files or Folders to the Project Level Documents Tool
Objective
To upload files and folders to a project's Documents tool.
Things to Consider
- Required User Permissions:
- 'Standard' or 'Admin' permissions on the project's Documents tool.
- Additional Information:
- There is a 50GB file size limit for individual uploads. However, factors such as network speed and reliability can cause larger file uploads to fail.
- When you upload files to a folder in the Documents tool, Procore will automatically check the folder for existing files. If a file with the same name is found, you can upload it as a new version of the existing file. See Upload New File Versions.
- We recommend uploading files and folders directly from your computer’s local drive. Files from other sources, including Shared drives (such as ODrive or Google Drive) or email attachments, should be downloaded to your computer before uploading to Procore.
- If any documents are compressed in a Zip file (.zip), make sure to extract the files on your computer before uploading them so that they can be viewed in Procore.
Video
Steps
There are a few different ways to upload files to a project's Documents tool. Choose to follow steps from one of the following:
- Upload Files or Folders Using the Documents Tool
- Upload Files by Sending an Email
- Upload Files or Folders Using Procore Drive
Upload Files or Folders Using the Documents Tool
- Navigate to the Documents tool.
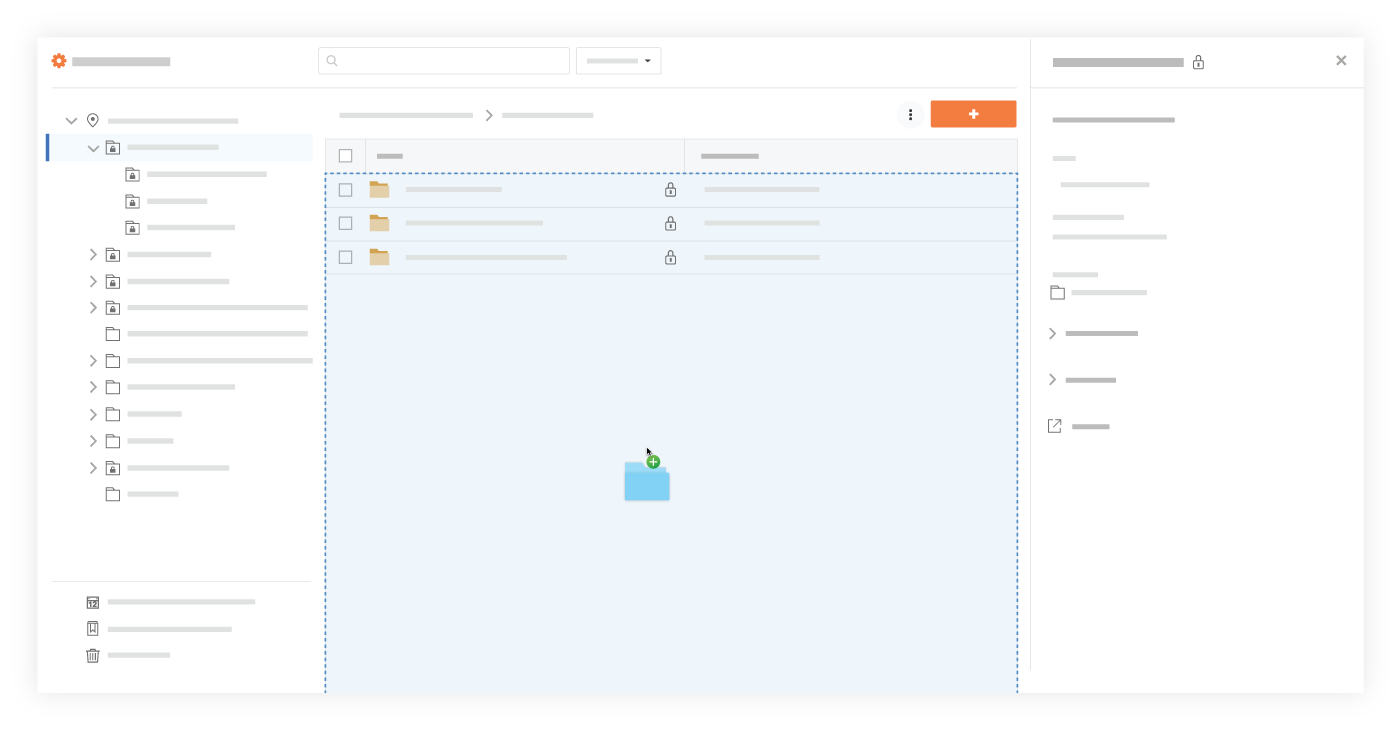
- Click on the folder in the Documents tool that you want to upload files or folders to.
- After selecting files or folders on your computer, drag and drop them to the center panel of the Documents tool.
Tip! You can also use this method to upload empty folders from your computer instead of having to create the same folders manually in the Documents tool.
OR
- Click the + New drop-down menu.
- Choose whether you want to upload files or folders:
- Click File Upload to select files to upload.
- Click Folder Upload to select folders to upload.
- Select the files or folders you want to upload from your computer.
Note: Empty folders cannot be uploaded during this step. They can only be uploaded using the drag-and-drop method shown above. - Click Open.
Notes:- A progress indicator is shown for each upload, and the system returns to the Documents tool page after the upload is complete.
- If you are uploading one or more files with the same filename as an existing file, you are prompted to choose whether you want to upload them as new versions, or rename the files.
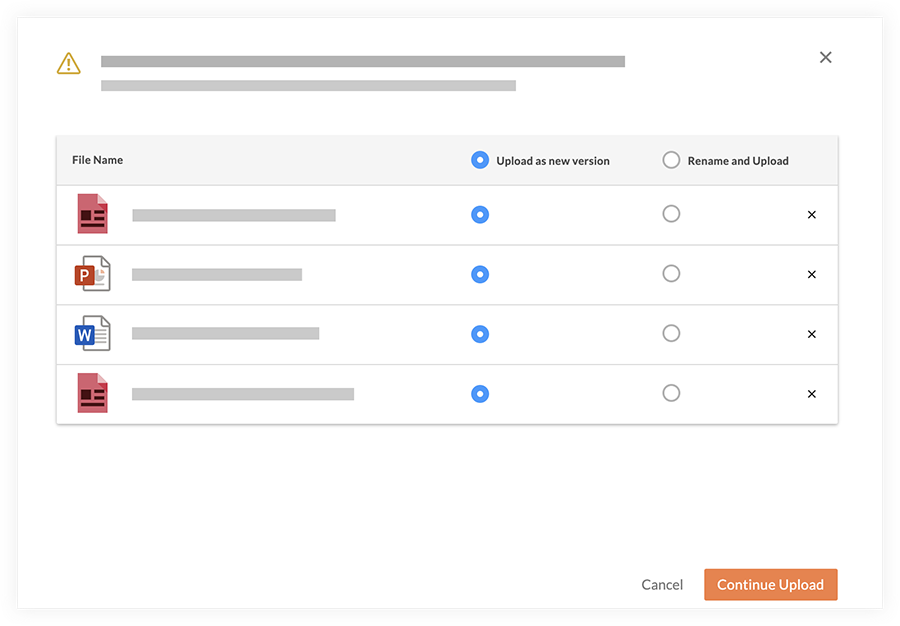
- Click Continue Upload.
Upload Files by Sending an Email
- Navigate to the Documents tool.
- Click the Configure Settings
 icon.
icon. - The email address to email files to is listed in the 'To Email Files To This Project' section.

- Create an email that is addressed to your Documents tool's email address (mentioned above).
- Attach any files you want to add to the Documents tool to the email.
Note: The files will be uploaded to the 'Emailed Documents' folder.
Upload Files or Folders Using Procore Drive
Procore Drive is another efficient way to upload files in bulk. See Upload a File to a Folder in Procore Drive.
Note: If Procore Drive is not configured on your Windows computer, please see the Procore Drive Setup Guide.