Install the Procore Gmail Add-on
Objective
Install the Procore Gmail add-on on your Gmail client, so that you can send emails and correspondence items to the Procore Web app.
Background
Before you can send emails and correspondence items to the Procore Web app from your Gmail client, you need to enable the Procore for Gmail Add-on on your Gmail client.
Things to Consider
Make sure to install the Procore Gmail addon on the same Gmail account that you use to log into Procore.
Required User Permission:
- 'Standard' or 'Admin' level permission on the project's Correspondence tool.
- 'Standard' or 'Admin' level permission on the project's Email tool.
Prerequisites
Before you can install the Procore Gmail Add-on your Gmail client, you need to install the Procore Gmail plugin. For more information, see Install an App from the App Marketplace.
Steps
- On your Gmail client, click the Settings icon.

- Click See All Settings.
- On the Settings page, click the Add-ons tab.
- Under Installed Add-ons, click Manage. This takes you to the Google Workspace Marketplace page.
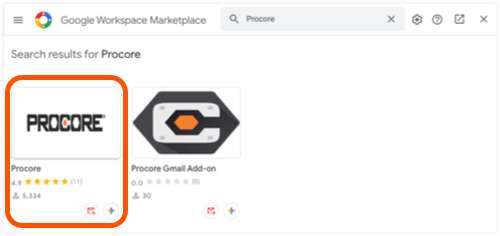
- In the Search Gmail Add-Ons bar, type "Procore" and press the ENTER key.
- Click the Procore icon.
- Click Install.
- Click Continue when asked to give the Procore Gmail Add-on permission for installing.
- On the 'Sign in with Google' screen, select the account for which you want to enable the add-on.
- Click Allow to allow the add-on to access your Gmail account. The installation process starts.
- After the add-on is successfully installed, click Done.
The Procore icon appears in the right sidebar as shown below.
