Accept or Reject a Company for Export to NetSuite®
Objective
To accept or reject a company record in Procore in order to export it to NetSuite®.
Background
If your users created new company records in the Directory tool and sent those records to the ERP Integrations tool for review, an accounting approver can accept or reject the record for export to NetSuite®.
Things to Consider
- Required User Permissions:
- Prerequisites:
Steps
- Navigate to the company's ERP Integrations tool.
- Click Vendors.
- Under Filters, click Ready to Export.
Notes:- This page only lists active company records. Inactive companies cannot be exported to an integrated ERP system.
- If a company record is not listed here, check to see if it is inactive. See Deactivate a Company in the Company Directory.
- Review the vendors/companies in the list. Then do the following:
Accept the Company
- Locate the vendor record to export in the the 'Companies Only in Procore' list. To view the company/vendor record, click the company name hyperlink.
Notes
- If the company record you want to export is not listed, check to see if the record was marked Inactive in Procore.
- This page only lists Active company records in Procore.
- Company records marked Inactive cannot be exported to the integrated ERP system. See Deactivate a Company in the Project Directory.
-
- Click Export.
This exports the vendor/company record to the integrated ERP system. A message appears to show you the export status, which can take a few minutes.Tips
- To confirm that the export was successful, log into NetSuite® and verify that the record appears as expected.
- If the record export fails, click Failed to Export to view the failed item(s) in a list. Then, follow the steps below to Reject the Company.
Reject the Company
- Locate the desired vendor in the 'Companies Only in Procore' list.
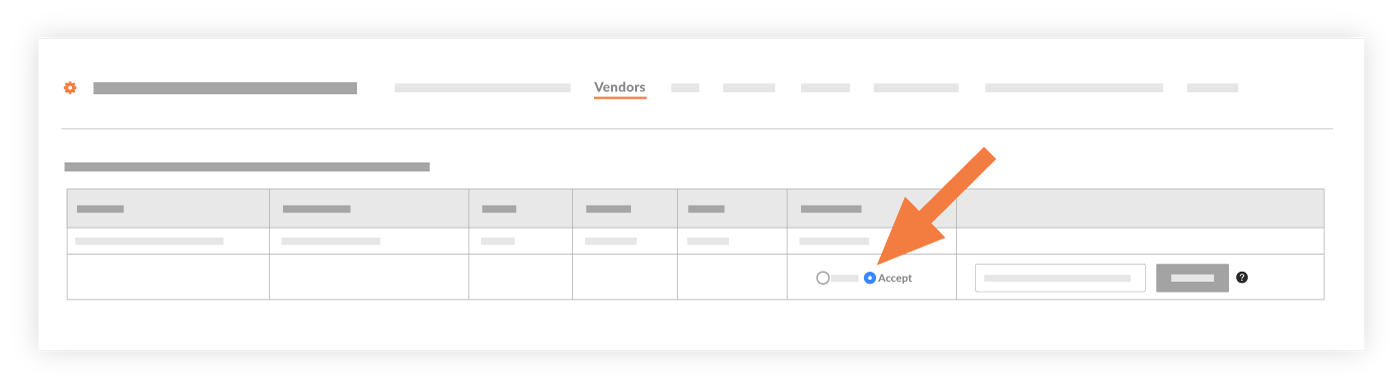
- Choose Reject.

- Provide a reason for the rejection in the Enter a Comment box.
- Click Reject.
This rejects the vendor/company record. It is not imported into the integrated ERP system. The system returns the record to an editable state in both the Company and Project Directory tools.