Accept or Reject a Budget for Export to Sage Intacct®
Objective
Background
Note that the Budget Export tab includes certain fields for Sage Intacct® which are applicable to Budget Revisions but not Original Budgets. However, these fields will appear in Procore for any budget export; your accounting approvers can ignore them if the budget being exported is an Original Budget that includes no Revisions (i.e., budget modifications or revised estimates).
Things to Consider
- Required User Permission:
- Prerequisites:
- Complete the steps in Sage Intacct®: Setup Guide.
- Add the Budget Tool to the Project Tools menu. See Add and Remove Project Tools.
- Restrictions:
After exporting a Procore budget to Sage Intacct® , the following restrictions are in place:- You no longer be permitted to import Sage Intacct® budget or job data into Procore.
- You will not be permitted to unlock the Procore project's Budget tool (see Unlock a Budget), unless the following is true:
- The exported entries have been manually posted to your Sage Intacct® system using the Job Cost function. See your Sage Intacct® Help system for instructions.
- Limitations:
- The Procore + Sage Intacct® does NOT sync 'Unit of Measure (UOM)' and 'Unit Qty' values between systems (see Which units of measure are included on Procore's master list?). Currently, the Budget sync is amount-based only. This means you must manually enter the units in both Procore and in your intergrated ERP system.
Steps
Review a Budget
- Navigate to the company's ERP Integrations tool.
- Click the Budgets tab.
- Under Filter Estimates By, click Ready to Export.
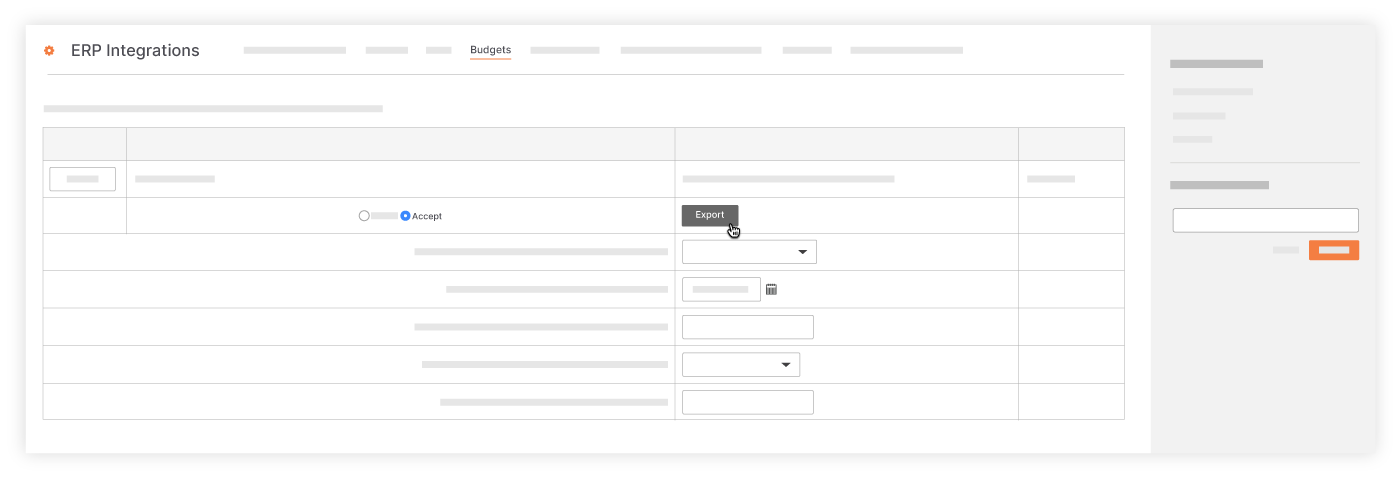
- If the estimate export includes a budget revision (i.e., a budget modification or revised estimate), you should consider the following additional fields. Note that these fields appear even for original budgets, but they can be ignored if no budget revision is to be exported:
- Budget Revision Type (REQUIRED): Select the Budget Revision Type among the three options that Sage Intacct® allows - Scope Change, Budget Transfer, and Contingency.
- Revision Date (REQUIRED) – Choose the date for the revision. This field defaults to today’s date.
- Budget Revision Number (optional) – Set a number for the budget revision. By default, Sage Intacct® assigns sequential numbers for each synced modification on the job.
- Budget Revision Status (optional) – You can choose a budget status among the four options that Sage Intacct® allows - Approved, Pending, Forecasted, and Rejected. By default, Sage Intacct® will assign a “Pending” status.
- Approved By User (optional) – You can enter the name of the approving user. By default, Sage Intacct® will show our integration user’s name.
- Review the accepted budget items to ensure the data is ready for export. Then choose your response:
Accept a Budget
- Under Budgets Ready to be Exported, do the following:
- Locate the project budget to export.
- Click Details to open the Budget Updates window.
- Review the budget details.
- Click the 'x' to close the window.
- Click OK to acknowledge the caution message alerting you that you no longer be able to import a budget from Sage Intacct®.
- Choose Accept.
- Click Export to Sage Intacct®.

Reject a Budget
- Under Budgets Ready to be Exported, do the following:
- Locate the project budget to export.
- Click Details to open the Budget Updates window.
- Review the budget details.
- Click the 'x' to close the window.
- Choose Reject.
- In the text box that appears, type a brief reason for the rejection.
- Click Reject.
The following events occur:- The system removes the budget from the ERP Integrations tool and returns it to an editable state in the Budget tool.
- The system sends an email notification to the person who created the budget (see Set Up a Budget) to alert the individual of the budget rejection.
- The system also sends an email to the person who sent the budget to the ERP Integrations tool (see Send a Budget to ERP Integrations for Accounting Acceptance). Typically, this is the project manager.

