Create and Manage Placeholders in the Document Management Tool
Background
Placeholders allow project teams to pre-plan their document structure. Unlike standard uploads, a placeholder acts as a container for a future file. Once a file is uploaded to a placeholder and submitted, it transitions into a standard document.
Things to Consider
-
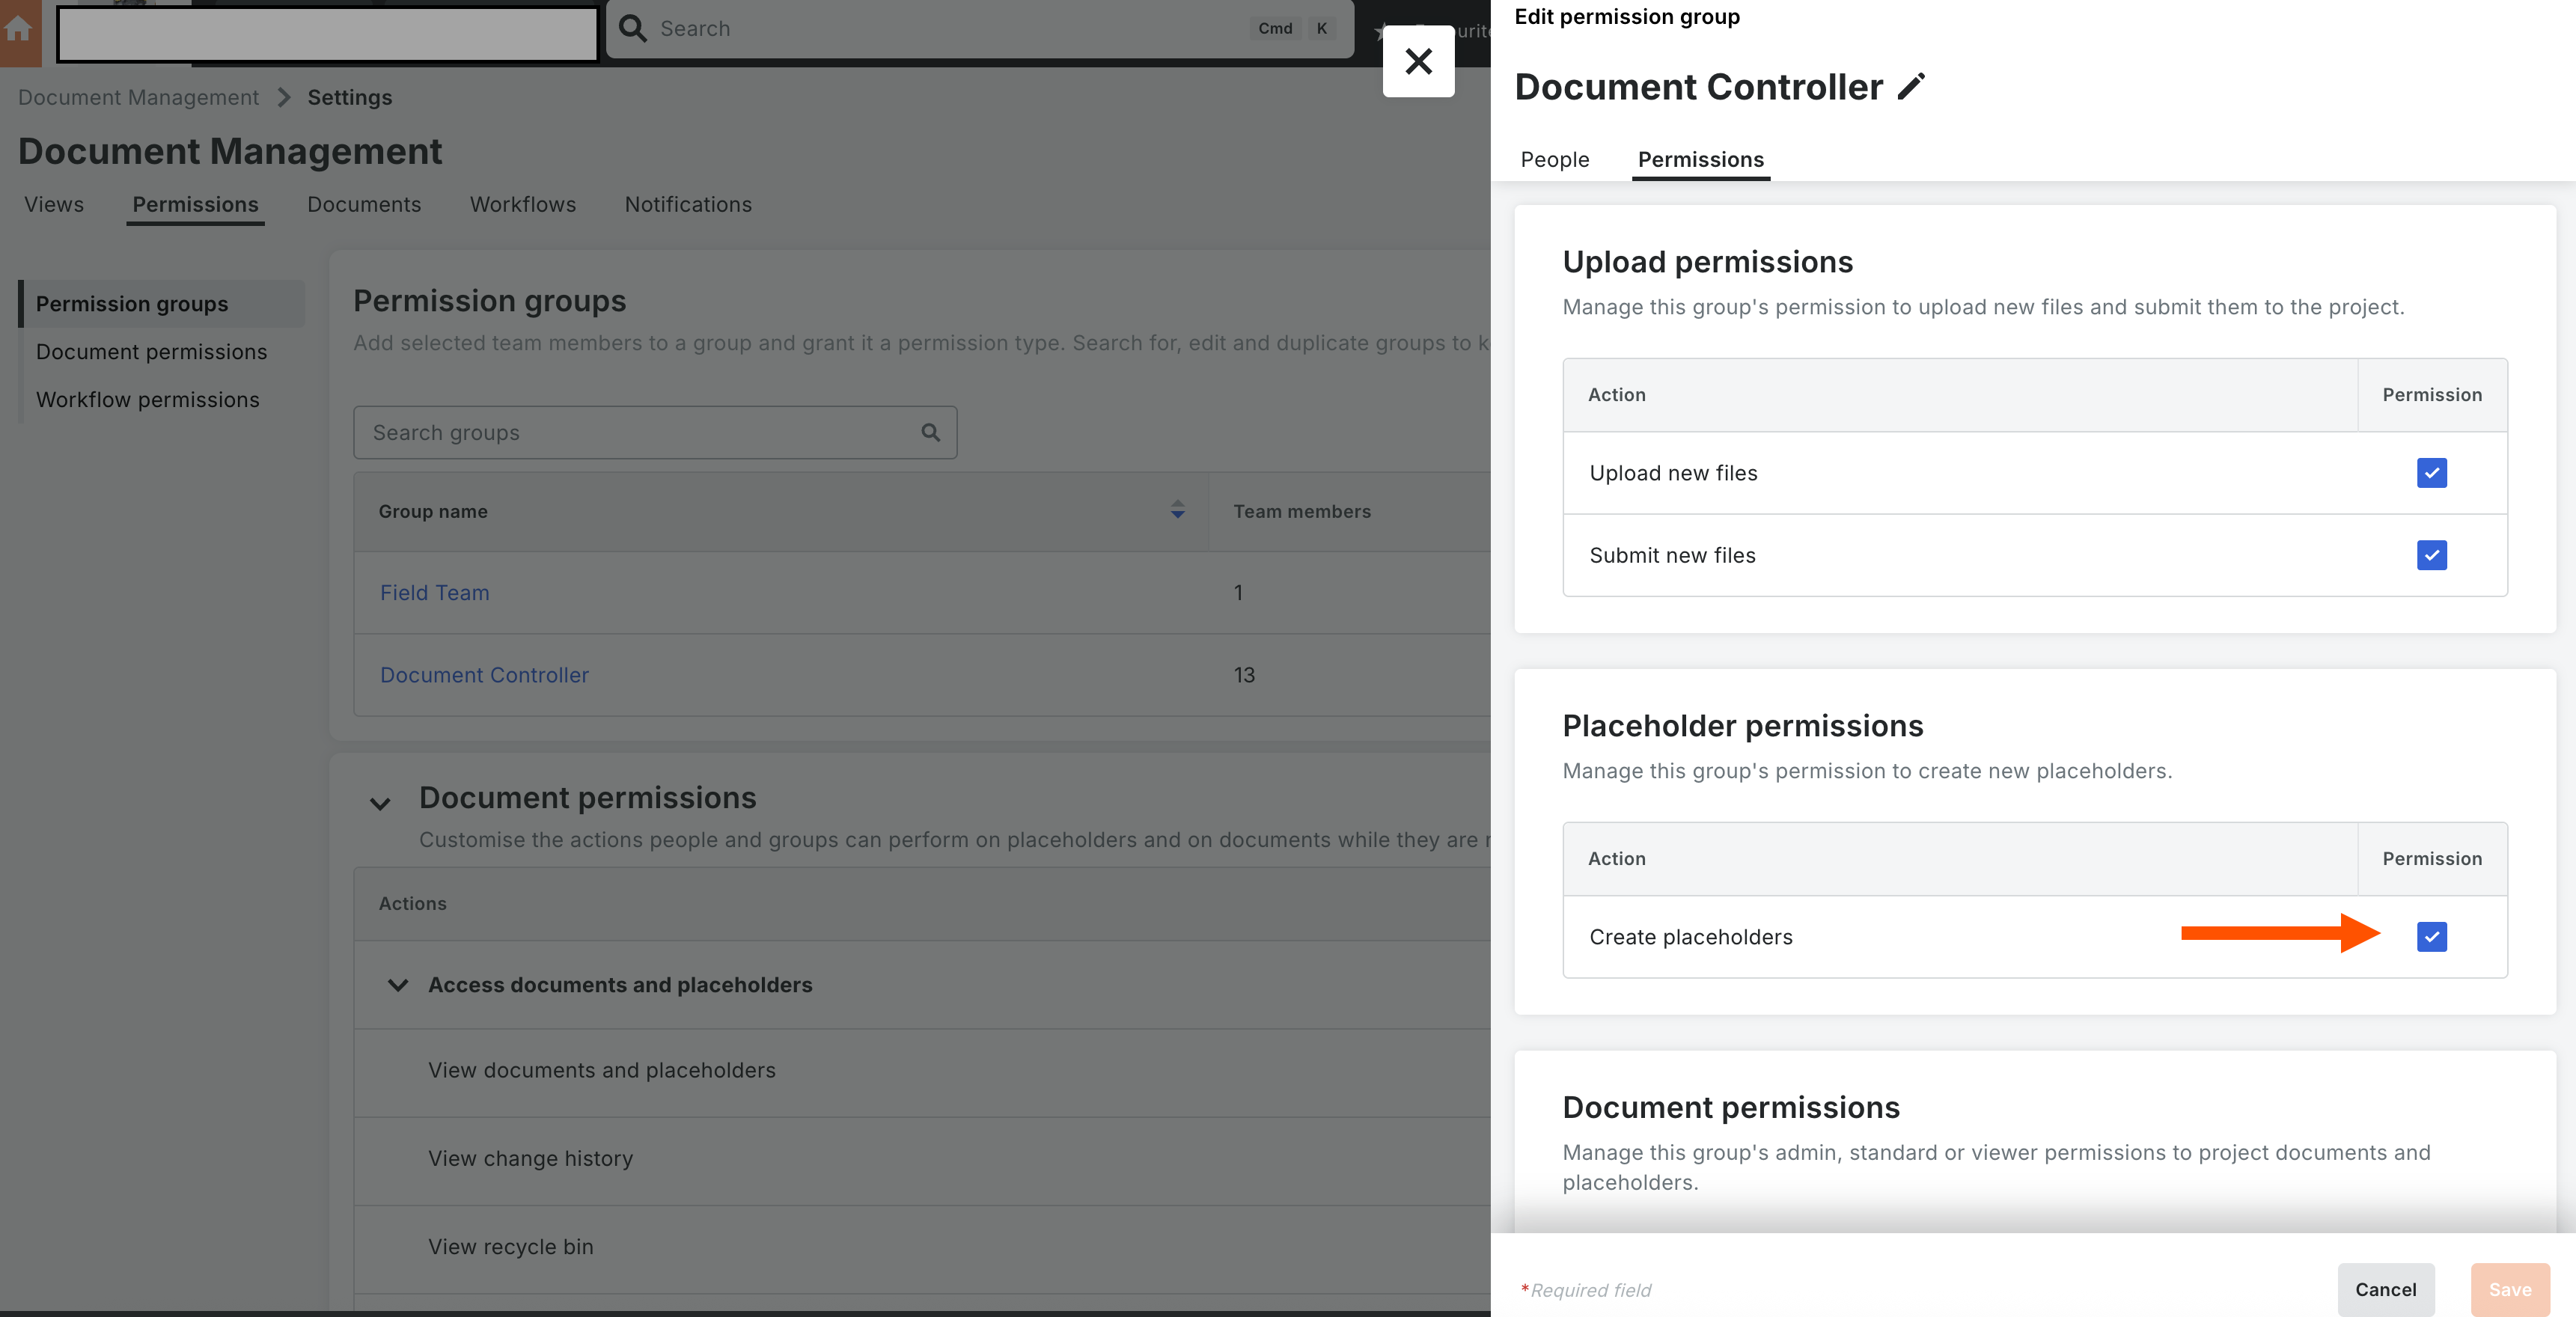
Required Permissions: 'Create Placeholders' permissions on the Document Management tool.
-
Naming Standards: If a Naming Standard is enabled, specific fields (e.g., Description, Project Originator) become mandatory to ensure the file name generates correctly.
-
Fields tied to the Naming Standard cannot be edited in the Uploads tab; they must be edited in the Documents tab to prevent containerization errors.
-
-
File Formats: The format of the file eventually uploaded must match the 'File Format' specified during the placeholder creation.
Steps
Configure Permissions
Ensure the below project settings before creating placeholders:
-
Navigate to the Project level Admin tool.
-
Select the relevant Permission Template.
-
Locate the Document Management tool.
-
Enable the checkbox for Create Placeholders.

Import and Create Placeholders
-
Open the Document Management tool.
-
Click Add and select Create with .csv or .xlsx.
-
Click the link to Download the Template and save the file.
Note: Before importing the file, ensure that in the Document Management tool 'Settings', under 'Upload Requirements', the Naming Standard is set to 'None'. -
Fill in the required information and click Upload File.
Note: When you select None for the Naming Standard, you only need to fill out three fields: Name, Type, and File Format. -
Select the required file and click Import.
Note: If the import fails, download the Error Sheet, correct the highlighted duplicates or missing fields, and re-upload.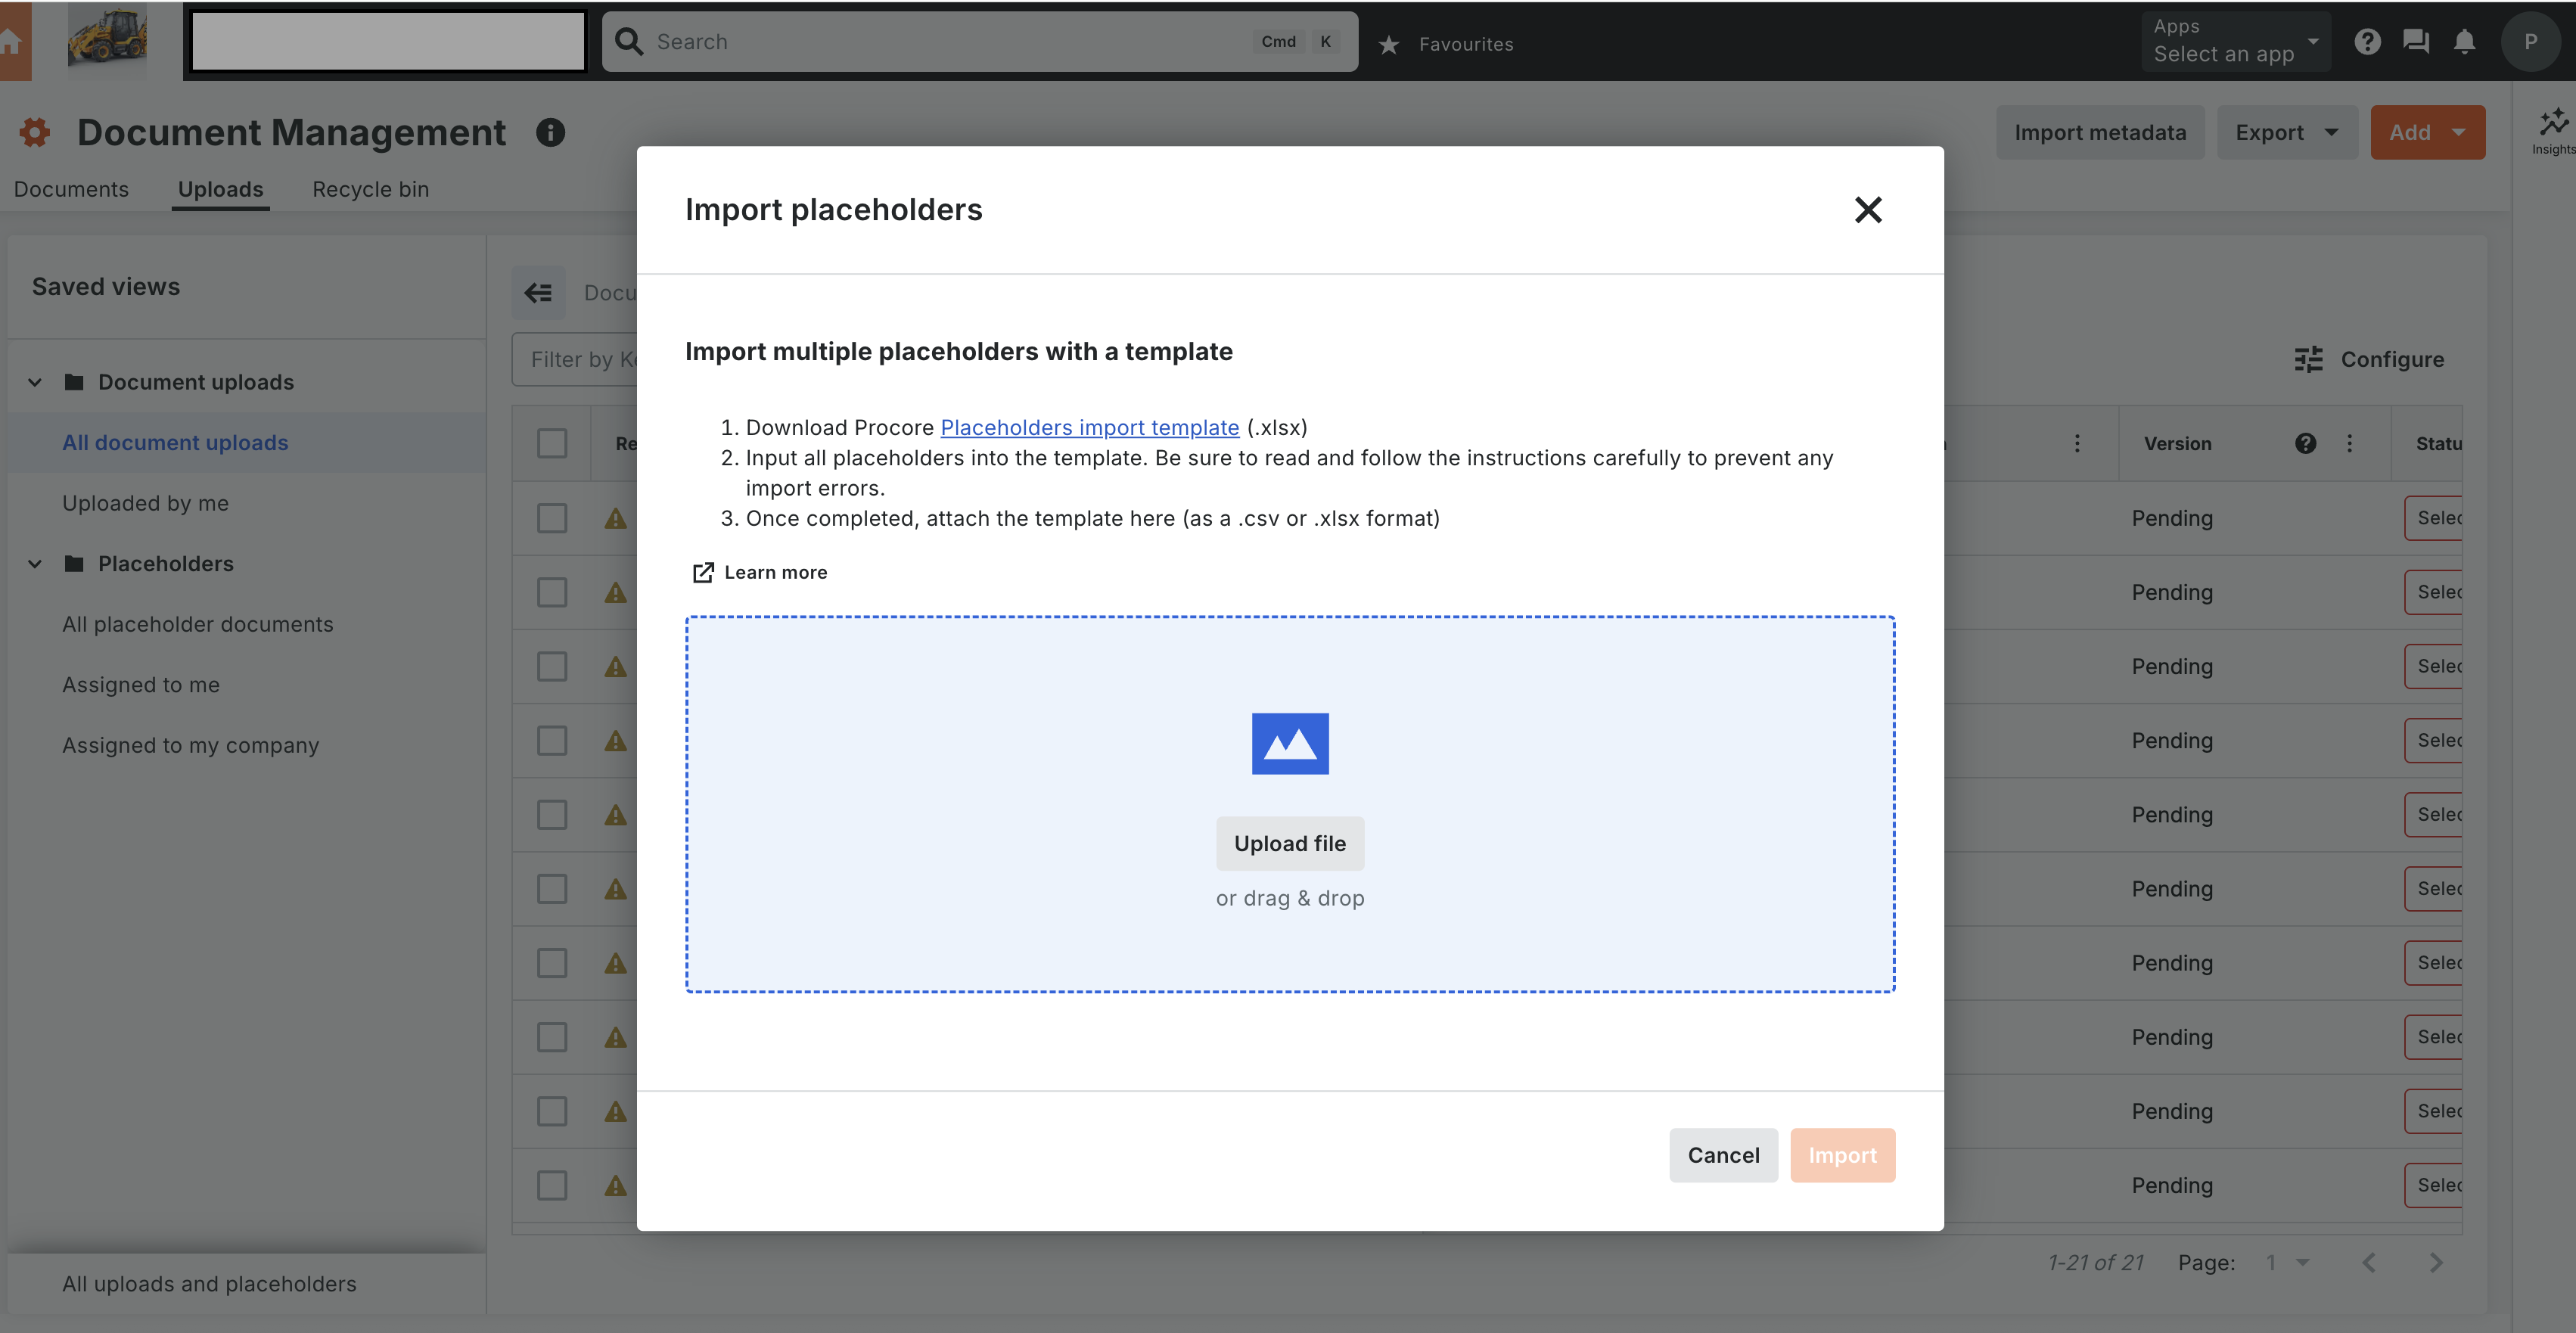

Add Assignee
-
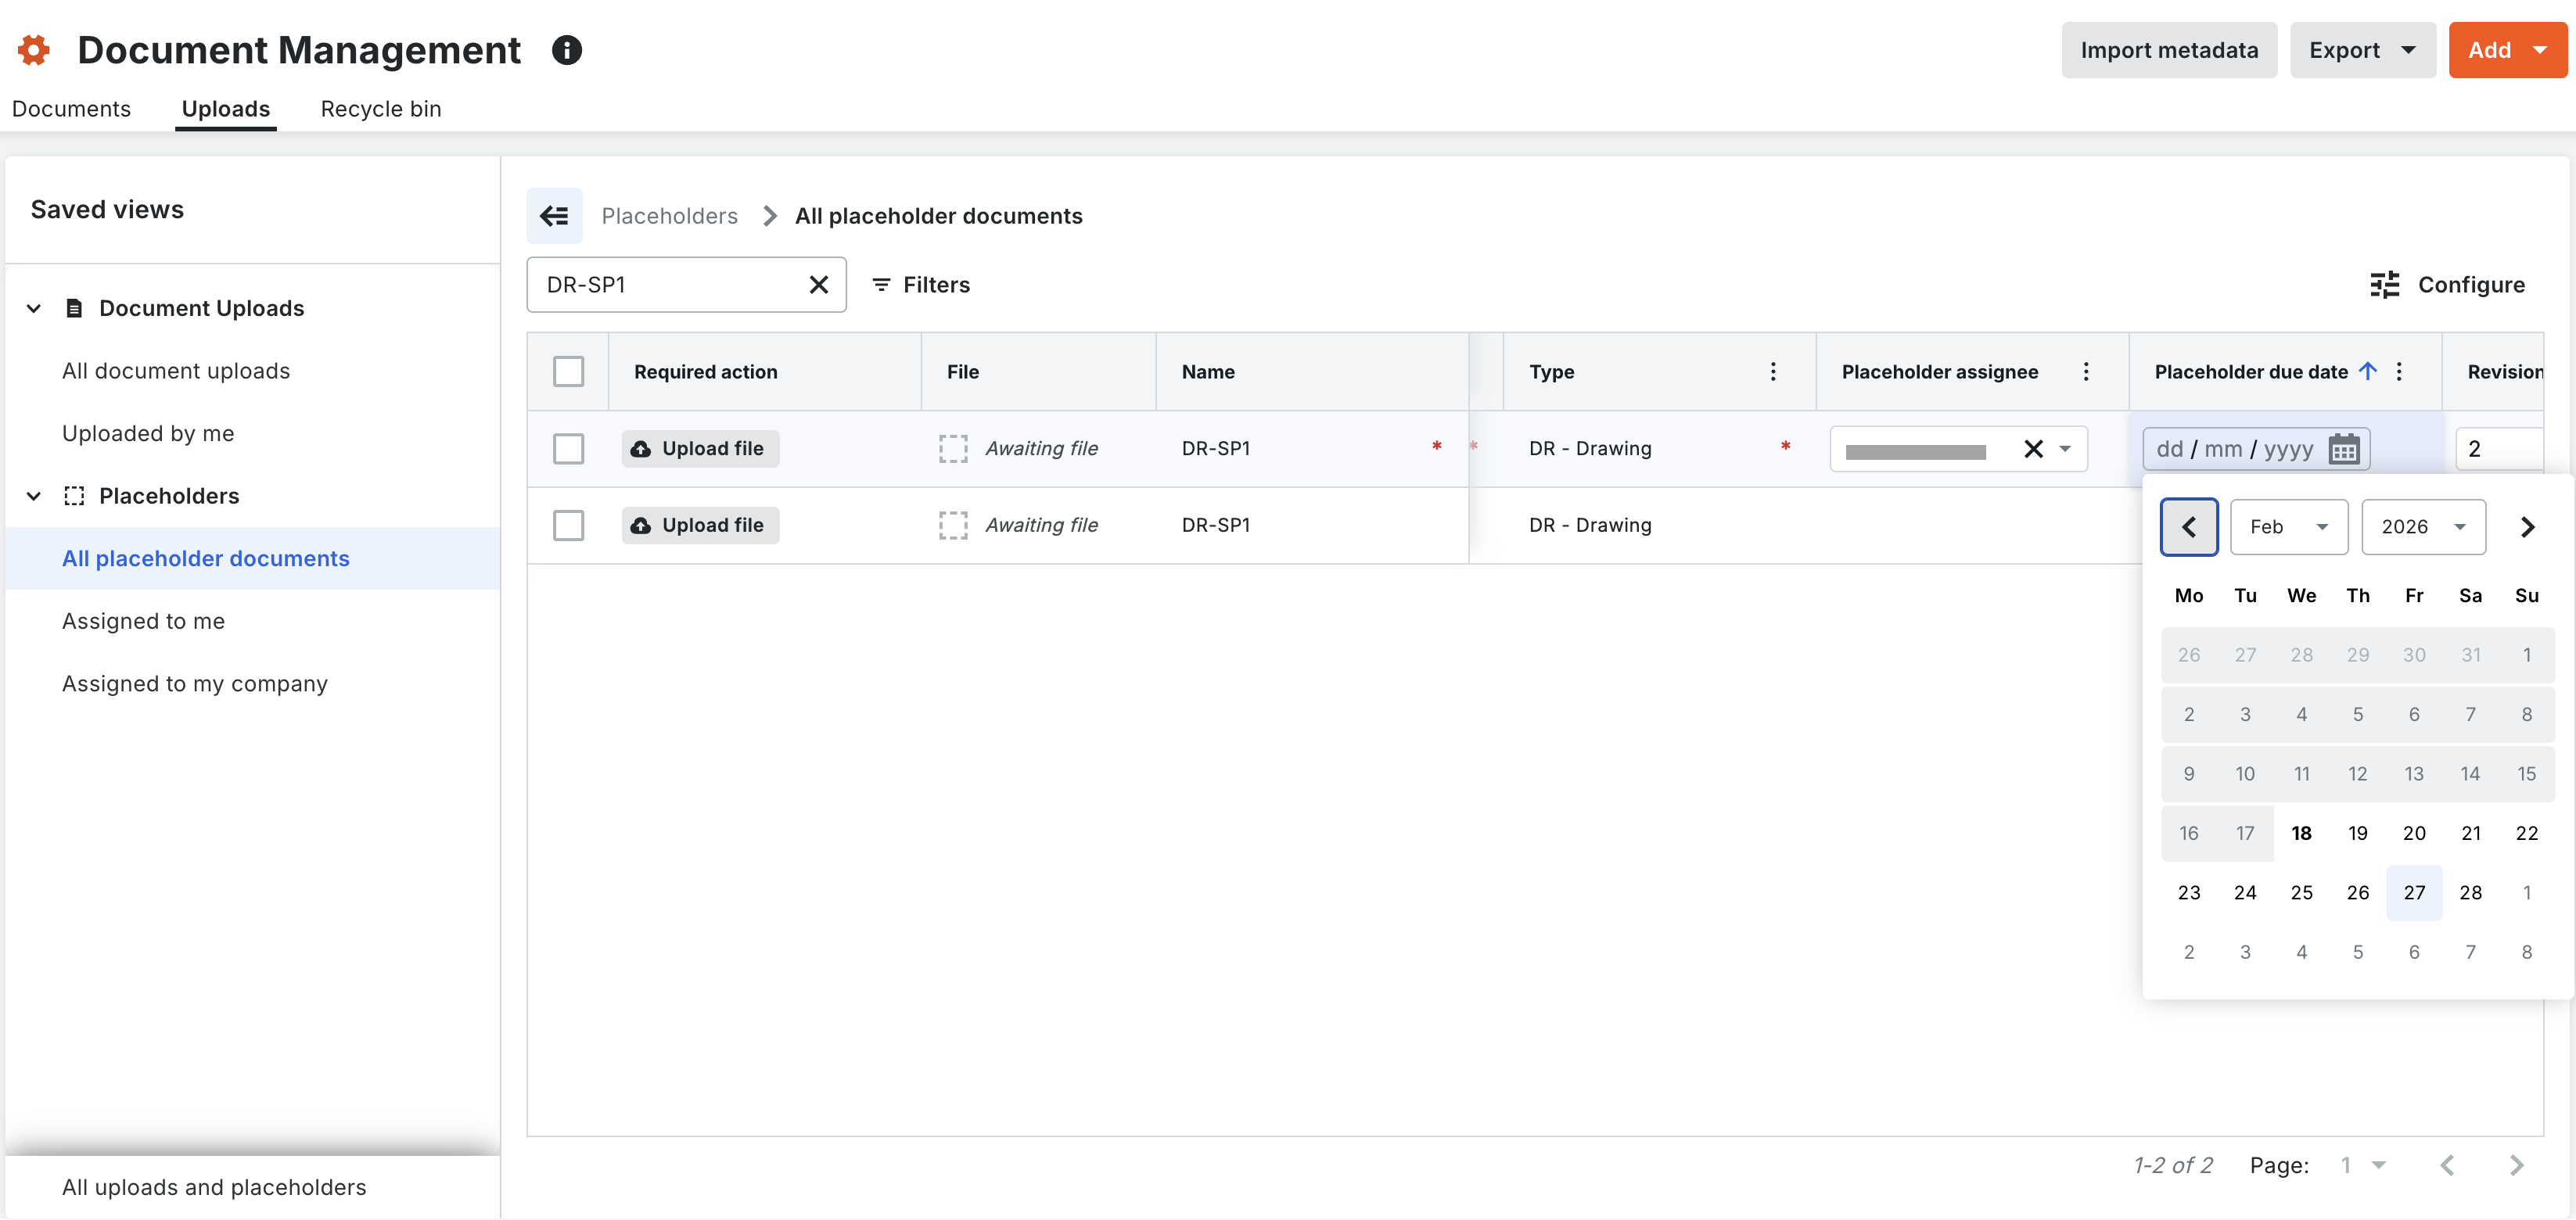
Locate the placeholder in the Uploads or Documents tab.
-
Select a Placeholder Assignee: Select the user and add assignee. Currently, the placeholder assignee and the placeholder creator has the permission to upload the file.
-
Set a Due Date: Assign a deadline to trigger 'Past Due' warnings if the date passes without a submission.

Convert a Placeholder to a Document
Note: Only the placeholder assignee or placeholder creator can perform this action.
-
Navigate to the Uploads tab or the Placeholders Collection view.
-
Select the specific placeholder.
-
Click Upload and attach the file.
Note: The file must match the format, for example, .pdf, as defined in the metadata. -
Verify the metadata and click Submit. The item status changes from 'Placeholder' to 'Document', and the file moves to the Documents tab.


Views and Filters
-
Item Content Filter: Toggle between 'Document' and 'Placeholder' to refine the list view.
-
Collections:
-
Assigned to Me: View placeholders specifically assigned to your account.
-
Assigned to My Company: View placeholders assigned to anyone within your organization.
-
-
See All (Containerization): Click 'See All' to view all revisions or placeholders that share the same Name and Format within a single container.
Manually Create Placeholders
-
Navigate to the project's Document Management tool.
-
Click the Uploads tab.
-
Click the Add button and select Create Manually.
-
Fill out the required fields in the empty row, such as 'Name', 'Type', and any other missing attributes.
-
(Optional) To create multiple similar placeholders:
-
Mark the checkbox next to a placeholder row.
-
Click Duplicate Row.
-
Modify the 'Revision' or 'Document Stage' for the duplicated row to ensure each placeholder is unique.
-
-
Click Create Placeholder.
Tracking Placeholders in My Open Items and Notifications
-
Automatic Task Creation: When a placeholder is created with an assignee and a due date, an unfulfilled task automatically surfaces in the My Open Items dashboard at both the Project and Company levels.
-
Dynamic Updates: Updating a placeholder's due date or assignee automatically updates the corresponding open item task.
-
Task Clearing: The open item task is automatically removed in one of two ways:
-
When a file is uploaded to the placeholder.
-
When the placeholder is sent to the Recycle Bin.
-
-
Email Digests: In addition to the dashboard, the system sends automated email notifications daily at 4:00 PM local project time summarizing assigned, upcoming (due tomorrow), or overdue placeholders, as well as file upload and submission events.
Resolving Upload Matches (Auto-Merge & Close Match)
When uploading documents to a project, the system automatically scans for matching placeholders under the Uploads tab:
-
Exact Match (Auto-Merge): If a file's name and format match a placeholder perfectly with no metadata discrepancies, the system flags it as an exact match. Click Confirm to instantly merge the file into the placeholder, or Reject to keep them separate individual records.
-
Close Match (Manual Merge): If the file name and format match but optional metadata fields have conflicts, the system flags it as a close match. Select the paired file and placeholder to review the discrepancies. You can then either resolve the mismatched text fields and click Match to complete the placeholder filling sequence, or choose to reject the close match if the files should not be paired.