Create a Change Order Request for a Commitment
Objective
To create a change order request for a purchase order or subcontract.
Background
If your project is using the three (3) tier change order setting, a change order request gives contractors the ability to package one (1) or more potential change orders into a formal request that you can send out for approval. When creating a change order request, it is a common practice to group commitment potential change orders that share the same scope of work into a change order request. This helps to organize your change orders into logical groups, which can streamline the review and approval process.
Important
In Procore, change order requests are only created when your project's Commitments tool is using the three (3) tier change order setting. The 1- and 2- tier change order settings do NOT use the change order request step. See What are the different change order tier settings in Project Financials?Things to Consider
- Required User Permissions:
- 'Admin' level permissions on the project's Commitments tool.
Prerequisites
- Create a Purchase Order or Create a Subcontract
- The contract must be in the 'Approved' state.
Steps
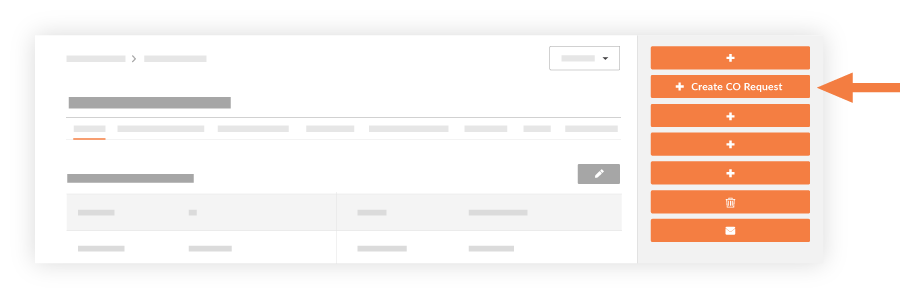
- Navigate to the project's Commitments tool.
- Click Create CO Request.
Important
The 'Create CO Request' button is only available if your project's commitment is in the 'Approved' status.
- Complete the following:
- Number
Accept the default number, enter a new number, or create a custom numbering scheme.Tip
How are numbers assigned? To learn how Procore assigns numbers and to understand your custom numbering options, see Can I customize the numbering system for financial objects in Procore? - Date Created
Displays the date and time that the change order request was created. You cannot change this value. - Revision
This field displays the change order request's revision number. When a change order request is first created, its revision number is zero (0). Depending on the feedback you receive from the reviewer/approver, a change order request may have multiple revisions. - Created By
Displays the name of the user who created the change order request. You cannot change this name. - Title
Enter a title that describes the change order request. - Status
Choose as status for the change order request. To learn more, see What are the default statuses for change orders in Procore? - Optional: Commitment Change Order
Add a change order request to a commitment change order. You can select an existing commitment change order from the drop-down menu or you can create a new commitment change order and the change order request will be added automatically. - Private
Mark this checkbox if you want the change order request to private. A private change order request is visible only to users with 'Admin' permissions on the Commitments tool who have been added to the commitment contract's privacy list. - Description
Enter a more detailed description of the change order request. - Schedule Impact
If known, enter an approximate number of additional days that the proposed change would add to the project's current schedule. - Potential Change Order
Select which potential change order(s) to include in the change order request. - Attachments
Select and attach any relevant documents.
- Number
- Choose from these options:
- To create the change order request, click Create.
OR - To create the change order request and then forward it to recipients, click Create & Email. This takes you to a page where you can select recipients for the email.
- To create the change order request, click Create.