Edit a Custom Response Set for Inspections
Objective
To edit a custom response set for inspections.
Things to Consider
- Required User Permissions:
- 'Admin' level permissions on the Company level Inspections tool.
- Additional Information:
- You can edit a custom response set that is currently in use, but any changes you make will be applied to all existing inspection templates containing the set.
- You cannot edit a custom response set if it's used for conditional logic or to require an observation or photo.
- You can edit a custom response set that is currently in use, but any changes you make will be applied to all existing inspection templates containing the set.
Prerequisites
Steps
- Navigate to the Company level Inspections tool.
- Click the Configure Settings
 icon.
icon. - Click Response Types in the sidebar.
Mark a Custom Response Set as Inactive
By default, a custom response set will be marked as 'Active' and can be added to a Company level inspection template.
Important! Response sets that are currently in use cannot be marked as 'Inactive.'
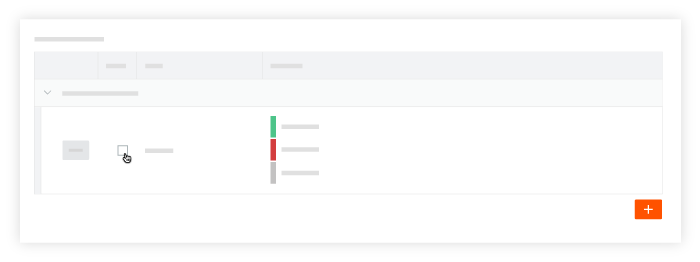
- Click the checkbox to remove the mark in the 'Active' column next to the response set you want to deactivate.
Note: This action prevents other users from adding the response set to Company level inspection templates.

Note: You can reactivate the response set at anytime by marking the checkbox in the 'Active' column.
Add Additional Options to a Custom Response Set
- Click Edit next to the custom response set that you want to modify.
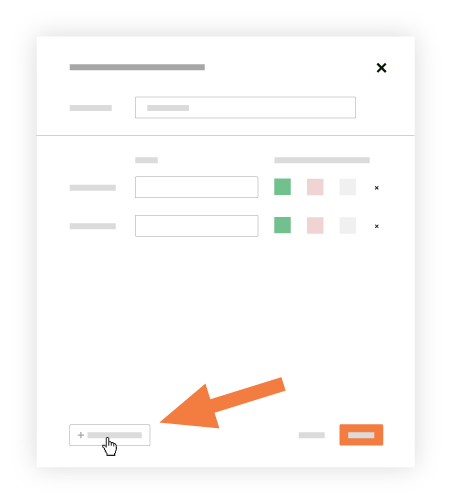
- Click +Add Response to add new response options, or click into a field for an existing response option to edit the information.

- Click Update to save your changes.
Change the Color Associated with a Response Option
- Click Edit next to the custom response set that you want to modify.
- Select the color that you want to associate with the response option from the following:
- Green: Associated with a 'Conforming' response.
- Red: Associated with a 'Deficient' response.
- Gray: Associated with a 'Not Applicable' response.
- Click Update to save your changes.
Delete Options from a Custom Response Set
- Click Edit next to the custom response set that you want to modify.
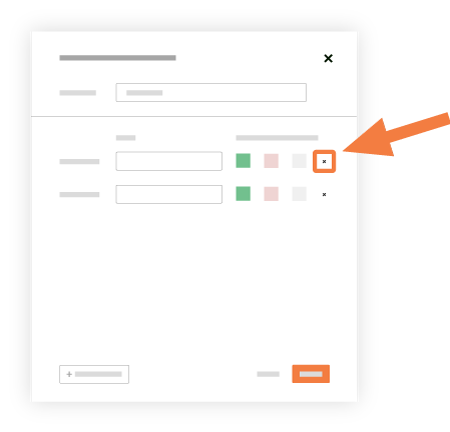
- Click the x next to the response option that you want to remove.

- Click Update to save your changes.

