Create a Group in the Conversations Tool
Objective
To create a group to send messages to within the Conversations tool in Procore.
Background
When you create a group in the Conversations tool, you are creating a group conversation that allows you to send a message to a designated team members at the same time. These group messages can be viewed and replied by team members in the Groups section of the Conversations tool, organized by project.
Things to Consider
- Required User Permissions:
- Procore user with the 'Create and Manage Group' privilege. See Configure Access and Settings for the Conversations Tool.
This permission can be set to 'Administrators', 'Internal Employees', or 'Everyone':- If 'Administrators' is selected, you need 'Admin' level permissions to the Project or Company level Directory tool.
- If 'Internal Employees' is selected, you must be marked as an internal employee. See How do I add someone as an employee of my company?
- If 'Everyone' is selected, you must be a member of the Company Directory.
- Procore user with the 'Create and Manage Group' privilege. See Configure Access and Settings for the Conversations Tool.
- Additional Information:
- You are automatically added to a group that you create.
- If the Conversations tool is configured to allow only 'Administrators' to create and manage groups, we recommend keeping at least one Admin in a group so that it can be managed. Admin users are shown with
(Admin)after their name in the user selection list. - Each group in the Conversations tool can support up to 2,000 members.
Steps
- Navigate to the Conversations tool (click the Conversations
 icon in the top menu of Procore).
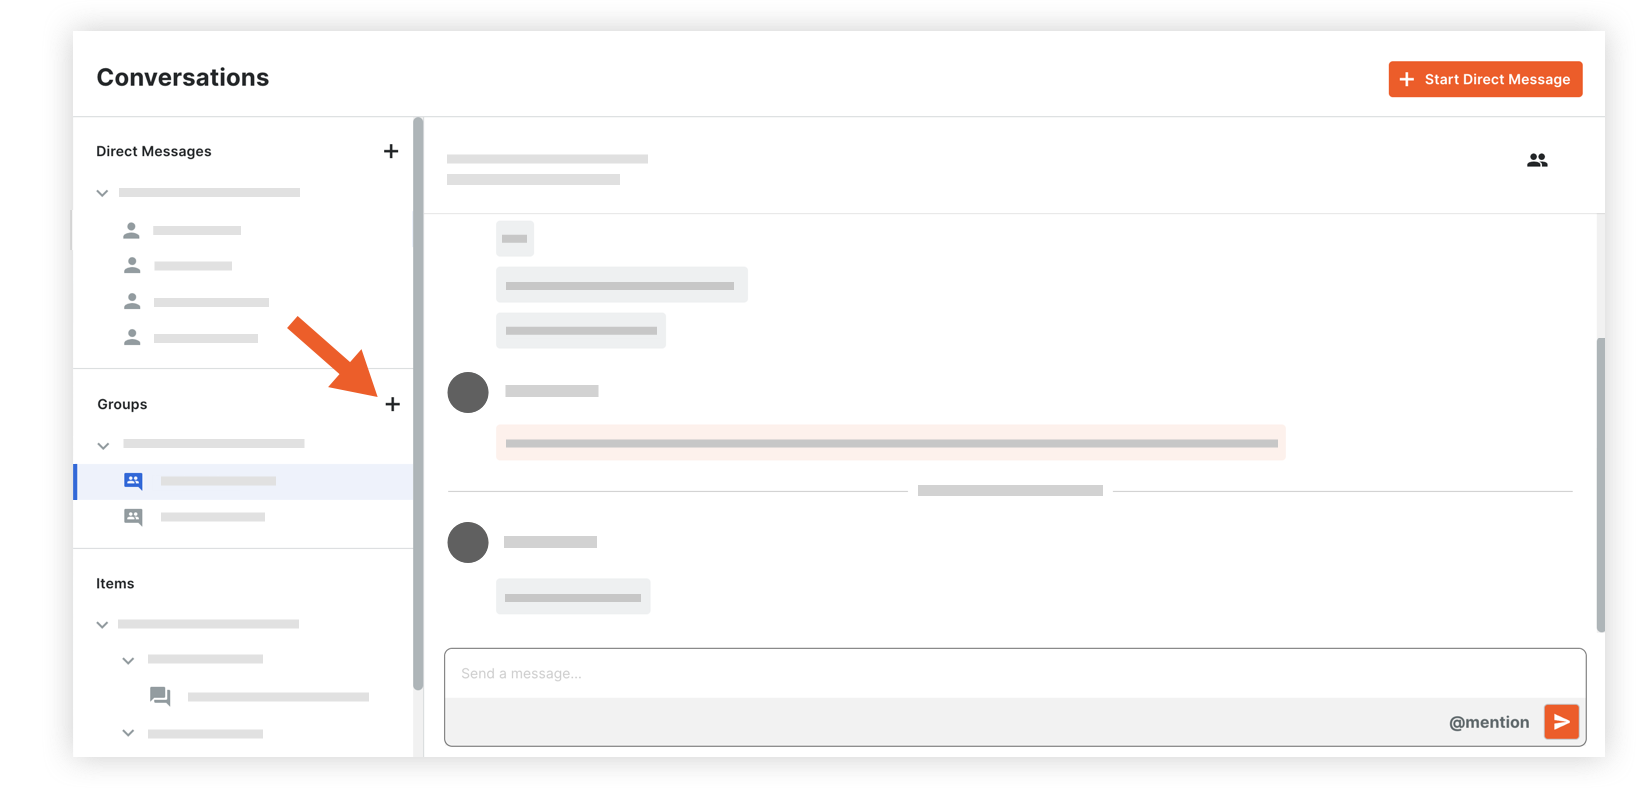
 - In the 'Groups' section, click the create
 icon.
icon.
- Complete the following information:
- Project: Click the drop-down menu and select the project that you want to create a group for.
- Group Name: Enter a name for the group (such as the name of a trade).
- Team Members: Choose one of the following options.
- Selected users: Select the people you want to add to the group. A maximum of 2,000 members can be added. If your project has distribution groups, you can select one to add those members to the conversation group. See Add a Distribution Group to the Project Directory.
- Everyone in this project's Directory: This includes automatic updates to the team members when any user is added or removed from the project Directory in the future.
Note: Company Admins who are not yet in the project's Directory are prompted to add themselves before proceeding with this option.
- Click Create.
The new group automatically appears under its project name in the Group section.
