Weekly Job Site Safety Audit
Document Intention:
The following document explains how to complete your weekly safety audits (previously done on the “Intranet”) in Procore. Pictures have been included for clarity but as always if you have questions about this process or I haven’t been transparent enough, you can always reach me at (423) 646-1625.
Weekly Safety Audits Explanation:
Once a week, preferably on the same day that you submit your toolbox talk, a “Job Site Safety Audit” should be completed. Previously, this safety audit was being completed on the Intranet and now will be automatically assigned to the jobsite superintendent weekly. The safety audit will be generated in your “Inspection” tool on Mondays and should be completed by Friday of that same week.
Completing a Weekly Safety Audit in Procore:
1. After making sure you are in the correct job, tap the “Inspections Tool” on your Procore dashboard.

2. Then tap the automatically generated inspection for the current work week under the “Weekly Job Site Safety Audit” inspection type heading.

3. Scroll down and begin tapping the appropriate buttons to check off the items in the inspection.
a. If a specific item does not apply to your jobsite, mark it as “N/A”.
IMPORTANT: The entire inspection section can be marked as “N/A” if it doesn’t apply to your job site by tapping the “Mark Section as NA” button at the top middle of the section heading.
b. If what the line item is describing has been accomplished or is true, tap the check mark.
c. If it is false or hasn’t been completed, tap the “X”.

4. If an item is marked with an “X” you can attach a picture or a description of the problem or reason it isn’t accomplished in the comments box by tapping the blue “i” button.

a. Tap the “comment” button in the bottom left of your screen to leave a comment describing the issue.
b. Tap the “photo” button in the bottom middle of your screen to take/attach a photo of the issue.

5. While filling out the safety audit, if you come across an entire section that does not apply to your job site (Traffic Control in this example), it can be marked as “N/A” all at once, by tapping the “Mark Section as NA” button in each section heading.

a. To see a section that you previously marked as NA, tap the “show” button in the upper right of the section header.

6. When the inspection has been fully completed and you no longer need to make any changes to the sections, tap the “edit” button in the upper right corner of the screen.

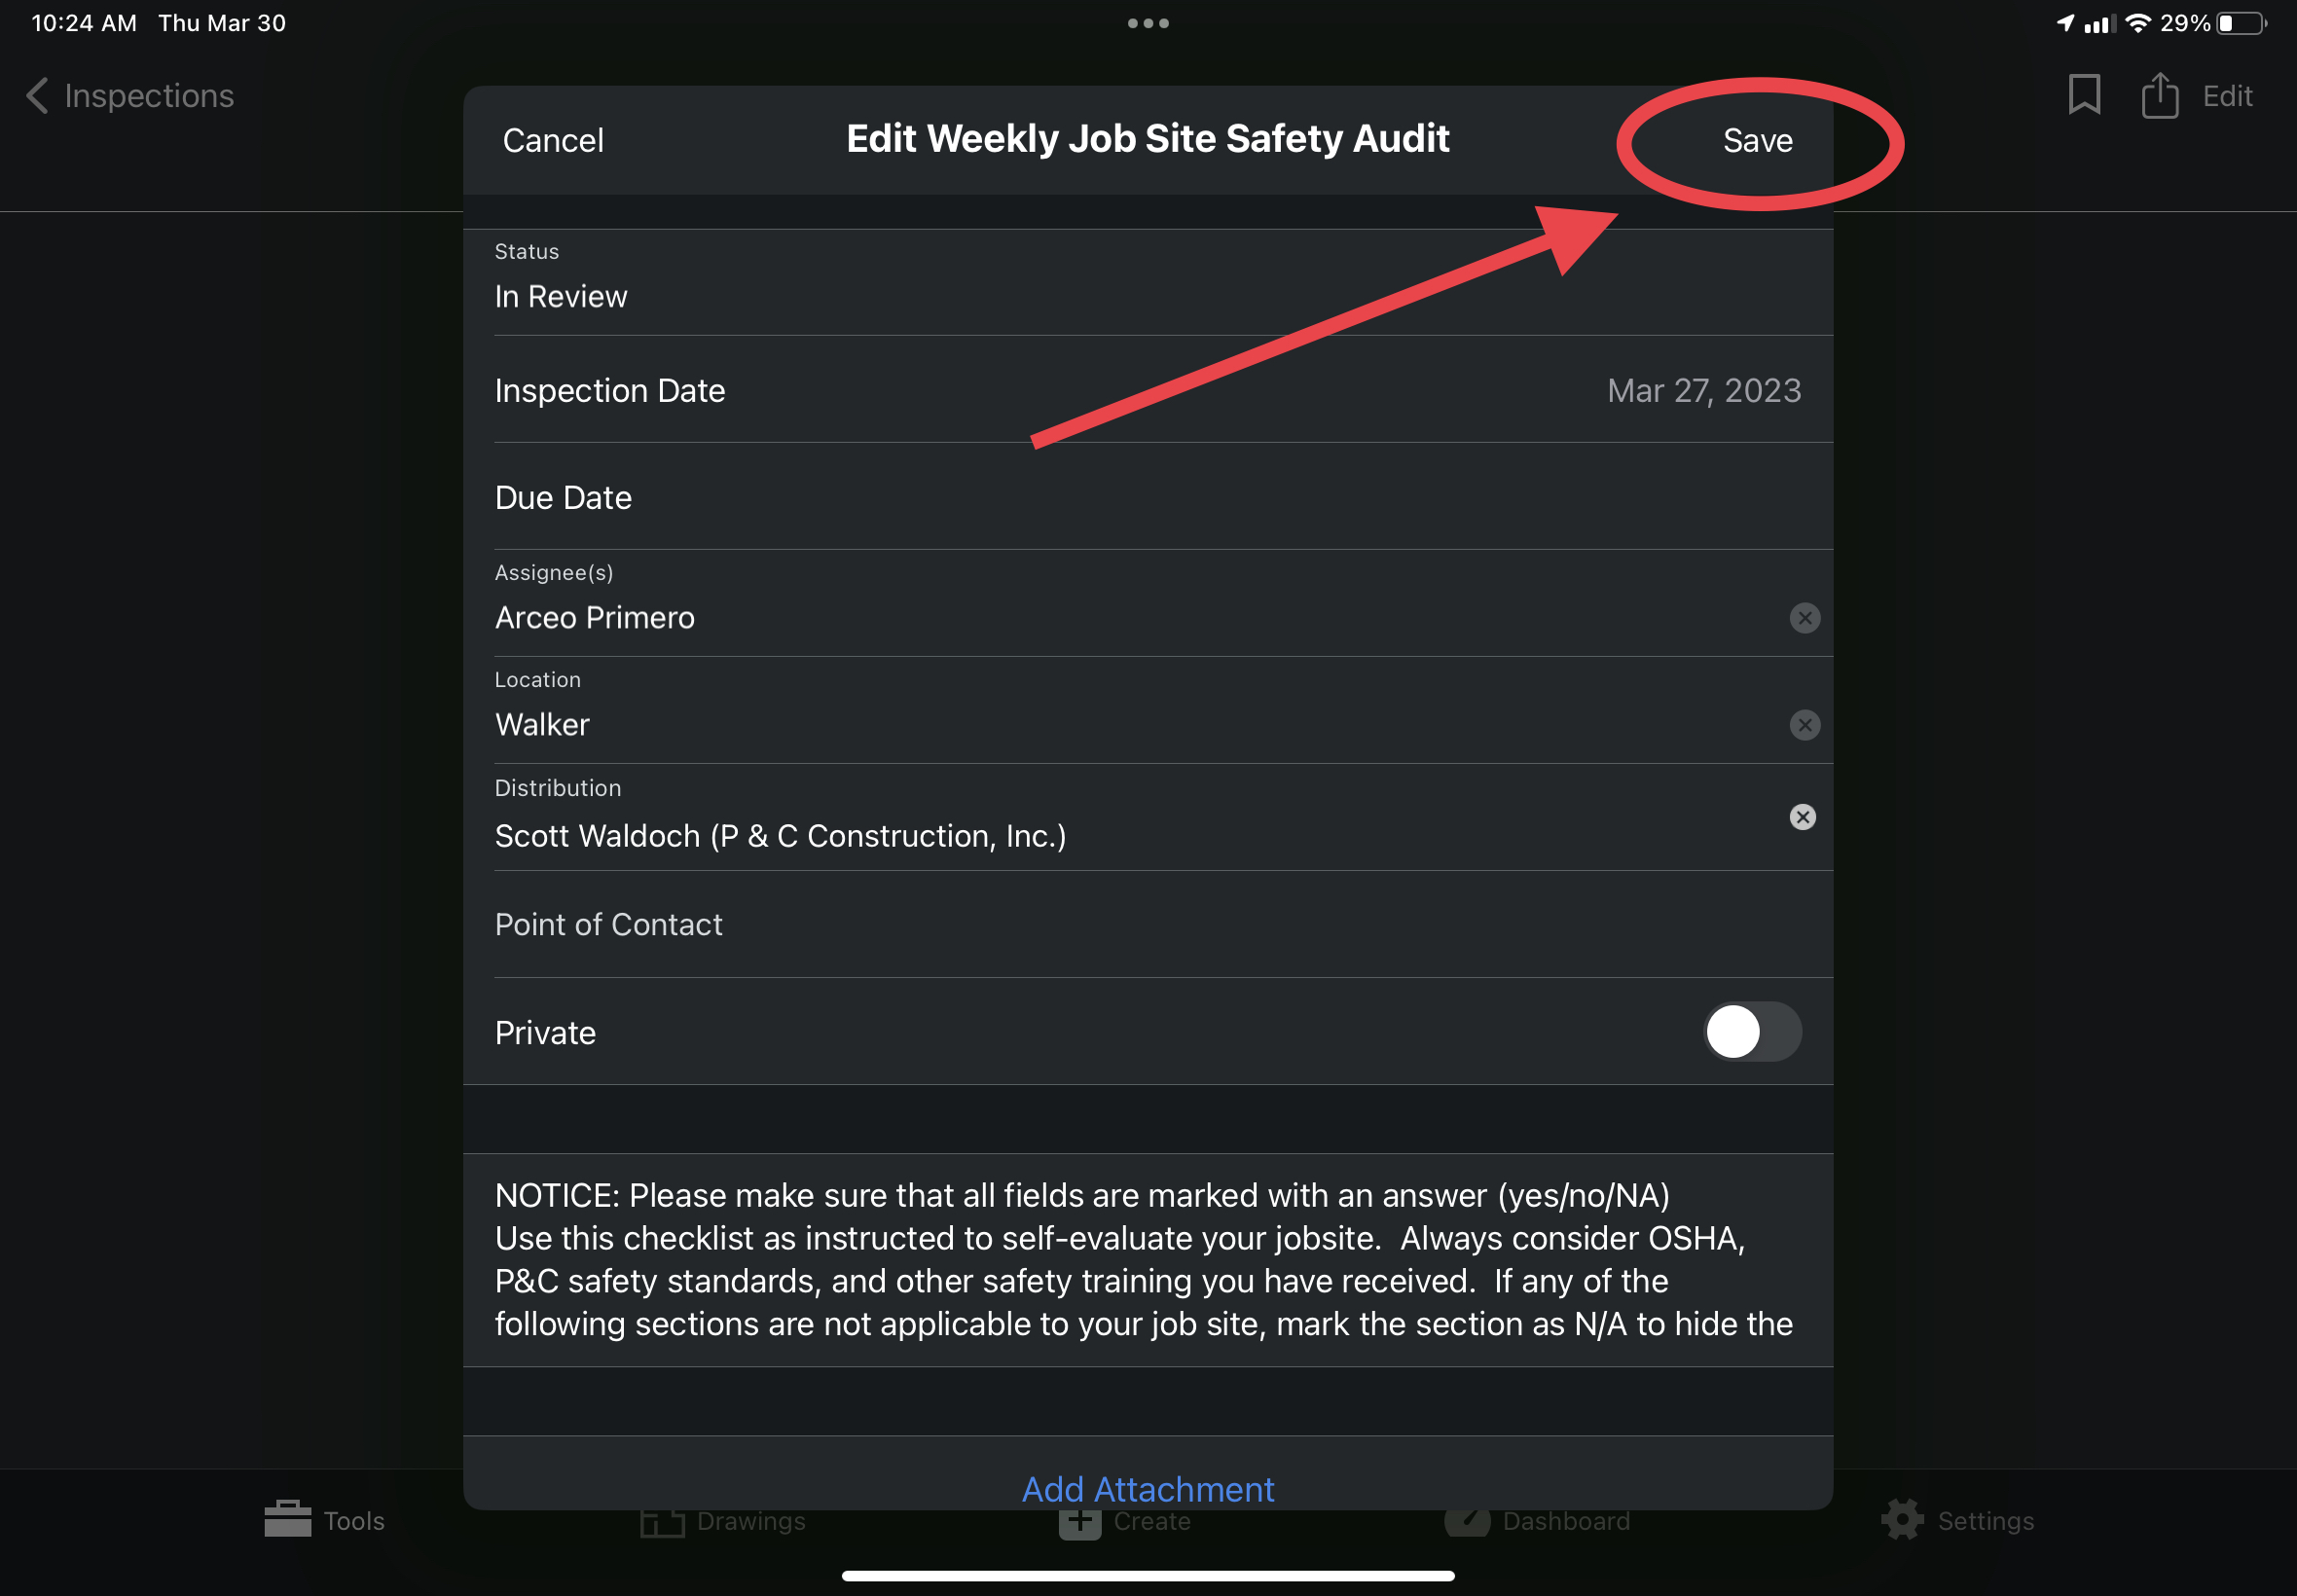
7. Then tap the “Status” bar where it says “open”.

8. Next tap the “In Review” button.

9. Finally, tap “save” in the upper right corner of the pop-up box to change the status of the inspection.
10. The “status” of the inspection has now been changed to “In review” and you will no longer be able to make changes to this inspection (seen below by the check marks changing color from green to grey).
IMPORTANT: This will also make your inspection available to be seen by Scott, who will review it and either close it out, or assign you “observations” in the observations tool that will need to be accomplished to make sure that deficient inspection items are addressed.
Next Steps: If there are no issues or questions that arise from your inspection, Scott will change the status to "Closed" and no further action will be required for that inspection. However, if there are sections that are marked NA that shouldn't be, or there are items marked as deficient (red X) Scott will be using the observation tool to assign and document further steps to be taken by you to correct the necessary items.
Click HERE to learn about completing observations created as a result of deficient inspection items.

