Bulk Enter Time Entry (iOS)
Also available on ![]()
![]()
Objective
To update multiple timecard entry fields using the Timesheets tool's Bulk Time Entry feature on your iOS mobile device.
Background
Use the Bulk Time Entry feature to apply the same timecard entry information for all employees added on a single timesheet. For example, a foreman can enter in the time information once and apply it to the entire field crew.
Things to Consider
- Required User Permissions:
- Standard' or 'Admin' level permissions on the project's Timesheets tool.
- Additional Information:
- It's important to note that the information entered in Bulk Time Entry will apply to ALL timecard entries on a timesheet.
- Zero (0) hour entries are supported. This provides your team with the flexibility it needs to enter time off and per diem.
Prerequisites
Steps
- Navigate to the project's Timesheets tool using the Procore app on an iOS mobile device.
- Navigate to the desired day you would like to make a timesheet for.
- Tap the Create New
 icon.
icon. - Tap Create New Timesheet.
- Tap the crews and employees that you want to add to the timesheet.
- Tap Done.
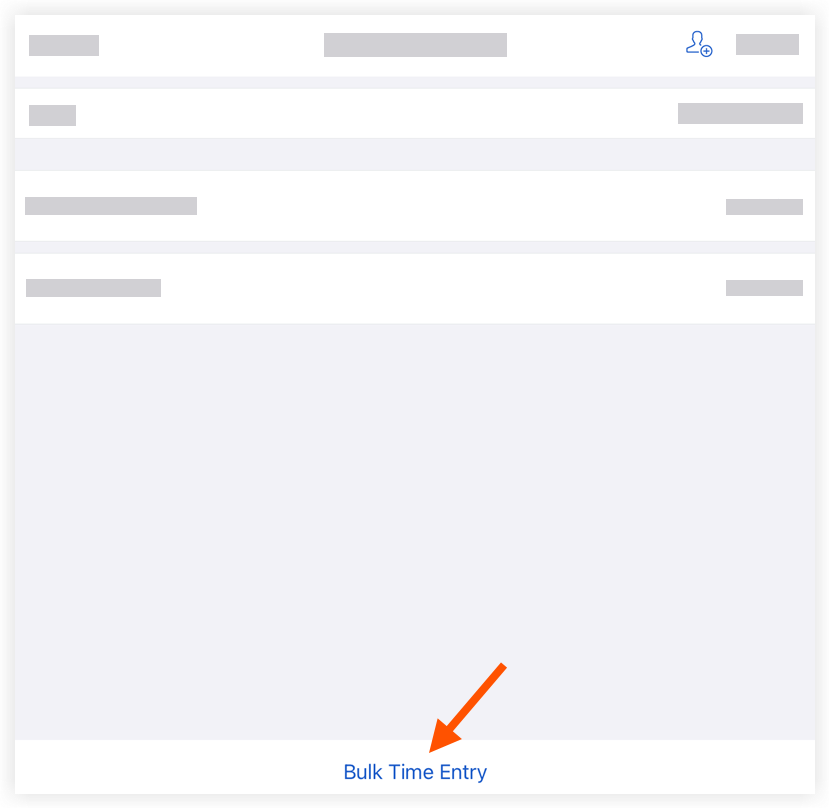
Note: This reveals a list of the selected employees. - Tap Bulk Time Entry.
- Tap the crews and employees that you want to add time entries to.
- Tap Next.
- Tap into the following fields to enter in the appropriate timecard information. This information will apply to all employee timecards.
Notes
- An asterisk (*) denotes a required field.
- Some fields can be configured as required, optional, or hidden. See Which fields in the Timesheets tool can be configured as required, optional, or hidden?
- Classification: Select from the drop-down menu the employee classification associated with the time entry. See Enable Classifications on a Project.
- Sub Job: Select from the drop-down menu the sub job associated with the time entry.
- *Cost Code: Tap to select the cost code associated with the time entry.
Note: If you are an admin on the Company Admin tool, you can limit the cost code selections that appear in this list. To learn more, see Configure Advanced Settings: Company Level Timesheets. - Location: Tap to select from the drop-down menu the location where the work was performed by that user.
- *Start Time: Tap to select the time the user began working.
- *Stop Time: Tap to select the time the user stopped working.
Note: You will only see the Start and Stop fields if you have configured your settings to show these fields. See Configure Advanced Settings: Project Level Timesheets. - Lunch Time: Select from the drop-down menu the amount of time taken for a lunch break. Select from the following options:
Notes:- The amount of time selected will be subtracted from the Total Time.
- This field will only be available if Start Time and Stop Time is enabled.
- 0 min (Default)
- 30 min
- 45 min
- 60 min
- Time Type: Select from the drop-down menu the type of pay being entered. Select from the following options:
- Regular Time
- Double Time
- Exempt
- Holiday
- Overtime
- PTO
- Salary
- Vacation
Note: If you are an admin on the Company Admin tool, you can add custom time types to this list. See Configure Advanced Settings: Company Level Timesheets for more information.
- Billable: Tap the toggle to indicate whether or not the entry is billable.
- Description: Tap to enter additional comments that will show in the timecard entry.
- Add Line: Tap to create extra line items on a time entry.
Note: If using the Start and Stop 'Time Entry' method, the new line's Start Time will account for time already entered, and the new line's Stop Time will reflect the default Stop Time in your settings. Any time entered after the default Stop Time will be added in one hour increments.
- Tap Apply.
- Tap Submit to upload the entry.