Add Non-Contract Invoices in Portfolio Financials
Objective
To create an Invoice Room in Portfolio Financials and add non-contract invoices for the project.
Background
The Invoice Room in Portfolio Financials is a place where you can record invoices for cost items that do not require a contract. Invoices added here are recorded as lump sum and follow the same process as other invoices, except that they are not against a schedule of values on a contract. Unlike the Contract Room in Portfolio Financials, the Invoice Room is only available on the Owner side, and vendors do not share access.
Things to Consider
- Required User Permissions:
- 'Full Access' to the project or higher.
- Additional Information:
- Important! The 'Invoice Room' feature must be enabled for your organization's account. If you do not yet have this feature enabled, please reach out to your Procore point of contact.
Steps
To create an Invoice Room:
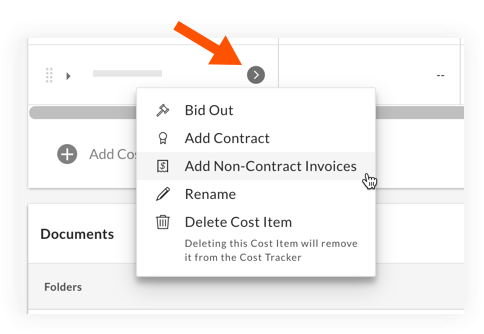
- Navigate to the project's Cost Tracker on the Project Page.
- Locate a cost item that you want to add an invoice for.
- Click the arrow
 icon for the cost item and select Add Non-Contract Invoices.
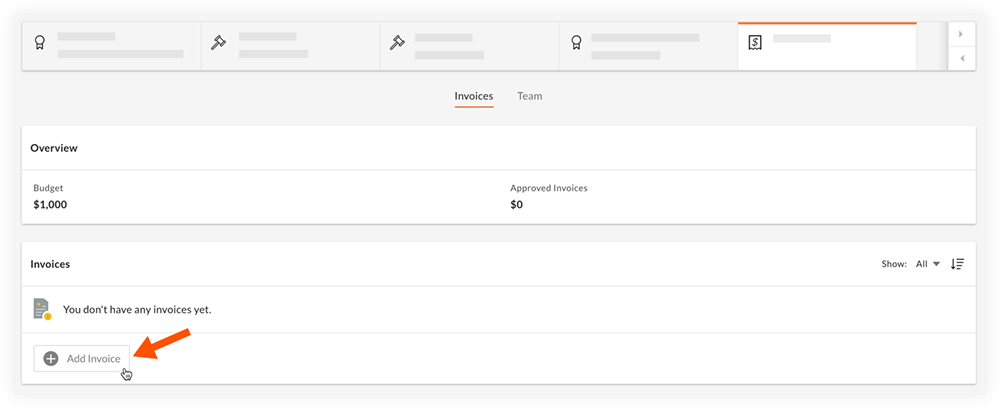
This action creates the Invoice Room. Invoice Rooms have an Invoice Room icon to differentiate from Contract Rooms and Bid Rooms.
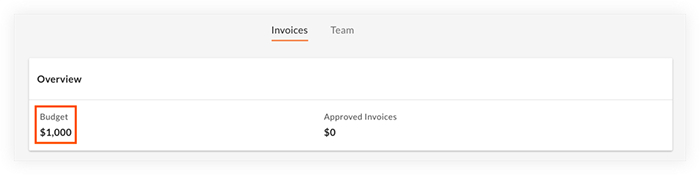
Note: You can see the overall budget for the cost item in the 'Overview' section.
To add a new invoice to the Invoice Room:
- Click Add Invoice.
- Enter a name and amount for the invoice, and complete the other optional fields as necessary.
- Optional: Click Add Vendor to link a vendor. Linking a vendor does not share the Invoice Room portal with them, and only serves as a record of who the invoice is for.
- Optional: Click Add Document to attach a relevant document for the invoice.
- Click Submit.
Note: After submitting the invoice, it will wait for approval or rejection.