Customize the Column Display in the RFIs Tool
| BACK TO RFIs | CURRENT LESSON (1 of 30) | NEXT |
You can customize the columns in the RFIs tools so it shows data that is relevant to you and your project.
- Navigate to the project's RFIs tool.
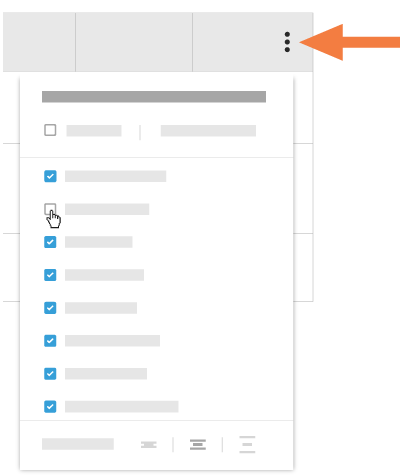
This reveals the RFIs page. - On the right side of the Items or Recycle Bin views, click the vertical ellipsis (⋮).
This opens the Show, Hide, or Reorder Columns shortcut menu. - Choose from these options:
- Show a Column
Place a check mark in the box next to column to show on the RFIs page. The default setting is to show all available columns.
OR - Hide a Column
Remove the checkmark from the box that corresponds to the column to hide on the RFIs page. This immediately removes the column from the page.

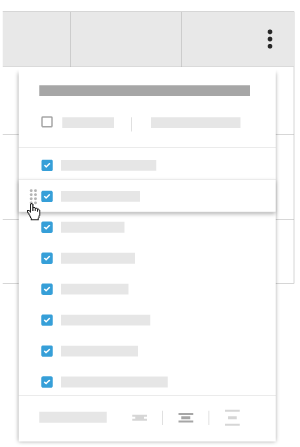
OR - Reorder the Columns
Grab the column name by the dots (⁞⁞). Then use a drag-and-drop operation to place the column into the desired position in the list. This immediately moves the column into the specified position.

OR - Restore the Default Settings
Click the Reset to Default link at the top of the drop-down menu.
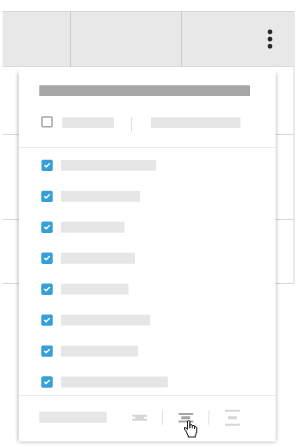
OR - Adjust the Row Height of the Table
Click the desired Row Height button to adjust the row height of the table on the RFIs page.

- Show a Column
Resize the Column Width in the RFIs Log
You can resize the columns in the RFIs tool so it displays data in a way that is relevant to you and your project.
- Navigate to the project's RFIs tool.
This reveals the RFIs list. - Click the Items or Recycle Bin tab.
- Select a column to resize.
- Hover near the right edge of the column.
A blue highlighted space with an expand icon appears. - Click and drag to adjust.


