Emails in Procore
Objective
The Procore Email Tool allows you to control your communications and manage all project-related emails in one centralized email client. You are able to monitor your project related emails regardless of device
Steps
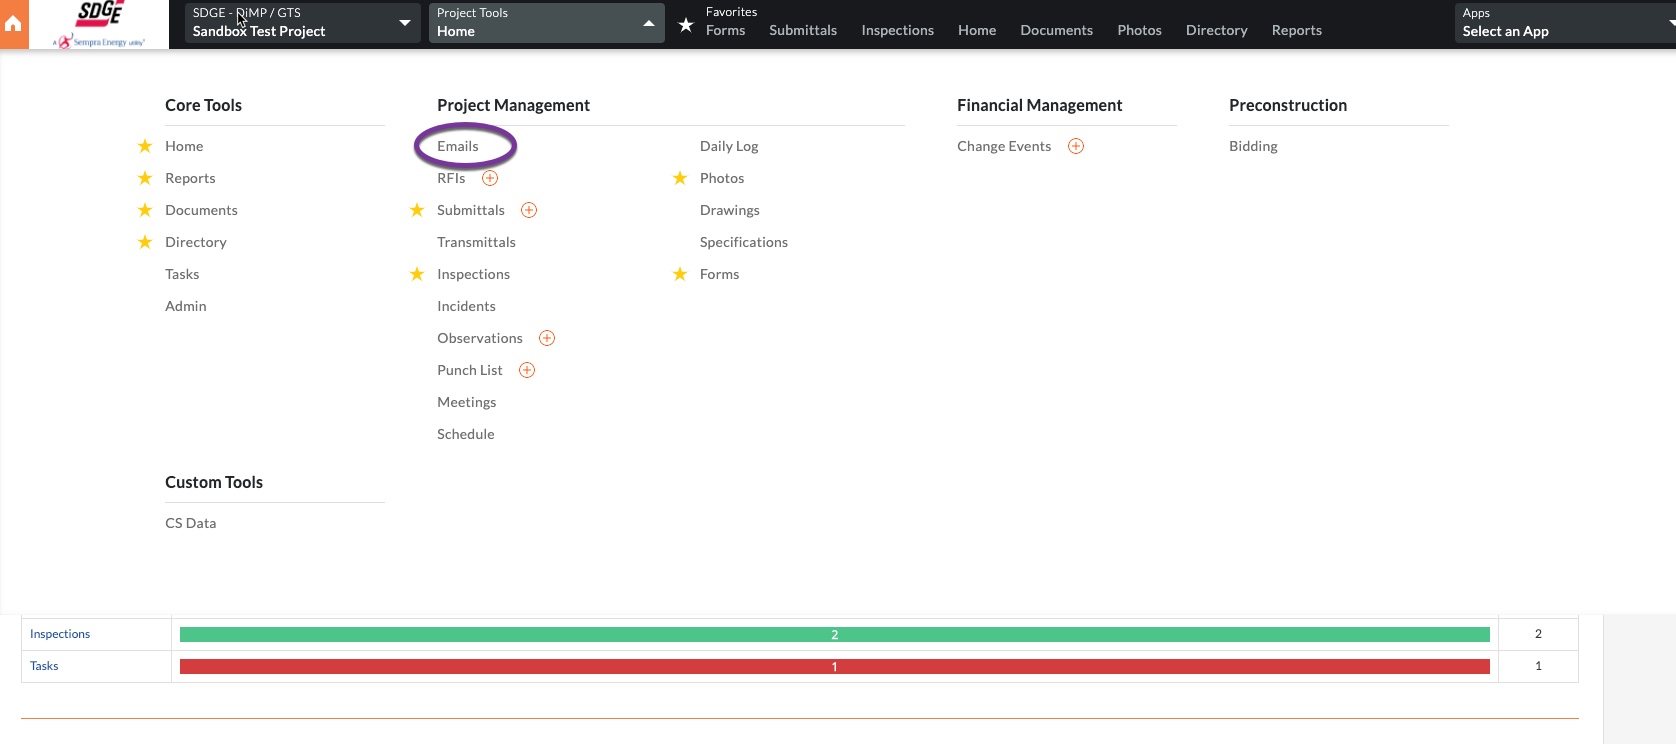
- From the project Home page, click the Project Tools dropdown and select the Email tool.
- In the upper right hand side click the orange +Create Email.

- This will reveal the New Email form. Your name defaults in the CC field.

- Complete all desired fields such as: To (user must be in the Project Directory to show in the dropdown), Subject, and Message. Check the Private box to make it only viewable by the user who created the message, users with “Admin” level permissions to the Emails tool, and Company Administrators. NOTE: if a Default Distribution list was created in the Email Settings, members will still receive emails checked as Private. Add attachments as necessary. Finally, click Send.

- Once sent, your completed and sent email will show in the Email tool.

- To Reply or Forward, simply click Reply/Reply All or Forward.

- It will open a response or forward email for you to complete and choose Reply or Forward at the bottom right.

- When an email is sent, below is what the email notification look like in Outlook for recipients. They have the ability to view attachments from that email or click the link where it says More details under the project name to go to the email in Procore.

- You also have the ability to create a Tag on emails to organize and easily search for all emails with that tag. To do so, go to the project Email tool. (You will see the most recent email is open with all other emails in a running list on the left-hand side of the screen.) To create a tag, click +Create Tag.

- A Tag box opens on the screen for you to complete.

- You will see the Tag show up at the right side of the screen. To add it to emails, you simply click on the tag and drop and drag it to whatever emails you wish to tag. On the left side of the screen you will see the little tag symbol to the right of emails that you have tagged.

- Another useful function is the Search function. Type in a word or words and click Search. It will bring up all related emails.

- If you prefer to continue to email through Outlook but want the emails deposited into the project Email tool, you can click the email address in the Email Into Procore box and make sure you add it to the To or CC field of your email. Alternatively, you can use that copied email address to create a Contact in Outlook with a short name for the project and use that in the same fields as well.
