Daily Log Training Guide
Document Intention:
The following is a document that goes through each section of in the Daily Log and gives explanations, best practices, and company standards for filling out a Daily Log in Procore. It is intended to be used as a reference and a standard for creating a daily log. Pictures have been included for your reference, however, if you need further explanation, or clarification on a subject don’t hesitate to call Arceo Primero at (423) 646-1625.
Pre-creation Checklist:
Make sure the following points are correct before you create your daily log.
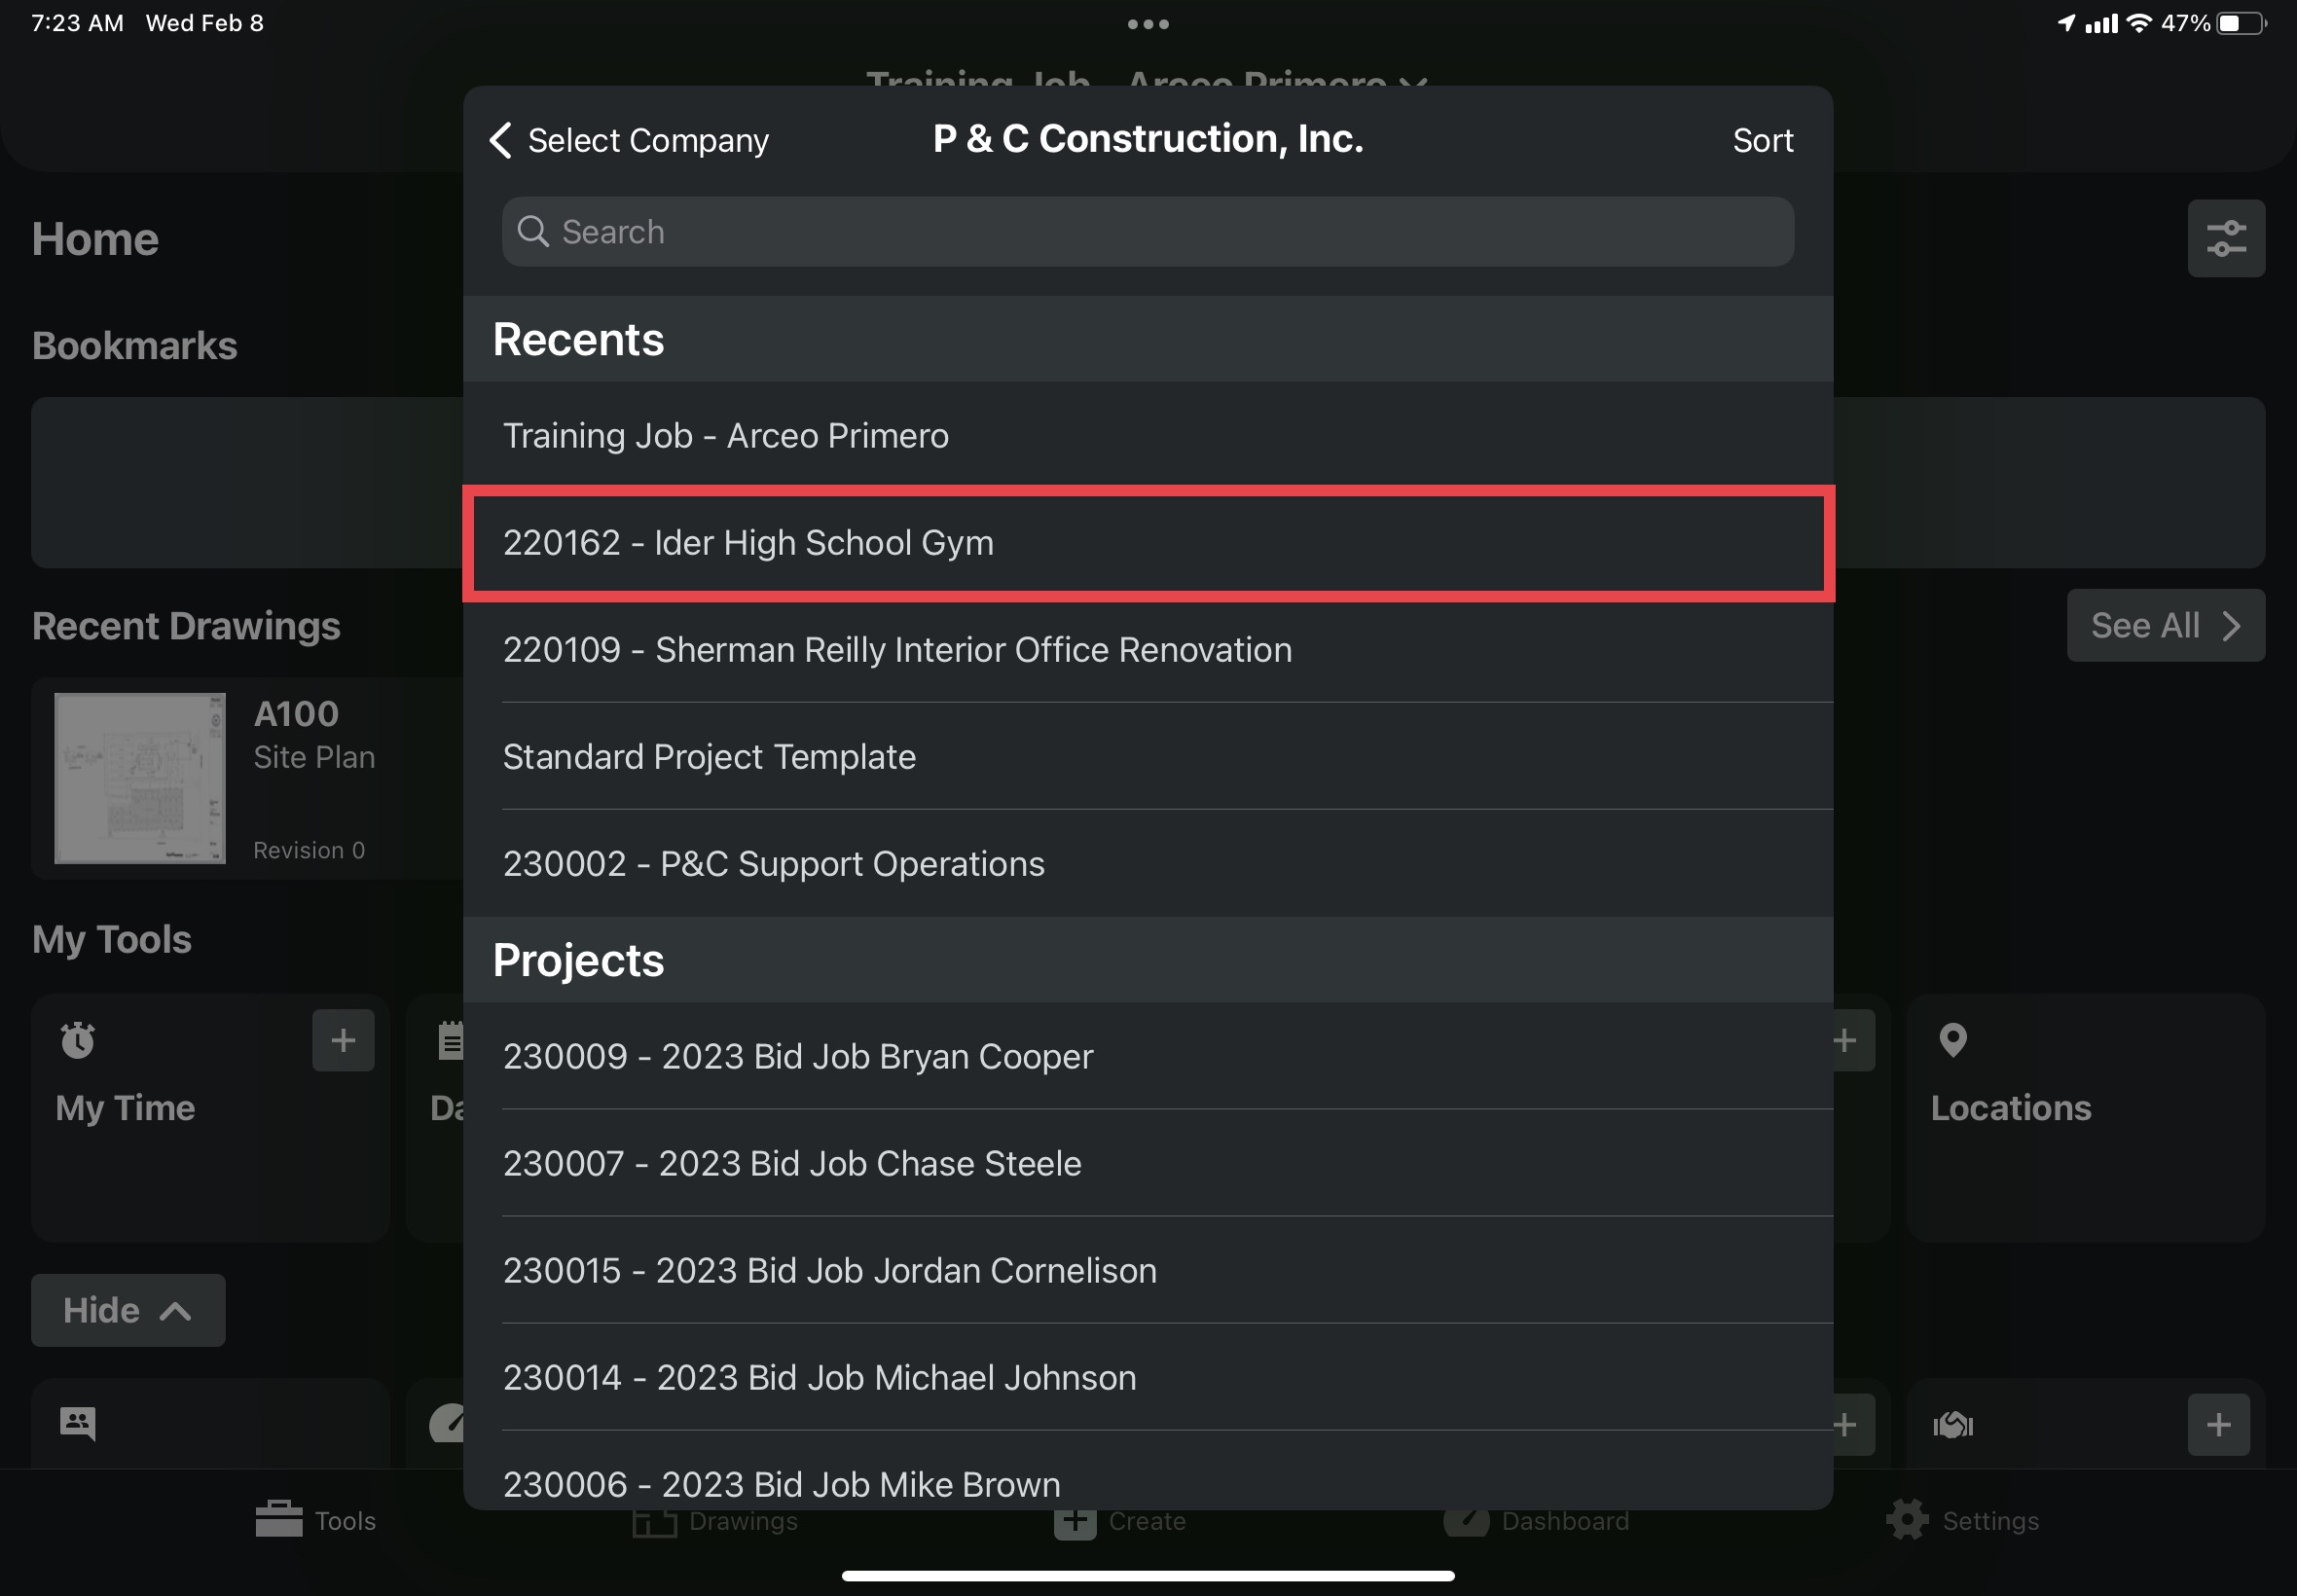
1. What job am I in?
a. Always make sure you are in the correct job before entering into the Daily Log tool on your dashboard.

2. What day am I creating a log for?
a. After clicking on the Daily Log tool, make sure that you are on the right day by making sure that the date at the top middle of the screen is correct.

b. Logs can be made for days in the past if necessary by:
- Clicking the left and right arrows at the edges of your screen.
- Clicking “Calendar View” directly under the date we looked at before.
- P&C’s policy is that daily logs should be submitted the day worked. However, this information has been included for the rare occasion you need it.

3. Am I the job superintendent?
a. This matters because if you’re just working on site for the day, or you’re not the final authority (superintendent) for the jobsite, you will never click “Complete Day”. You will only be adding information to the sections of the log.
b. With Buildertrend, each person would have to submit a daily log and you guys would get all those emails saying that someone had completed a daily log. In Procore, each person on the job adds their information to one singular log through the Daily Log tool and then the superintendent submits the log with everyone’s information in it.
c. The advantage of Procore’s daily log is that you can work together to gather the necessary descriptive information about your job site condition, and activity. Everyone works to add information to the same log, and then the superintendent submits the log when everyone has added their information.
General questions to ask when filling out sections of the Daily Log tool:
1. What type of information do I have?
a. Procore's daily log tool has lots of sections that organizes events that can happen on the jobsite. This job site information can be "filtered" into the various sections of the daily log. Example: If you want to document a significant phone call that you made to a sub, instead of putting it in your notes entry, use the "Phone Calls" section of the daily log to record the call. Always check the other sections to see if a piece of information would fit better in a different section of the daily log.
2. Do I have pictures that go with specific information or activity I am recording?
a. Because Procore allows for separate entries within the same section describing different aspects of the job site, pictures that depict those activities should be attached to their corresponding entry. Example: In the manpower section of the daily log, each sub contracting group should have their own entry with comments describing the work they accomplished that day. Attach pictures directly to the manpower entry that show the work the subcontractor completed, their active work process, and their work areas.
Filling out sections of the Daily Log:
The following headers are all of the sections of the daily log tool under which instructions on how to fill out the sections can be found.
Weather:
The weather section is intended to record weather data at your jobsite into the daily log, as well as any unusual or noteworthy weather-related comments you might have about that day.
Weather is automatically input based on your jobsite location, so there is no need to enter anything here unless you have a specific comment on the weather.
Adding Weather Entries: (if applicable)
1. Tap the weather section in the daily log.

2. Tap the “red plus” button in the upper right corner of your screen.

3. Use the “Camera” button to open your camera to take pictures of the weather or how it affected the jobsite.

a. Take a picture and then click “save” in the upper right corner.

b. Repeat this process until you are satisfied with the number of pictures you have.
- A picture of your rain gauge should always be included in a weather delay, if your jobsite has one.
c. Then tap the “x” button in the upper left of your screen.

4. Attach any pictures you have of the weather by clicking the “attachments button”

a. Tap “choose from library”.

b. Select all the photos you want to attach and then tap “add”.
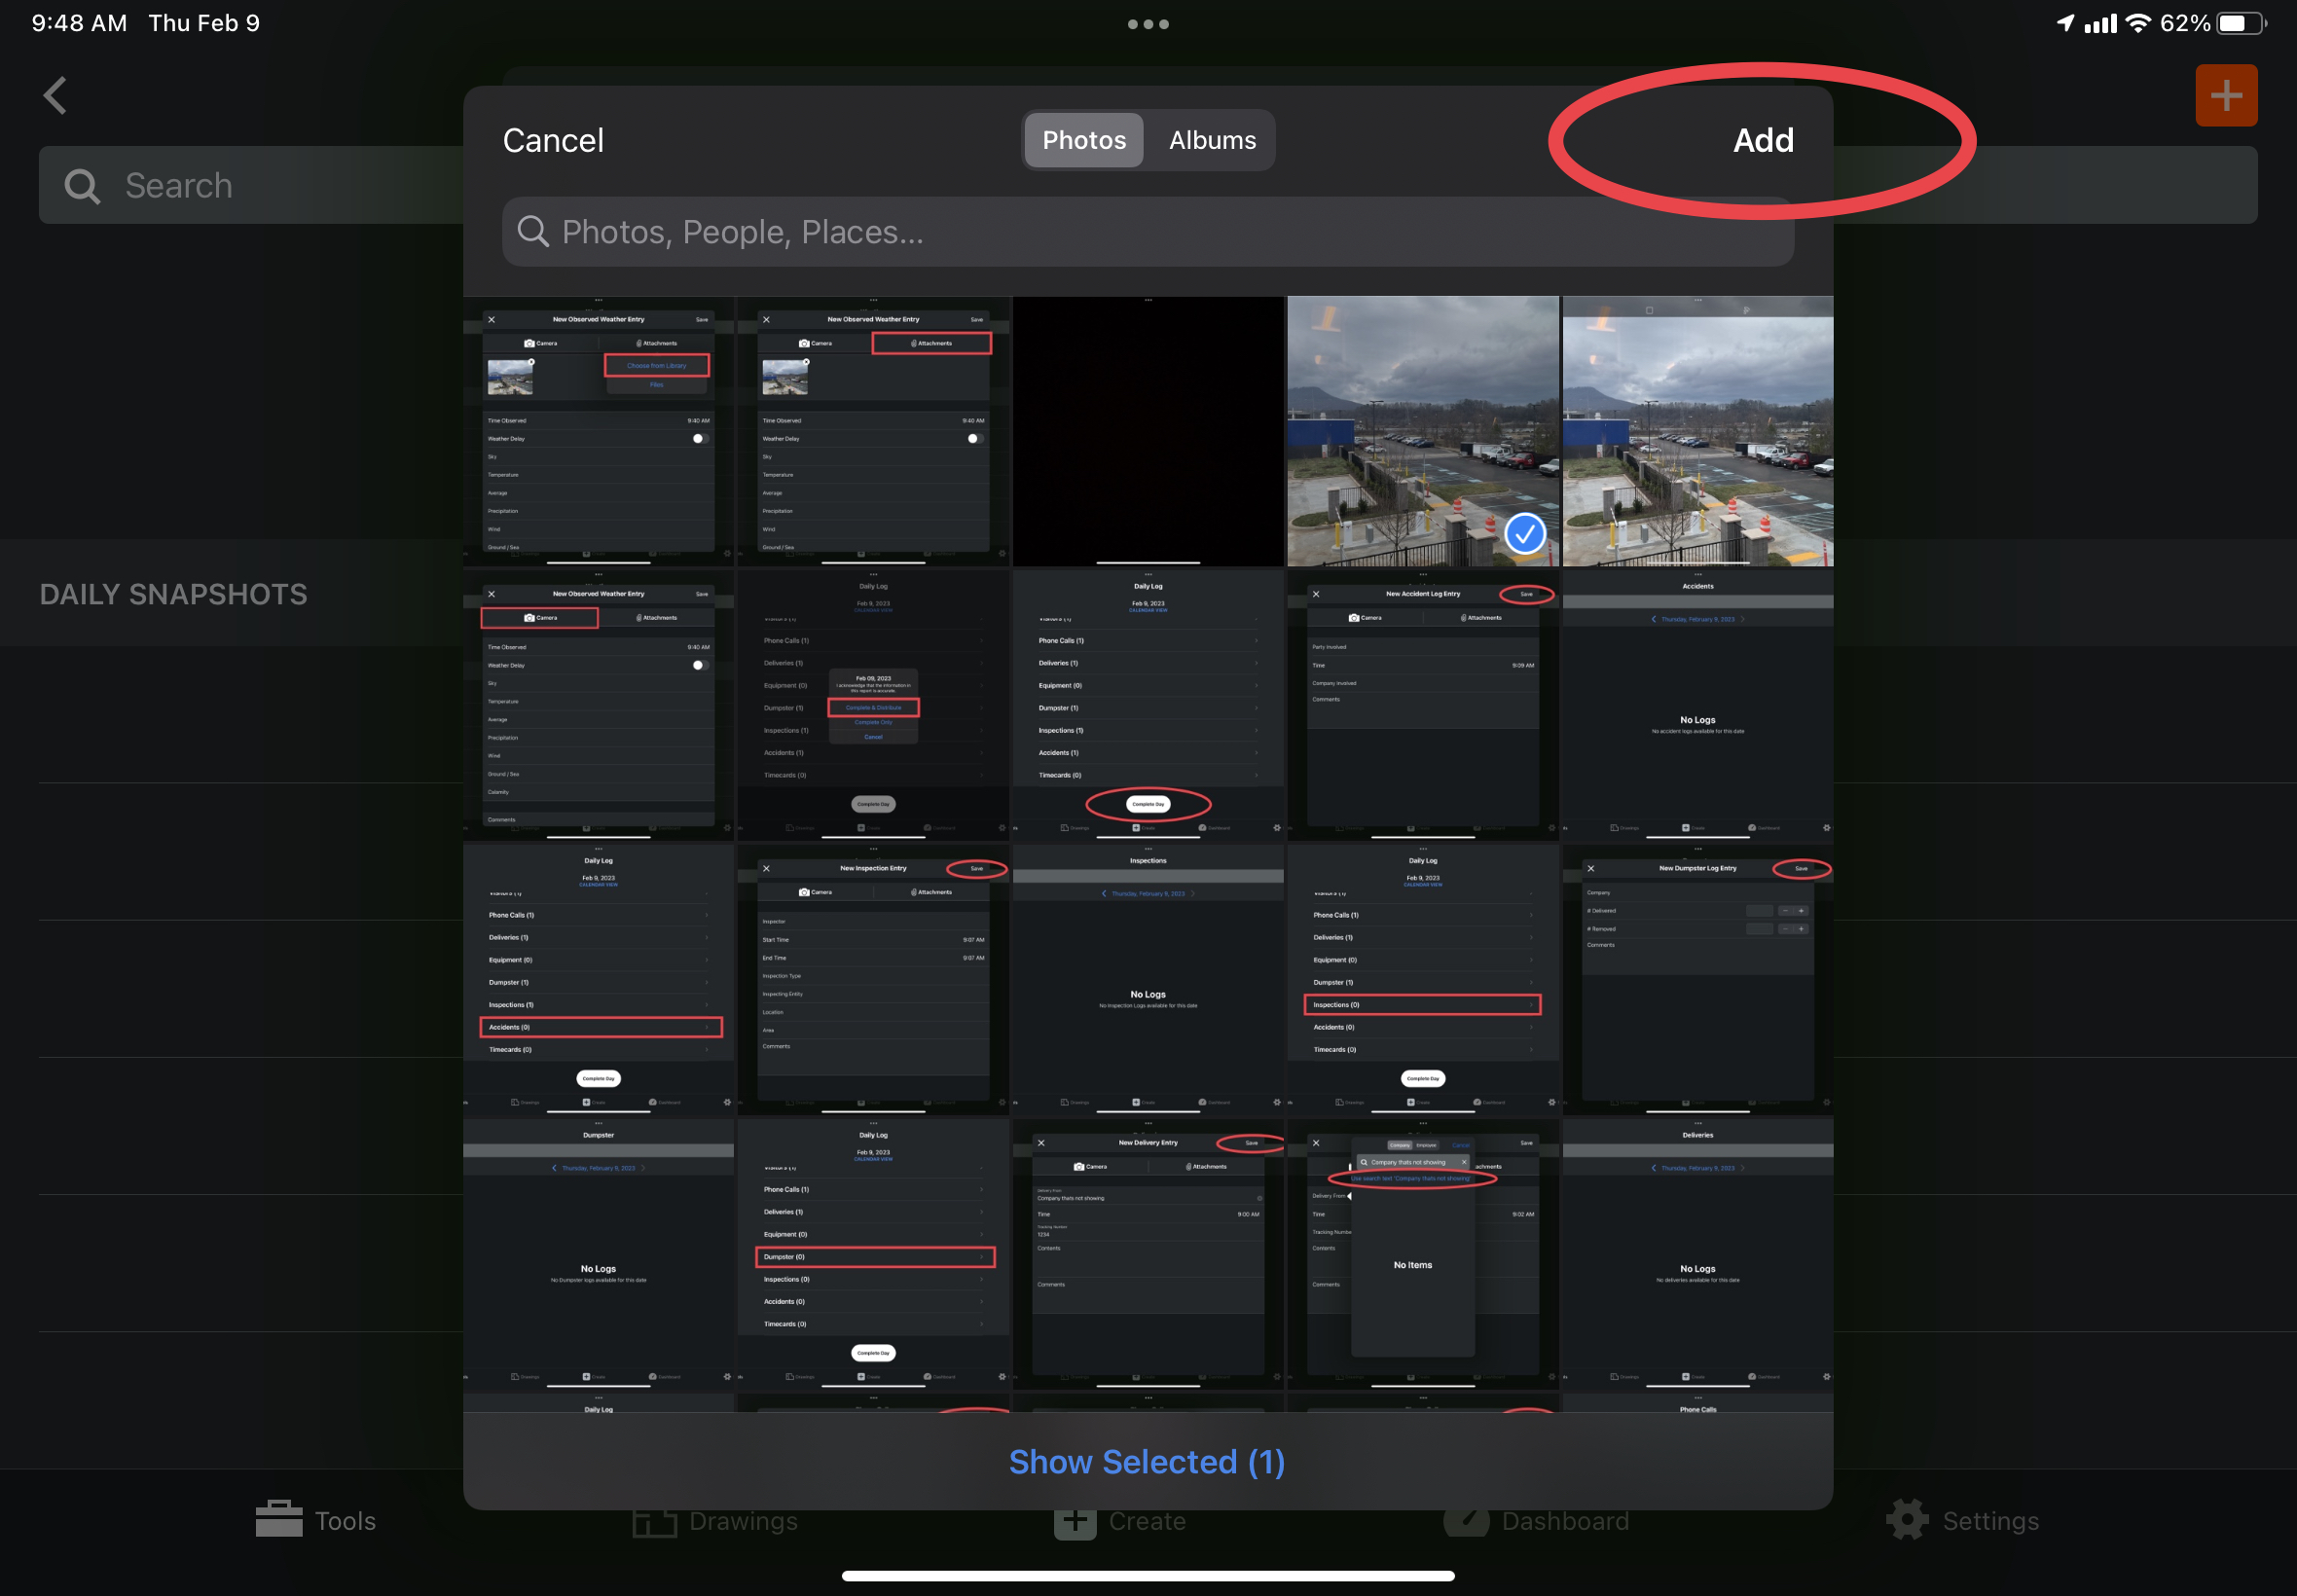
c. Then tap “save” to attach the desired photos.

5. Checkmark the box if there was a weather delay.
6. Fill out any of the fields that help to describe the weather situation.
7. Leave a brief comment about the weather and how it impacted the jobsite that day in the comments box.
8. Click the “save” button in the upper right corner to add the weather entry.

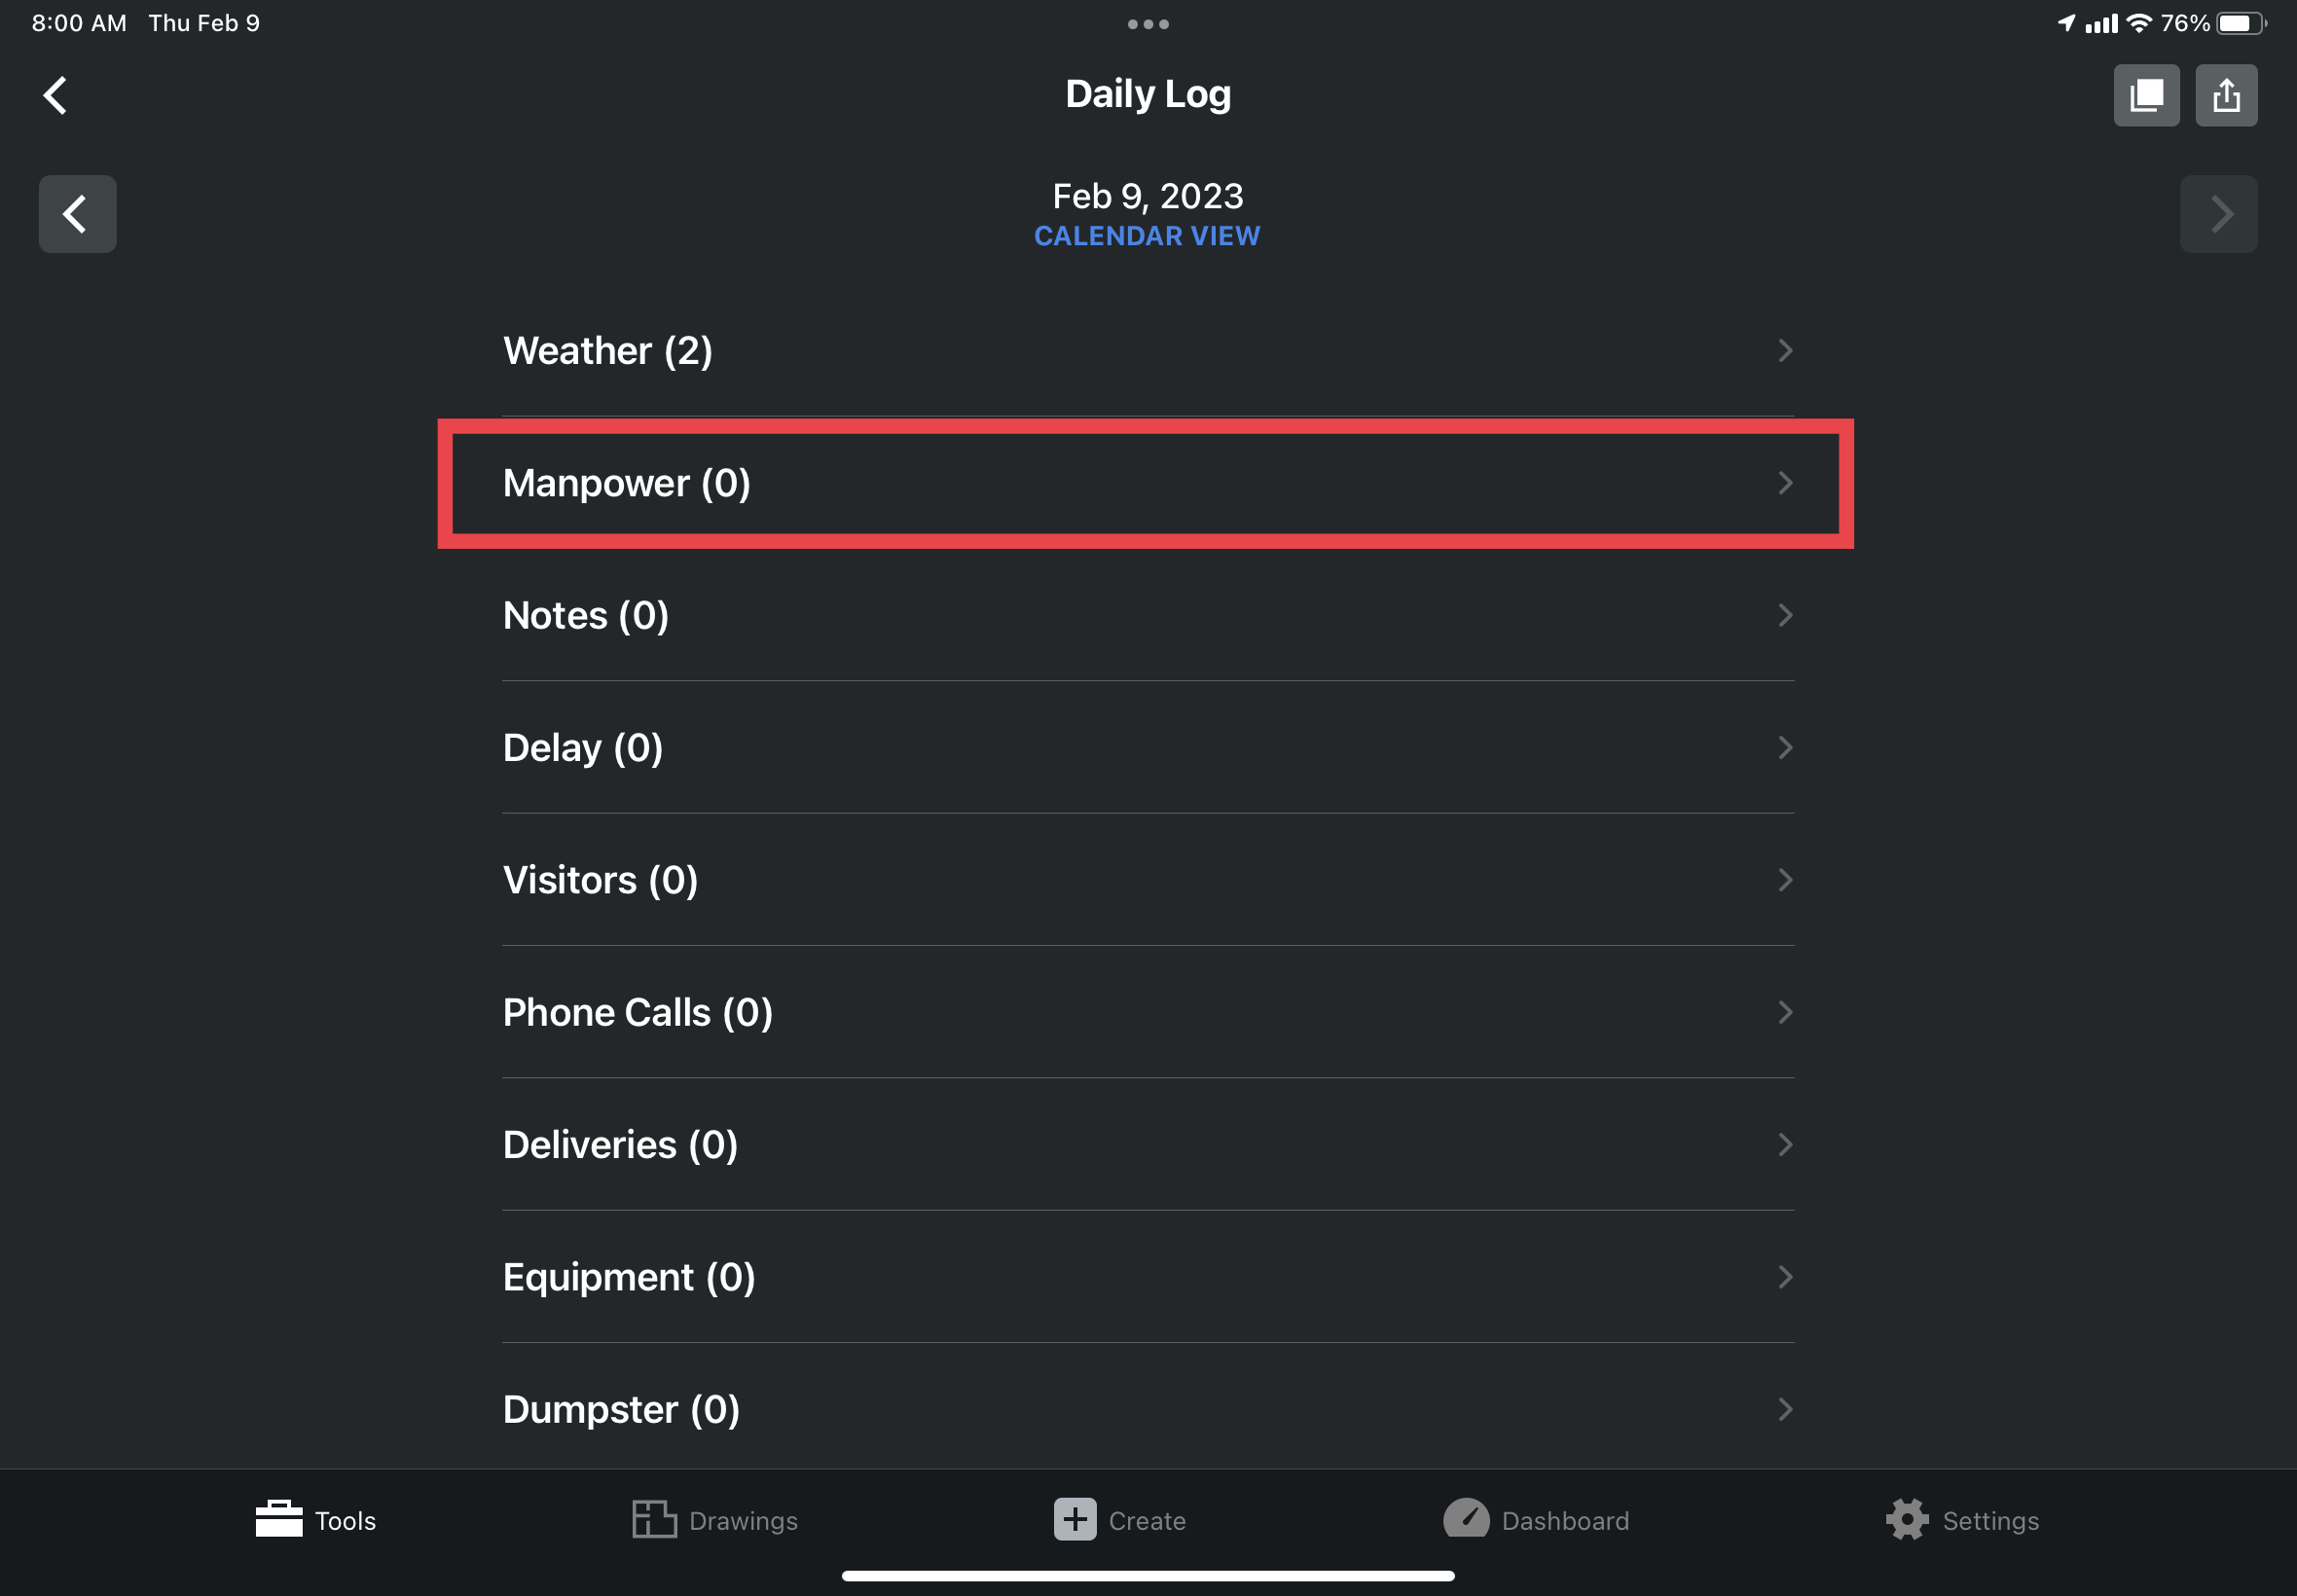
Manpower:
The manpower section is where subcontractor operations done that day are recorded. This section is mandatory everyday even if no subs were on site. If no subs were on site, create an entry and convey that there were no subs, and why that was the case. Each trade/subcontracting group will be recorded in their own entry in this section, along with specific pictures of them working or the work they completed. This section is also where P&C employees who are working on site doing typical contract work (hanging doors, laying subfloor, fixing something etc.) will input their daily log information and pictures of what they accomplished.
Adding Manpower Entries as a Superintendent: (mandatory)
1. Begin by tapping the “manpower” button in the main screen of the daily log.
2. Tap the “red plus” button in the upper right corner of the screen.

3. Use the “Camera” button to open your camera to take pictures of the subcontracting group working. (this process is the same regardless of the section so no pictures have been included)
a. Take a picture.
b. Click “save” to save the picture.
c. Repeat this process until you are satisfied with the number of pictures you have.
d. Then tap the “x” button in the upper left of your screen.
4. Attach any pictures you have of the subcontracting group by clicking the “attachments button” (this process is the same regardless of the section so no pictures have been included)
a. Tap “choose from library”.
b. Select all the photos you want to attach.
c. Tap “add”.
d. Then tap “save” to attach the desired photos.
5. Tap the “Company” button to open a list of subcontracting groups and select the sub you are recording manpower for.

a. If the company you are trying to record manpower for is not in the generated list, your vendor list needs to be setup or added to, contact your PM or assistant PM (if neither are available when you are doing your log, you may contact Scott for assistance).
- Include the manpower data in the notes section if your vendors have not been set up.
6. Tap the plus and minus buttons in the “# of workers” row to add and subtract from the number of workers that showed up for the subcontracting group you are recording.
7. Tap, then scroll the “# Hours” button to select the appropriate number of hours that group worked for.
8. Ignore the “location” row unless locations have been setup on your jobsite.
9. In the “comments” box leave a brief description of what the subcontracting group accomplished that day.
10. Tap “save” in the upper right corner to add this subcontracting groups manpower to the daily log.

11. IMPORTANT: Repeat this process for each subcontracting group that worked for you that day (you should have as many entries as you did subs for that day).
Adding Manpower Entries as a non-superintendent: (mandatory)
The following section of this guide applies to P&C employees who are doing "self work". Effectively acting as an "Internal Sub" fixing drywall, laying subfloor, fixing stuff on the jobsite etc.
1. Begin by tapping the “manpower” button in the main screen of the daily log.
2. Tap the “red plus” button in the upper right corner of the screen.
3. In the “company” row, select “P & C Construction, Inc.”
4. Tap the “plus” button in the “# of Workers” to select 1 worker.
5. In the “# Hours” row, tap then scroll to select the accurate amount of time that you spent working that day.
6. Tap through the “location” boxes to select the area you performed work in.
7. In the comments box, write out a detailed description of the work you accomplished that day.
Best Practices:
1. Have only one source of information as to the number of workers a subcontracting group has onsite each day.
a. For larger jobs it could be difficult to get a head count of every person working that day and when they arrived. If this is the case, check with the head of the subcontracting group to get the information from them and keep the source of this information as consistent as possible.
2. Create all the manpower entries you’ll need for that day at the beginning of the day or as you go along.
a. For each subcontracting group, create a manpower entry for them as soon as you can and leave all the variable info fields blank.
b. Then throughout the day as you see them working, use the “camera” feature to attach pictures of them working so pictures are organized, and time spent on creating the daily log is reduced.
Questions to ask yourself regarding the manpower section:
1. Who worked for me?
a. All subs/companies who worked for you on the job get entered in this section separately.
b. If a P&C employee worked for you hanging sheet rock or laying subfloor, they would record their own time here in “manpower” as well as clock in and out using the “my time” tool.
2. Do I have pictures of specific groups of subs (trades) working?
a. Pictures no longer have to be mass uploaded in the notes section.
- Pictures that relate to specific subs (trades) will be uploaded (tied) to the manpower entry for that company.
- It's best practice to take pictures of subs working throughout the day, and then as you are creating their manpower log, upload the section of pictures relating to those subs there.
b. Any leftover pictures from that day will be uploaded in the notes section of the daily log.
c. The 20-picture standard goal now applies to the entire log (not per person). As long as the job site is well documented with pictures that show multiple angles of the topics you’re discussing in the log, the requirement will be met.
d. It is more important with certain activities to have well documented photos that show multiple angles of the event. For example, excavation where multiple angles are required to fully show the process taking place.
3. Is what I did today a management/oversight activity, or a physical sub type activity?
a. This question will determine what section (manpower/notes) P&C employees who worked on the job will record their time and daily log information under.
- If I was doing some form of typical “construction” work (laying subfloor, hanging sheet rock, fixing doors, sweeping/cleaning etc.) I would record my daily log information in the manpower comment section (I’m doing subcontracting work, internally)
- If I was managing, tracking progress, or overseeing a construction process already being done by either subs or other P&C employees, I would record my daily log information in the notes comment section.
Notes:
The notes section is where all daily log information that wasn’t put into any of the other sections is input, along with all general project photos. In addition, the “Two Week Lookahead” will be recorded here in this section in its own text box. P&C employees who are working as assistant superintendents or are acting in an additional management type position will record their daily log information here in their own “notes” entry along with the pictures they took. This entry is also required for every P&C employee that worked on site the day of the log.
A separate note can be created for each individual idea or job event that you are recording. There is no specific method of recording job site ideas in the notes section, if you would like to take smaller snapshots throughout the day and have them be separate entires or whether you just want to add one larger note that contains all of your information at the end is up to you and your convenience as a superintendent.
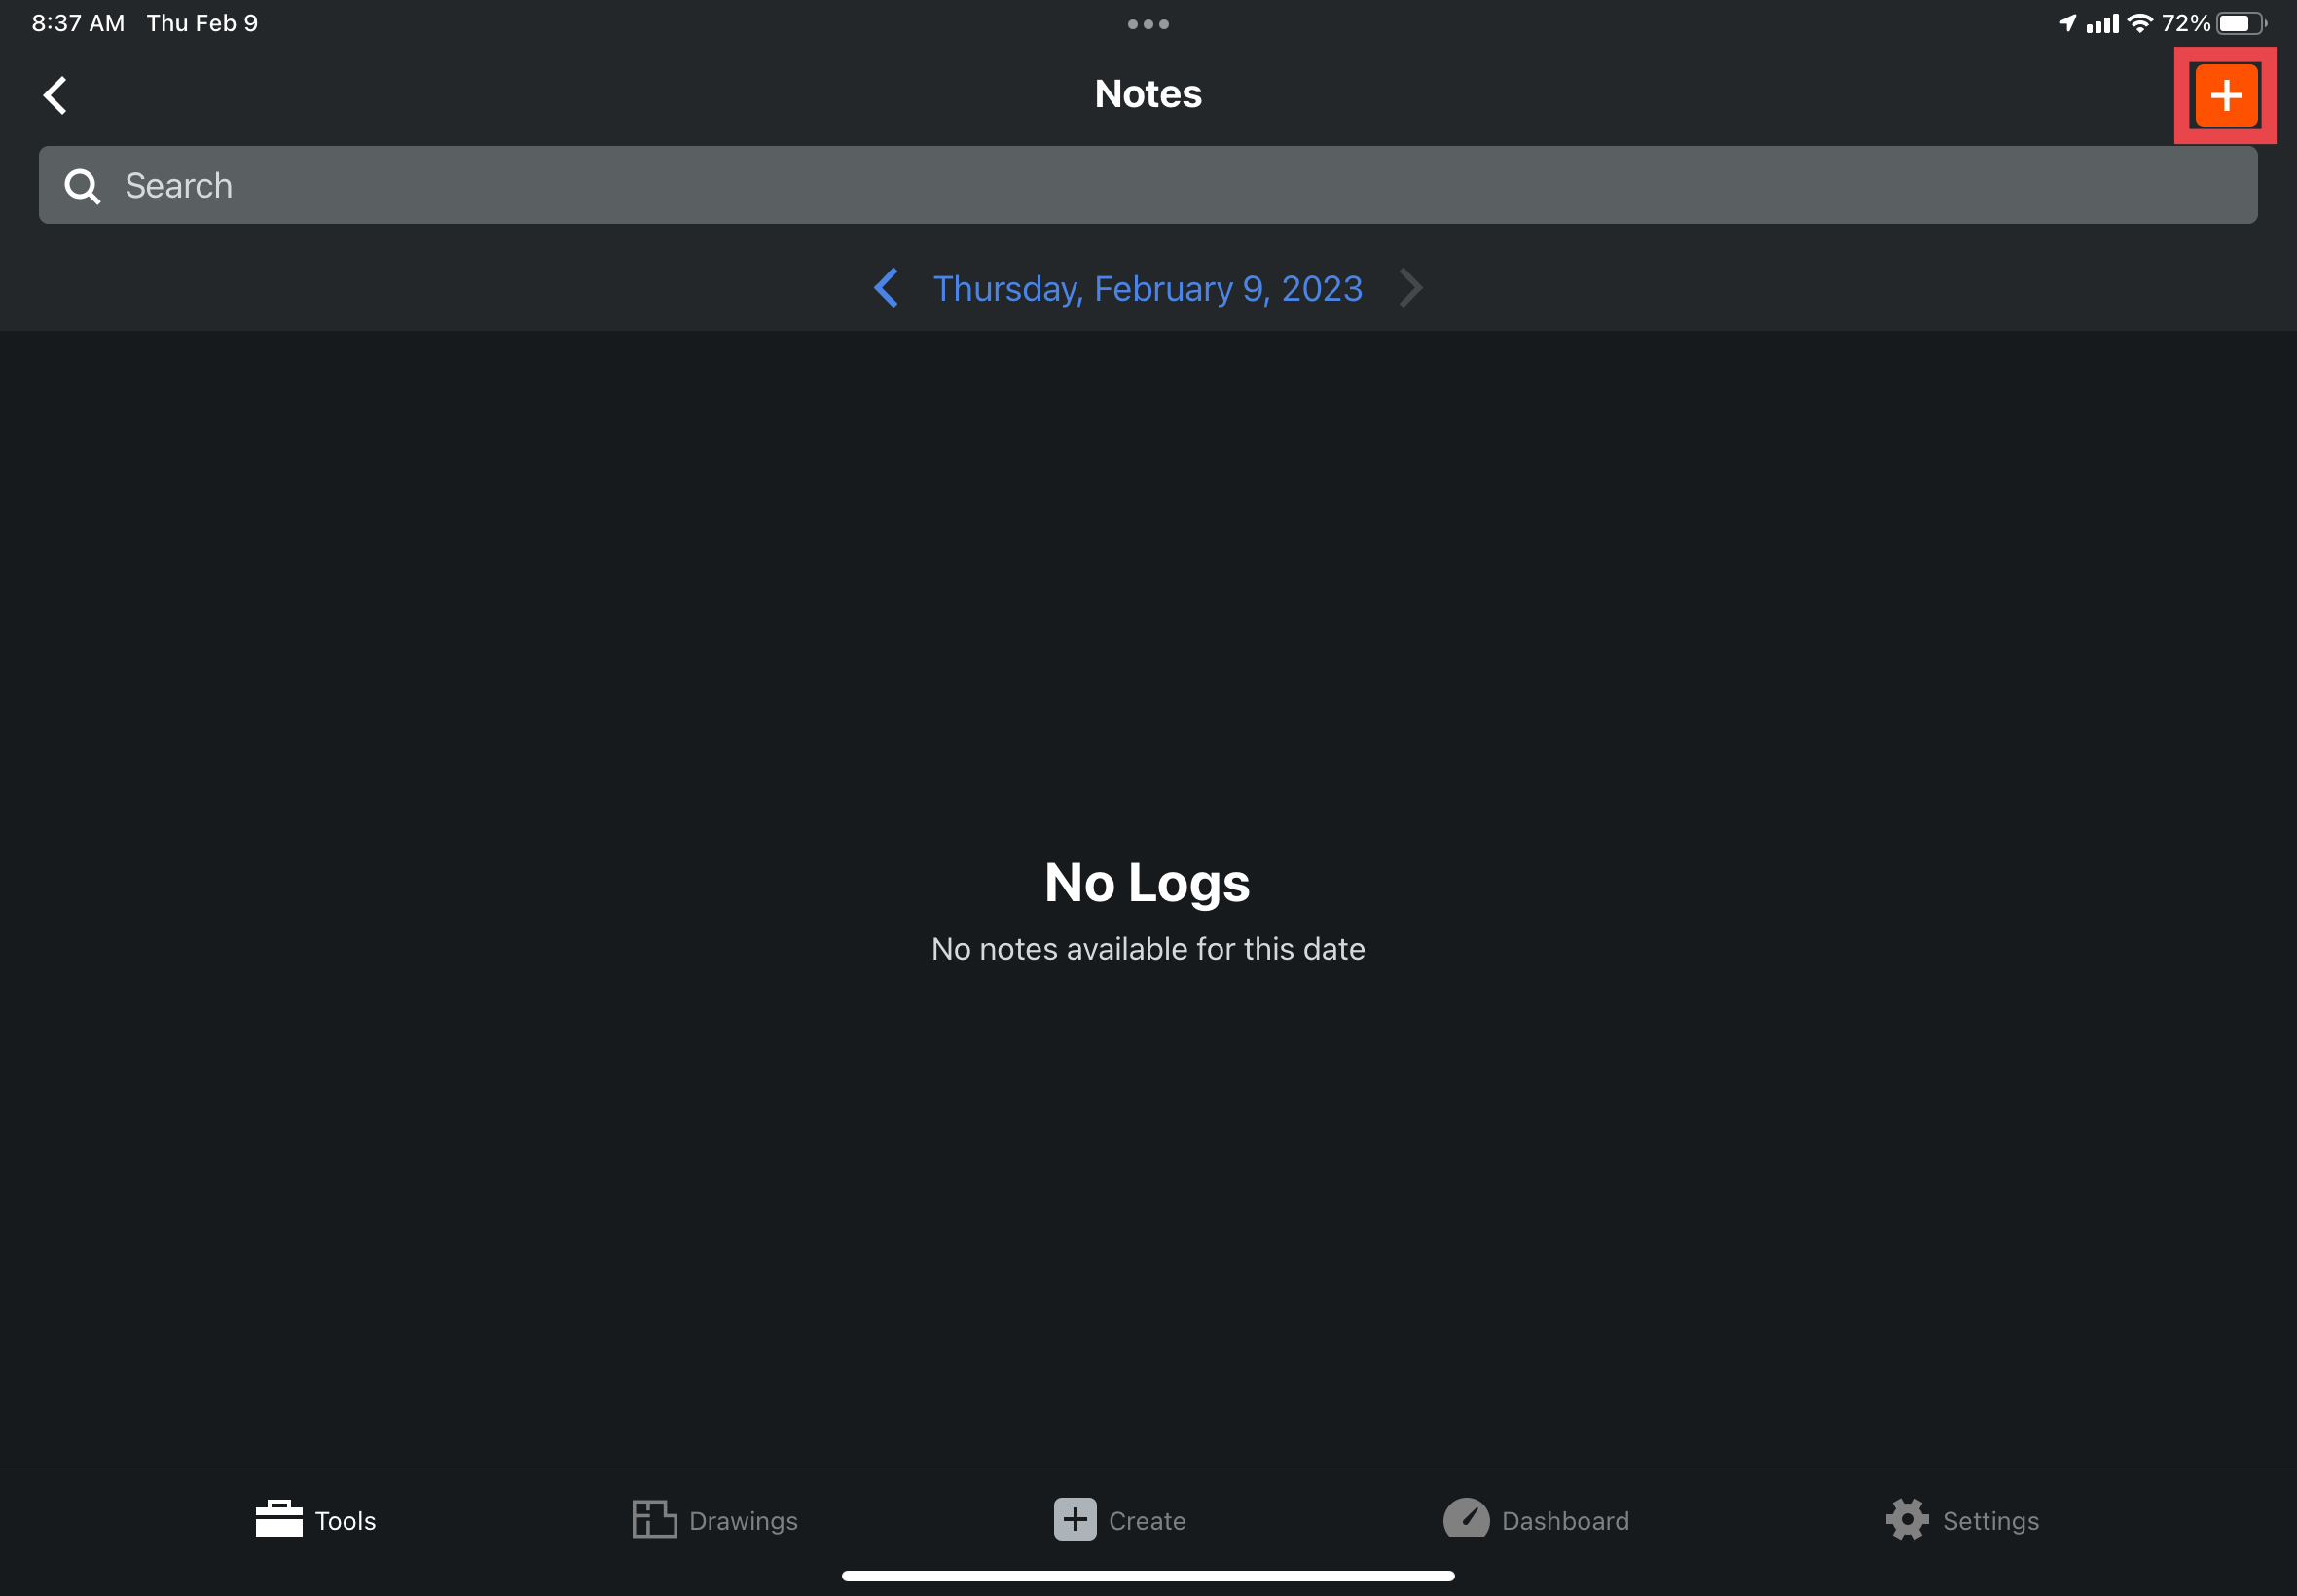
Adding Notes Entries: (mandatory)
1. Select the “Notes” section of the daily log.

2. Begin by tapping the “red plus” button in the upper right corner of your screen.
3. Use the “Camera” button to open your camera to take pictures of the topics you discuss in the notes, or how they affected the jobsite. (this process is the same so no pictures have been added here)
a. Take a picture.
b. Add any desired markups using the buttons at the top of your screen.
c. Click “save” to save the picture.
d. Repeat this process until you are satisfied with the number of pictures you have.
e. Then tap the “x” button in the upper left of your screen.
4. Attach any pictures you have of your discussed topics by clicking the “attachments button” (this process is the same so no pictures have been added here)
a. Tap “choose from library”.
b. Select all the photos you want to attach.
c. Tap “add”.
d. Then tap “save” to attach the desired photos.
5. In the “comments” text box leave a brief description of your single jobsite related topic.
a. Remember, there should only be one topic in each comments box. If you have more things to talk about, enter them separately in another “note” submission.
6. If there is a problem or “issue” in with this specific note topic that you would like to distinguish from your other entries:
a. Tap the “issue” check box to let the reviewer know this note contains an important issue that needs to be addressed.
7. If “locations” have not been setup on your jobsite, ignore the “locations” row.
8. In one of your note entries (it doesn’t matter which one) include your “Two Week Lookahead” in the text box at the bottom of the screen.
9. Tap “save” to include this note into the daily log.

10. Repeat this process for each idea/topic you have. Every P&C employee should have at least one entry each day.
Best Practices:
1. Add your daily log note submissions throughout the day.
a. As you see something happen that you would normally add in your daily log, take the time to quickly add the idea into its own note. Doing this will take away from the volume of adding them all at the end of the day and provide useful time stamps for reviewers.
2. Attach photos with their corresponding topic.
a. Instead of attaching every picture to one single note, organize them by attaching them to the note topic that they illustrate.
Questions to ask yourself:
1. What information do I have for my daily log, that wasn’t used in a previous section?
a. All leftover information regarding job happenings that don’t fit into another section, are submitted in separate note entries.
2. How do I record “Two-week Lookaheads” in the Procore daily log?
a. For the moment, Two-week Lookaheads will be included in the notes section of the daily log, in the “Two Week Lookahead” text box.
b. It does not matter which note entry you type it out in.
3. Do I have any pictures left that are not trade specific?
a. Remember all trade specific pictures are attached to the “manpower” section of the daily log. However, if there are pictures left over, all other pictures should be attached to the note entry that discusses the topic they illustrate.
Delay:
Any notable jobsite happening that causes a scheduled item to not be completed should be described and entered in this section.
Weather delays can be added in this section or in the weather section.
Adding Delay Entries: (if applicable)
1. Tap the “Delay” button in the main menu of the daily log.

2. Tap the “red plus” button in the upper right of the screen.

3. Use the “Camera” and “Attachments” buttons to take or add pictures showing the cause, or effects of the delay.
4. Tap, then select the type of delay in the “Delay Type” field.
5. Tap, then scroll to select the appropriate “Start” and “End” times of the delay.
6. If “locations” have not been setup on your jobsite, ignore the “locations” field.
7. Finally, in the “comments” text box, write a brief description of the delay and what happened.
8. Tap “save” in the upper right corner to add the delay entry to the daily log.

Questions to ask yourself:
1. What caused the delay?
a. Select the cause of the delay in the “Delay Type” dropdown.
2. When did the delay start and end?
a. Input the start and end time of the delay by scrolling to the appropriate time.
3. Why did the delay happen?
a. Leave a comment in the comments box explaining the delay, and what caused it.
4. Click “save” in the upper right to include the delay into the daily log.
a. Repeat this process for each notable delay that happened on the jobsite that day.
Visitors:
Any person who is not a regular jobsite worker is classified as a visitor. For example, PM’s coming to punch parts of the building, building inspectors coming to inspect aspects of the project, and subcontractors coming to give a price for extra work needed would all count as visitors and their activity and information would be recorded in this section.
Adding Visitor Entries: (if applicable)
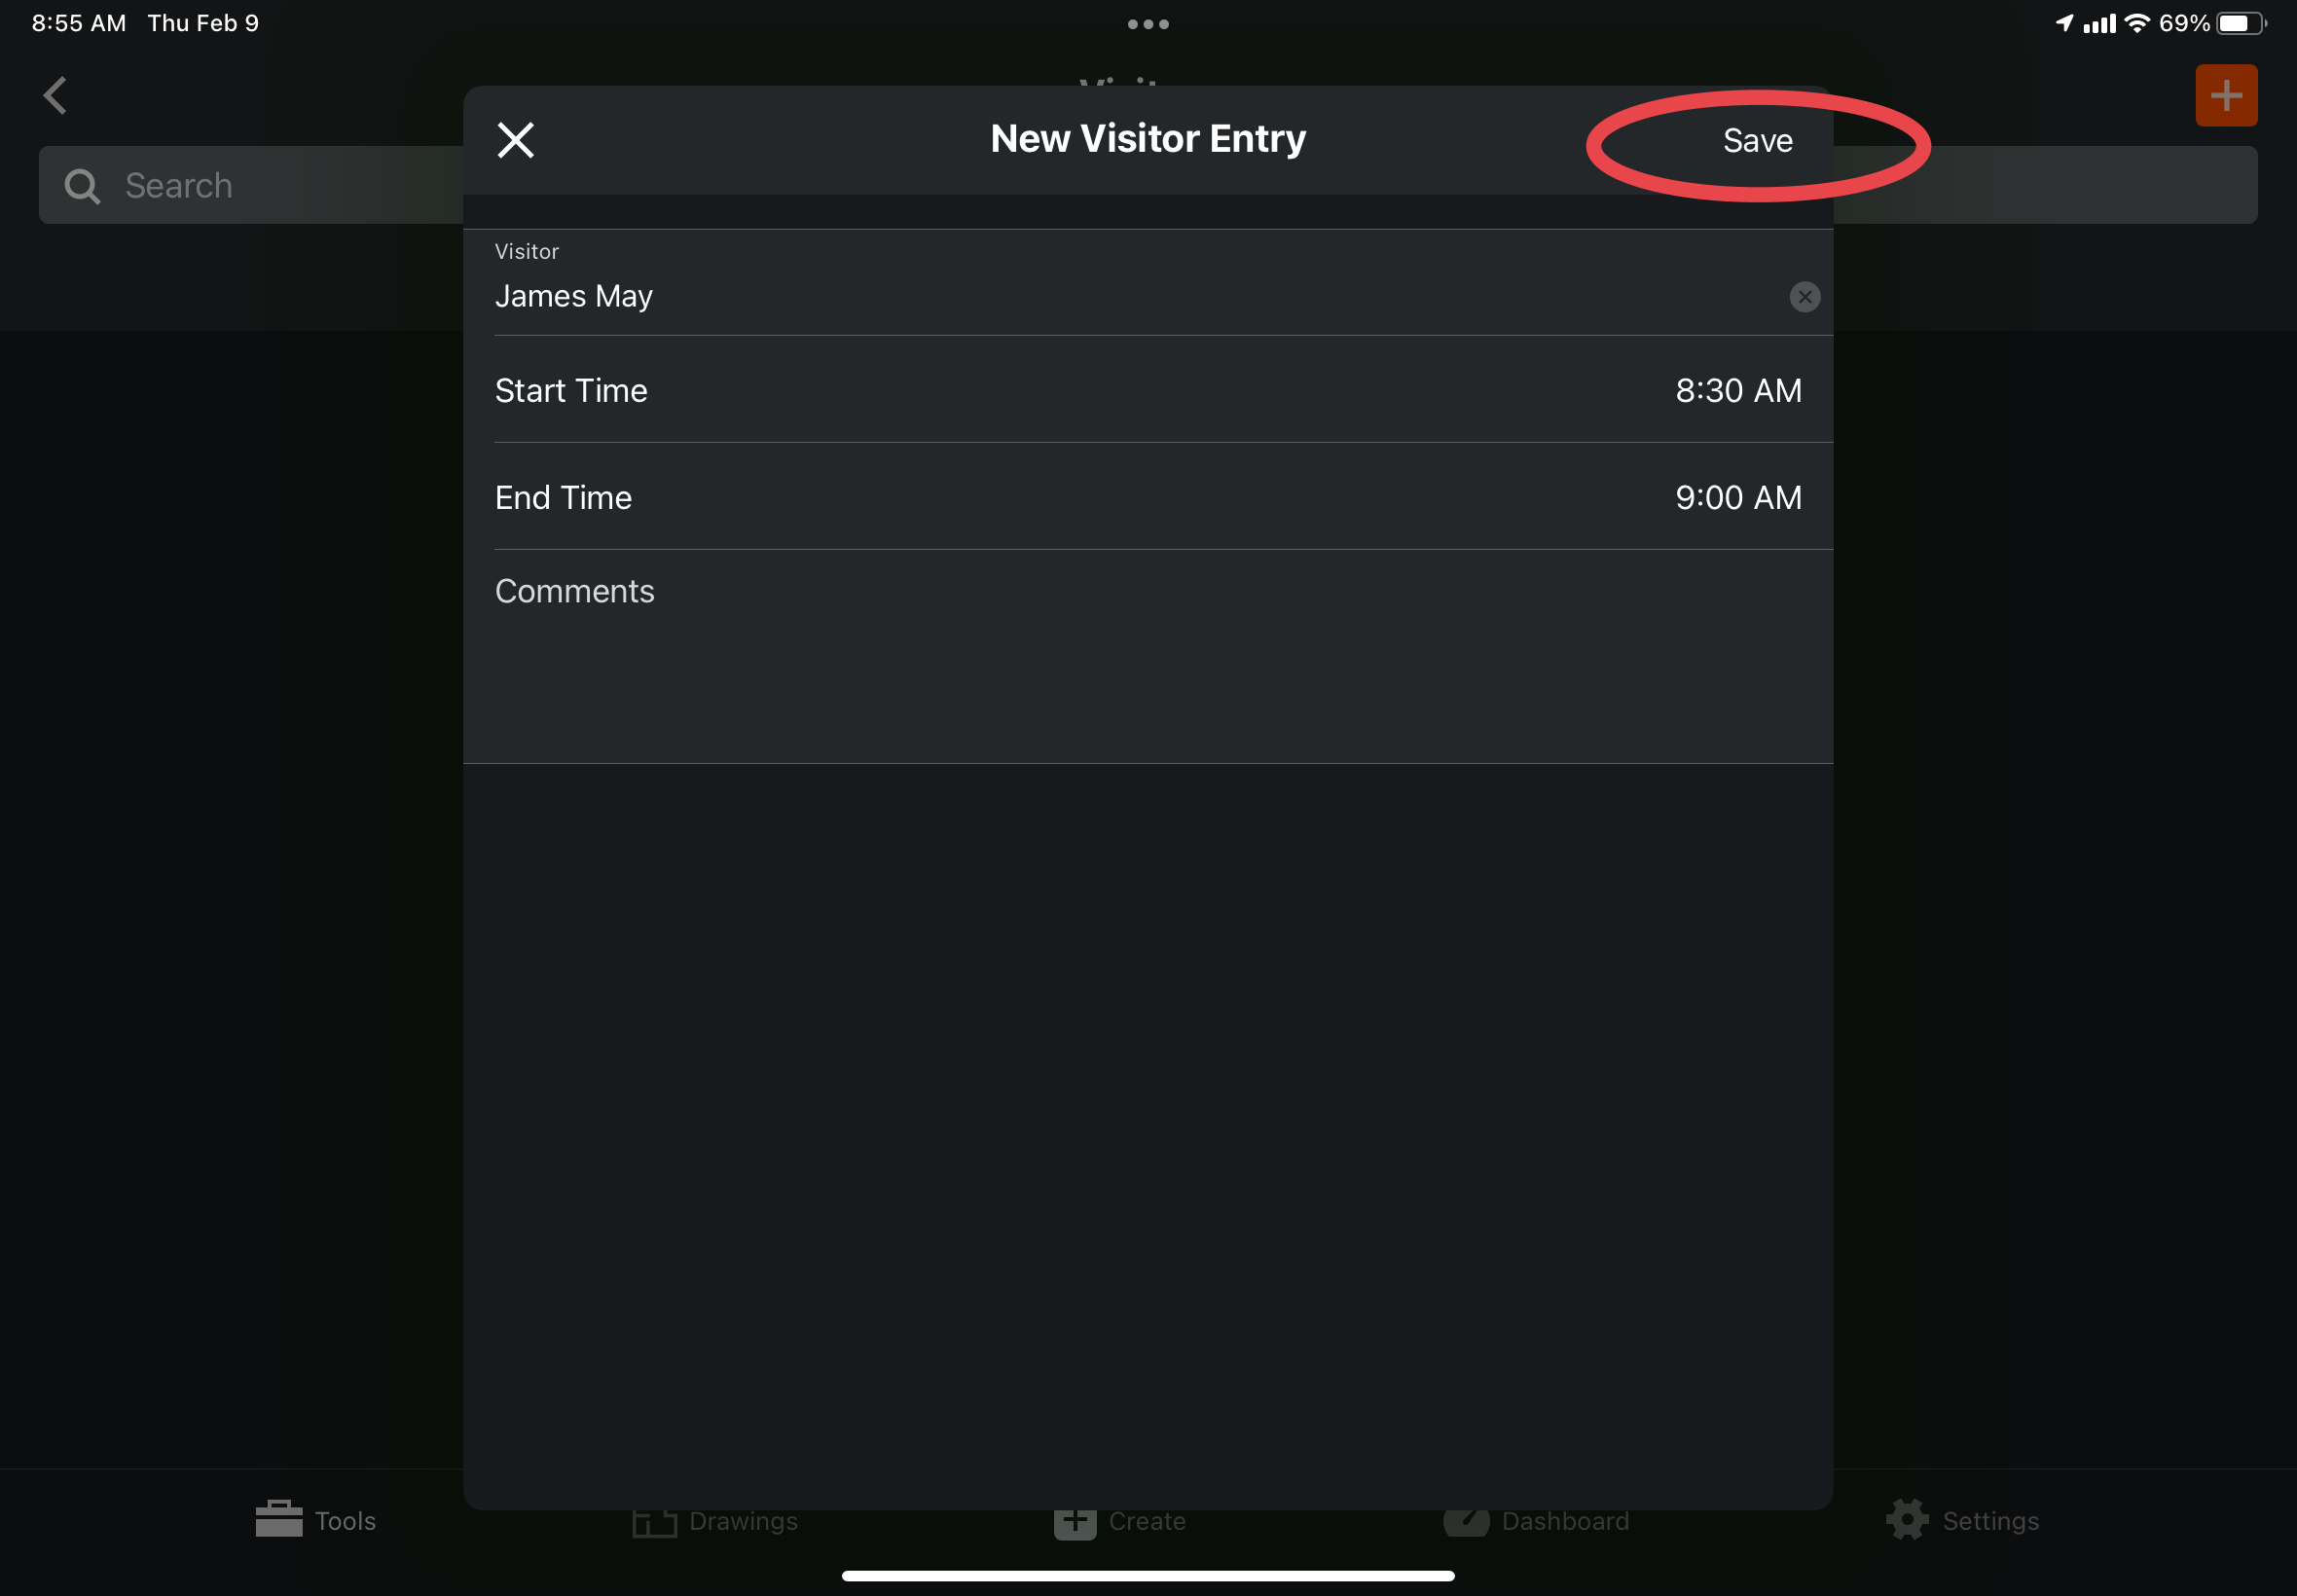
1. Tap the “visitor” section of the daily log.

2. Tap the “red plus” button in the upper right corner to add a new visitor entry.

3. Tap the “visitor” field and then type the name of the person visiting the jobsite.
a. If their name does not show up in the generated list, tap the “use search text” button to add the name as you’ve typed it to the log.

4. Tap then scroll to select the appropriate “start” and “end” times the visitor was on site.
5. Lastly, in the “comments” box, type out a brief description of why the visitor was on site, and what they accomplished.
6. Tap “save” to add the visitor entry to the daily log.
Best Practices:
1. Create the visitor entry as soon as possible after they’ve left the site to make the time stamps as accurate as possible.
Questions to ask yourself:
1. Who visited the site?
a. Tap the “Visitor” section and search for the person who visited the site.
- If that person does not show up in search box, select the “Use search text” button to input the name of the visitor into the log.
2. How long was the visitor on site?
a. Use the “Start Time” and “End Time” boxes to select the appropriate arrival and departure times of the visitor.
3. Why was the visitor on site?
a. In the comments text box, give a brief explanation of why the visitor was on site.
Phone Calls:
Phone calls that contain things of consequence to the job, calls with subs for future work, inspectors, and PM calls where changes in plans are discussed should be described here. This section is used to record significant conversations that would need to be traced in a potential lawsuit and protects the superintendent from “he said, she said” situations regarding job materials, plans, or requested work.
Adding Phone Call Entries: (if applicable)
1. Tap the “phone calls” field.

2. Tap the “red plus” button in the upper right corner of the screen to record a new phone call.

3. Fill out the fields to accurately record who the call was from, who the call was to, and how long the call took place.
a. If the person does not show up in the generated list, type their name into the search box and then tap the “use search text” button to add their name to the entry as you’ve typed it.

4. In the “comments” box, leave a brief description of what the phone call was about.
5. Tap “save” in the upper right corner to add the phone call to the daily log.

Questions to ask yourself:
1. Who was the call from?
a. “Call from” can either be:
- Yourself – (if you’re noting a call you made to someone else)
- The person who called you – (if someone else called you)
b. “Call to” would then be the opposite of whatever choice was selected above.
2. How long did the call last?
a. Tap, then scroll to select the appropriate start and end time of the call.
3. What was the call about?
a. In the comments box, leave a brief description of what the call was about.
4. Click “save” in the upper right to include the phone call into the daily log.
a. Repeat this process for each significant phone call made or received throughout the day.
Deliveries:
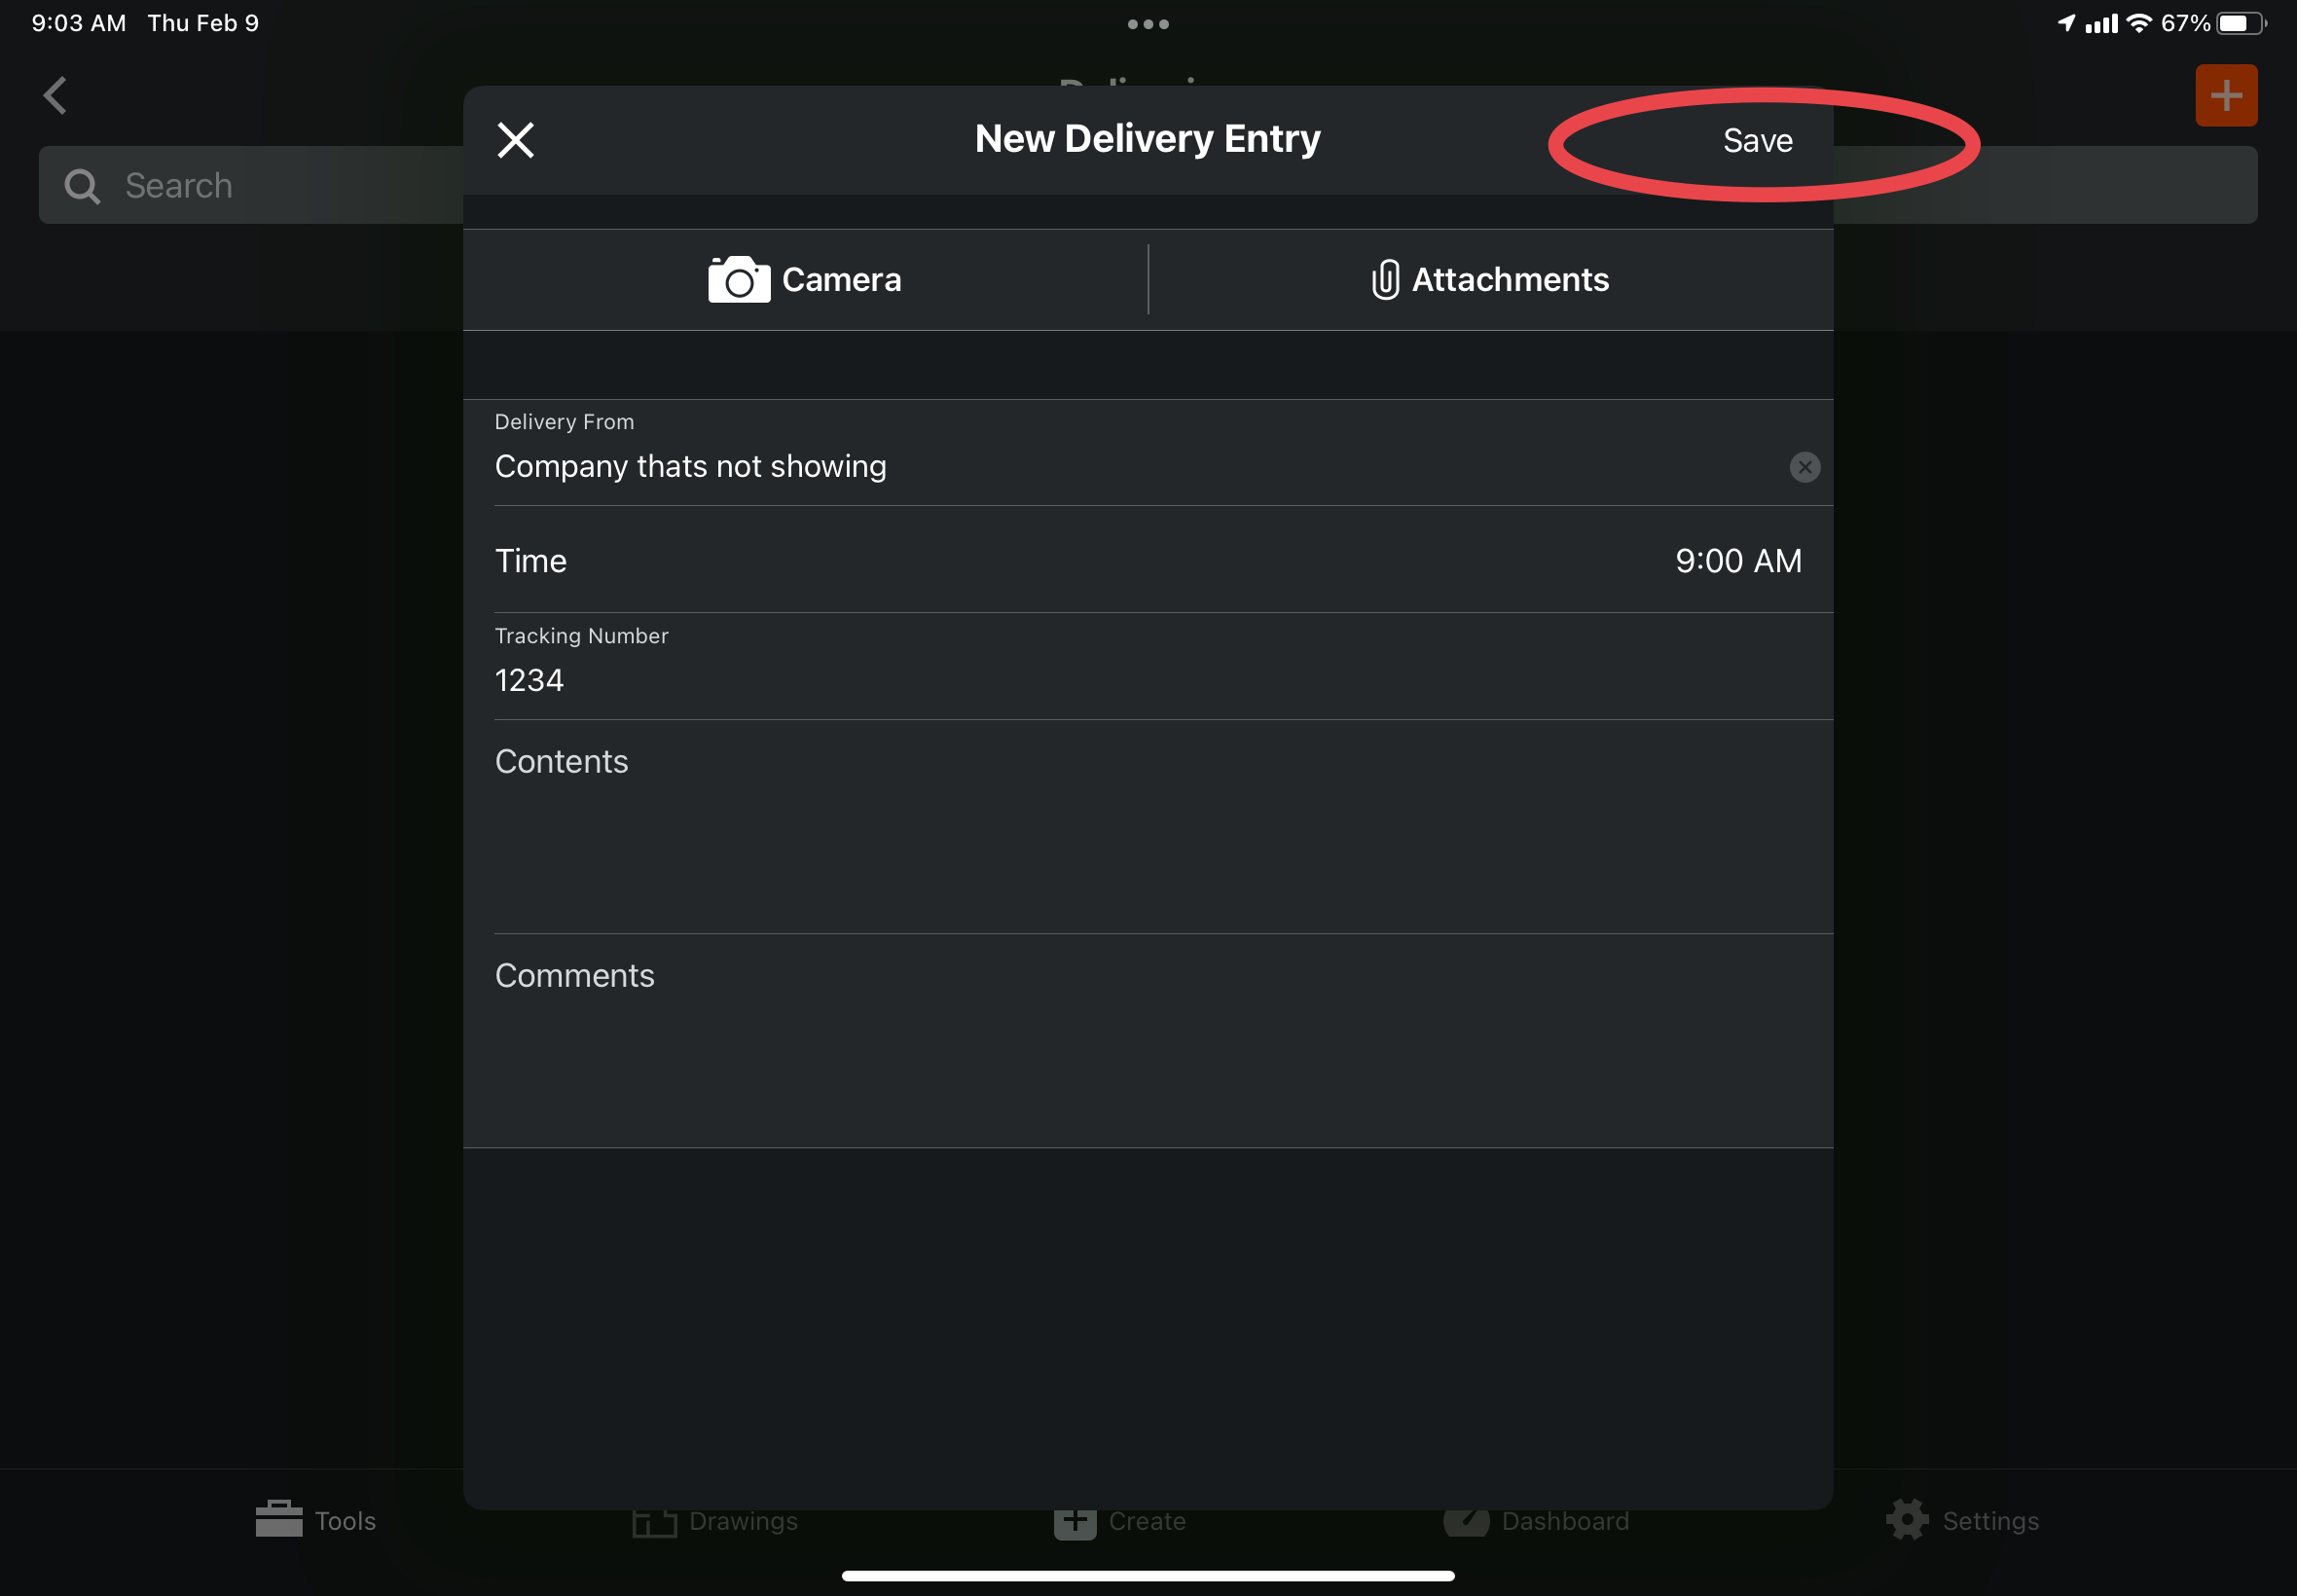
Notable deliveries made to the jobsite should be recorded in this section. Doing so adds to superintendent protection if materials go missing. Pictures of the initial delivery should be attached, along with one of the delivery ticket or receipt.
Adding Delivery Entries: (if applicable)
1. Tap the Delivery section of the daily log and then tap the red plus to record a delivery.


2. Fill out the fields to accurately record who the delivery was from, the time of the delivery, the tracking number, and the contents.
a. If the person does not show up in the generated list, type their name into the search box and then tap the “use search text” button to add their name to the entry as you’ve typed it.

b. In addition, make sure to attach a picture of the delivery to the entry to show that the delivery was successfully received, and the condition of the packaging is acceptable.
c. Make sure to attach a picture of the delivery ticket (MANDATORY).
2. In the “comments” box, leave a brief description of the delivery.
a. Include the location the delivery was stored in
3. Tap “save” to add the delivery entry to the daily log.
Questions to ask yourself:
1. Who was the delivery from?
a. Click the “delivery from” tab and search up the company or person that delivered the material.
- If that company or person does not show up in search box, select the “Use search text” button to input the name as you’ve typed it.
2. When did the delivery arrive?
a. Tap, then scroll to select the arrival time of the delivery.
3. Which delivery is it?
a. Tap, then type out the identifying tracking number in the “tracking number” field.
4. What was delivered?
a. In the “Contents” text box, include a brief description of what was delivered in that specific delivery. (multiple deliveries would be added separately with their specific contents)
b. Finally, in the “comments” text box, include a brief description about the delivery.
5. Click “save” in the upper right to include the delivery in the daily log.
a. Repeat this process for each notable delivery that was made to the site that day.
Equipment: (tool use log)
This section will be used to record "tool use log" information. Click HERE to refer to the tool use log training guide for further instructions on how tool use logs will be submitted in Procore.
Dumpster:
If dumpsters were either dropped off, or picked up to be emptied, that information would be recorded here.
Adding Dumpster Entries: (if applicable)
1. Tap the “Dumpster” section of the daily log.

2. Tap the “red plus” button in the upper right of the screen to record a dumpster pickup or drop-off.

3. Enter accurate information into the fields to record the name of the dumpster company, and the number of dumpsters they picked up/removed.
4. In the “comments” text box, leave a brief description of the dumpster pickup/removal.
5. Tap “save” to record the dumpster information in the daily log.

Questions to ask yourself:
1. What company picks up and drops off dumpsters for this project?
a. Input this information by taping the “company” field and typing the name of the company into the “search” box.
- If the company does not pop up in the default list, tap the “Use search text” button to add the company as you have typed it.
2. How many dumpsters were picked up/dropped off?
a. Tap the plus and minus button to record the accurate number of dumpsters delivered and removed.
3. Is there any notable information regarding dumpsters?
a. If so, leave a brief description of that information.
Inspections:
The inspection section of the daily log is intended to record and organize information regarding any inspections that occur on the jobsite by state, city, or third-party inspectors.
There should only be one inspection entry input by the job superintendent and pictures of any inspection related items, as well as the inspection tag, should be attached to this portion of the daily log. Depending on the size and complexity of the job some fields will not be filled in.
Adding Inspection Entries: (if applicable)
1. Tap the “Inspection” section of the daily log.

2. Tap the “red plus” button in the upper right corner to add a new “Inspection” entry.

3. Only photos pertaining to inspection items the inspector has commented on should be attached to the inspection.
a. For example, if an inspector commented on the state of an unacceptable electrical box, a picture of that box should be attached to here.
b. In addition, a mandatory photo that will always be attached to the inspection if one takes place is the inspection ticket.
4. Fill in the fields with the appropriate information regarding the name of the inspector, the start and end time of the inspection, the type of inspection, the inspecting entity, and the area.
a. Based on the complexity of the job, some fields will not be used.
b. The inspector’s name doesn’t search a generated list, you can just type their name in appropriately.
5. In the “comments” box, leave a description of how the inspection went, and record any comments made about the state of the project.
6. Tap “save” to add the inspection info to the daily log.

Questions to ask yourself:
1. Who is the inspector?
a. Input the name of the inspector by typing their name into the “Inspector” text box in the first row.
2. When did the inspection take place?
a. Tap, then scroll to select the appropriate “start time” and “end time” of the inspection.
3. What type of inspection is taking place? (rough in, final)
a. The “inspection type” field is intended for recording the specific kind of inspection taking place.
- For example, two entries in this field could be “Plumbing rough in” and “Plumbing final”
b. Tap, then type this information into the “Inspection type” text box.
4. Who is the inspector reporting to?
a. The “Inspecting entity” would be the party responsible for sending the inspector in the first place.
- For example, some entries in this field could be “The state of Tennessee”, “The city of Chattanooga”, or “Third party”.
5. What spot on the job is this inspection item referring to?
a. If locations are not setup for your job, you won’t need to enter anything here.
- If nothing pops up when you touch this section, you can leave it blank.
6. What is being inspected?
a. “Area” refers to for example, “Under slab”.
7. What happened during the inspection?
a. Leave a brief description about the inspection and if anything is needing to be fixed or adjusted as a result.
Accidents:
The accident section of the daily log is where accidents are reported and described. Pictures taken relating to the accident should also be attached here as well as the person, and company involved.
Adding Accident Entries: (if applicable)
1. Tap the “accident” field in the daily log.

2. Tap the “red plus” in the upper right corner to record an accident that happened on the jobsite.

3. Use the “Camera” and “Attachments” buttons to document the scene of the accident and/or the injury.
4. Tap the “Party Involved” field and then use the search box to type in the name of the person involved in the accident
a. If the person does not show up in the generated list, type their name into the search box and then tap the “use search text” button to add their name to the log as you’ve typed it.
5. Fill out the fields with the appropriate information and leave a comment in the “comments” box to describe the accident, how it happened, who was involved, and any damage done.
a. Being specific and detailed in this section is important due to the liability that comes with accidents. This section of the daily log is intended to protect you as a field worker and document what happened in the case of a lawsuit.
6. Tap “save” in the upper right corner to add the accident to the log entry.

Questions to ask yourself:
1. What person got injured or caused the accident?
a. Tap “party involved” then select the employee injured or involved in the accident.
- If their name doesn’t come up in the generated list, tap “Use search text” to add their name to the report as you’ve typed it.
2. When did the accident take place?
a. Tap, then scroll to select the time of the accident.
3. What company does the person injured or involved in the accident work for?
a. Tap, then use the search bar to input the name of the company of the worker.
- Just like before, the “Use search text” button can be used to input the company name as you’ve typed it if it doesn’t pop up in the generated list.
4. What happened, and how?
a. In the comments text box, leave a description of the accident, along with the people involved, and how it happened.
Timecards:
The timecard row is where all clocked time from the “my time” tool on the mobile app will auto-populate. As a superintendent, check to make sure that there is a timecard for each P&C employee that worked on-site that day. If a worker has questions about how long they worked each employee’s time can be viewed here in this section.
If you are not the superintendent of the jobsite, nothing should be added in this section, it is P&C’s intention that only job superintendents and office management will edit timecards. If a P&C employee forgets to clock in, clocks out on accident etc. they will need to get in contact with Scott, or their superintendent.
“Complete Day”
If you fill out all of the fields mentioned above in this guide, office staff will not be able to review your log until you tap the "Complete Day" button.
Only superintendents will submit the daily log for review. Assistants or temporary workers will never “complete day”.
According to P&C policy, daily logs are expected to be created, submitted, and distributed on the same day they describe.
Submitting the daily log for review as a superintendent:
1. Once all the sections of the daily log have been addressed, and all the people working with you have added their information, the superintendent should tap the “complete day” button in the bottom middle of the screen.

2. Make sure to select “Complete & Distribute” so that management can review the daily log.

3. Once a day has been completed, if for some reason information needs to be added or someone forgot to add their log information, the superintendent can tap “Reopen Day” to make the log available for editing. Only the superintendent can reopen a daily log and changes made to daily logs are recorded.