

Create a Standard Project Folder Structure for the Documents Tool
Objective
Koester Construction uses a standard folder structure to help organize all project documents.
Background
Creating a standard folder structure for a project provides an organized view of all of the project's documents that we can use on every project.
Things to Consider
- Required User Permissions:
- 'Admin' on the project's Documents tool.
- Additional Information:
- As a best practice, Procore does not recommend that you create folders for files that would otherwise live in a Procore tool. We recommend using the tools for the best experience (e.g. Submittals, Specifications).
- You can automatically create new folders in the Documents tool by uploading empty folders from your computer. See Upload Files or Folders to the Project Level Documents Tool.
Video
Steps
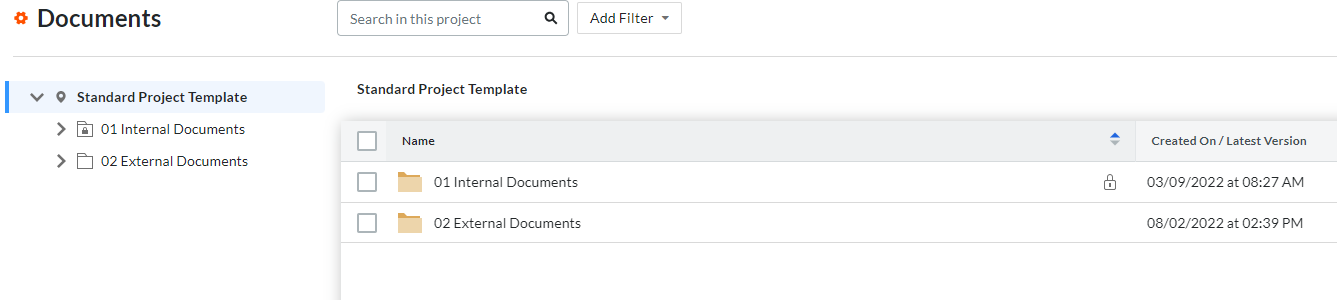
- Koester Construction uses a standard folder structure for all of its projects. When creating a new project our initial folder structure will be populated in the Documents Tool. The two folders that are automatically populated are:
|
 |
- To populate our standard Internal Documents folder navigate here in Sharepoint
-
Download all the folders by selecting all items and clicking download. This will download all the folders and files within these folders to your computer. 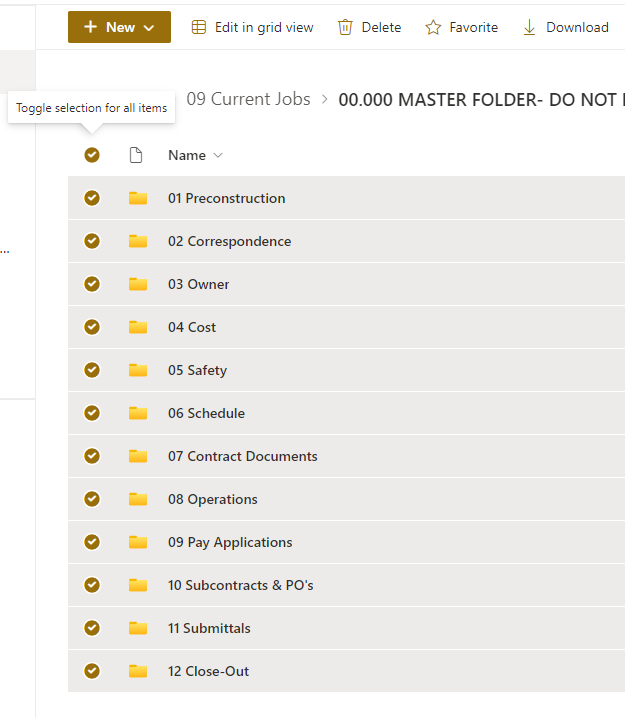
-
Locate the downloaded .zip file in your downloads, right click, extract all. This will extract the folder structure from the .zip file into your downloads file.
-
Double click to open the new folder 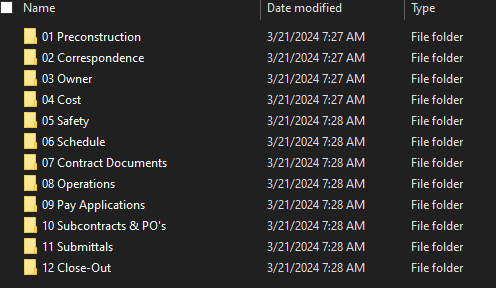
- Navigate to the Documents tool.
-
Click on the 01 Internal Documents folder in the Documents tool to open this folder. 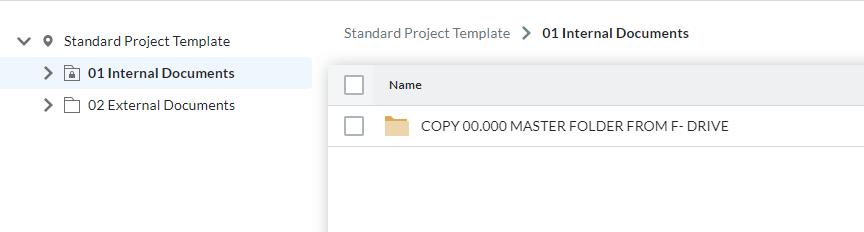
-
After selecting the folders you downloaded from Sharepoint on your computer, drag and drop them to the center panel of the Documents tool. 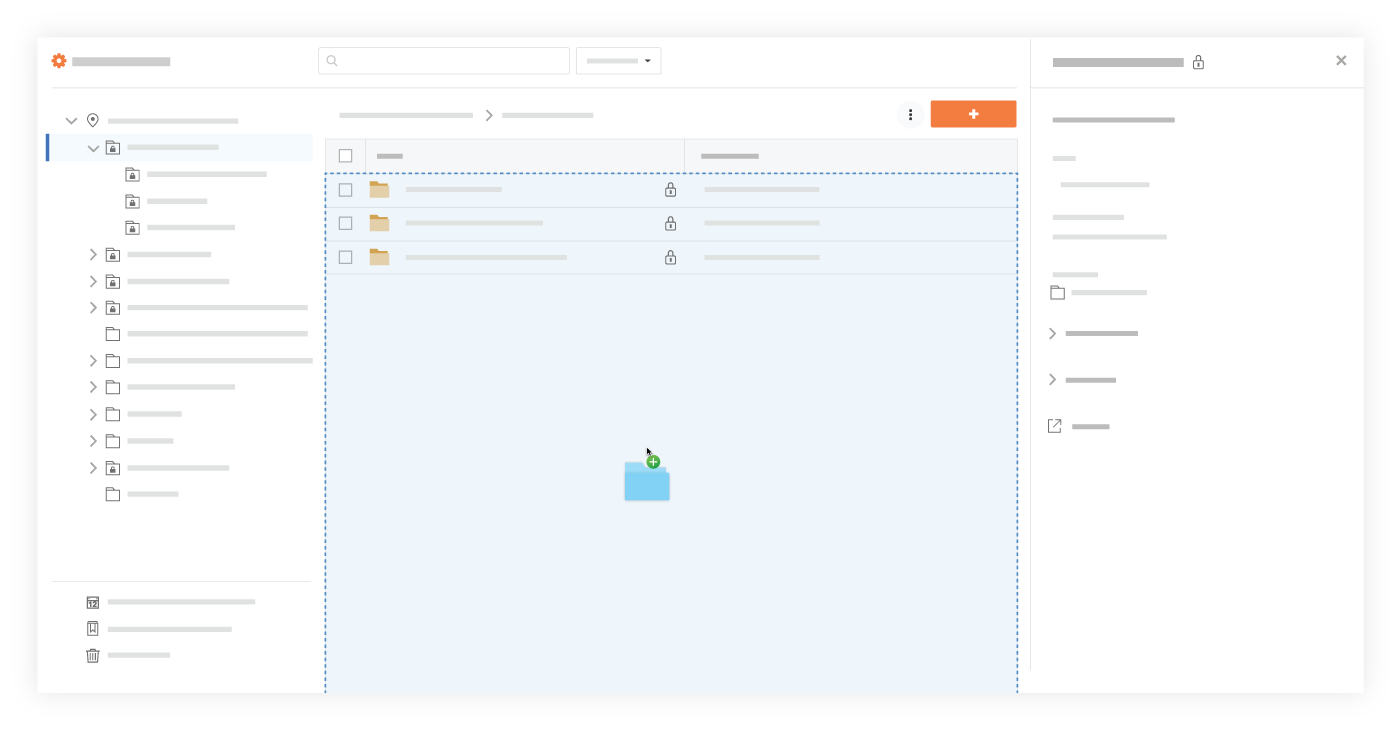
-
After dragging and dropping the standard folder structure into the project your folder structure will look like this. 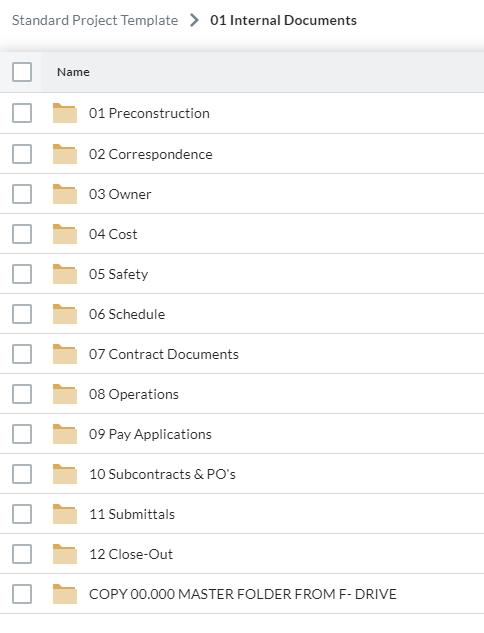
-
Delete the COPY 00.00 MASTER FOLDER FROM F- DRIVE Folder