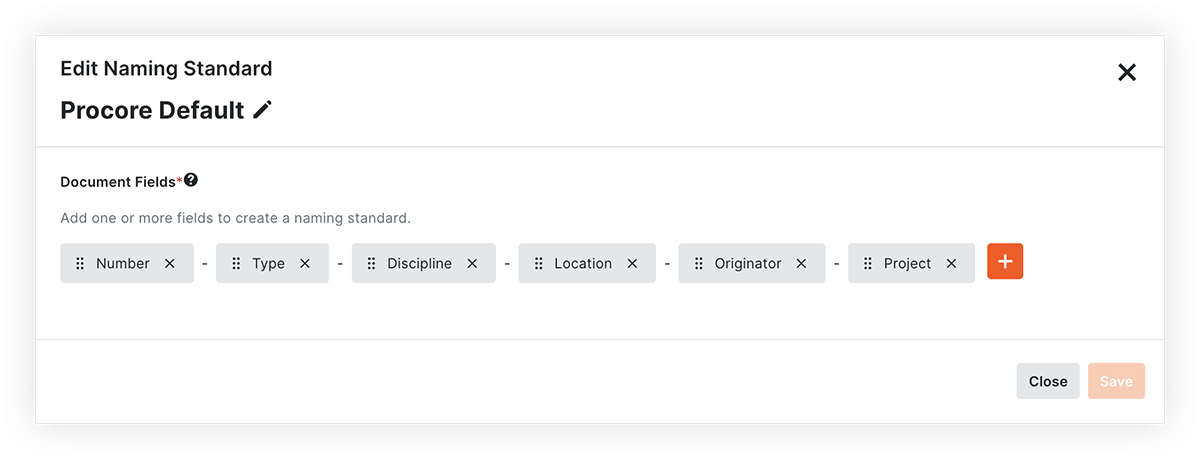
Edit the Naming Standard for the Document Management Tool
Objective
How to edit the naming standard for documents in the Document Management tool.
Background
A naming standard in the Document Management tool is used to help ensure documents are created, named, and accessed consistently across projects. From the naming standard, Procore creates a unique document container that becomes the 'Name' of each document. This helps ensure that revisions of the same document remain together, reducing the risk of file duplication and keeping everyone working off the latest information.
In addition, if the documents you upload are already named according to the naming standard, Procore can automatically populate metadata during document uploads to speed up the process. See What can Procore automatically populate when uploading files to the Document Management tool?
Things to Consider
- Required User Permissions:
- 'Admin' level permissions to the project's Document Management tool.
- Additional Information:
- If you want to use the naming standard to automate data entry, you'll need to make sure that you have document fields set up in Procore. To learn how to set up these fields, see Manage Configurable Fieldsets and Default Fields for the Document Management Tool and Document Management - Setup Guide.
- If you want revisions of the same document to be tracked within a single document container, your naming standard should NOT include revision-specific fields, such as: status, revision code, author, or dates of any kind.
Steps
- Navigate to the project's Document Management tool.
- Click the Configure Settings
 icon.
icon. - Click Documents to open the Document Settings page.
- Click the arrow
 icon next to Naming Standards to expand the section.
 - Click the edit
 icon.
icon. - Edit the fields in the naming standard as necessary:
Note: Make sure to include the Type field if your company will use automatic data entry from the project's naming standard.

- To reorder fields, click and drag one or more fields to new positions.
- To delete a field, click the x on a field.
- To add a field:
- Click the plus icon.
- Mark the checkbox next to each field you want to add.
Note: You can add the following custom field types to the naming standard: company, location, number, plain text (short), and single select (dropdown) with codes. - Click Submit.
- When you are ready to save your changes, click Save.

