Getting Started with Document Management - Document Fields
Overview
Background
In construction, mistakes and rework are often caused by outdated project files that were duplicated across a number of folders or tools. To mitigate this risk, Procore's Document Management tool automatically organizes and controls access to files automatically based on the attributes (document fields) of each document revision. This is why it's especially important to set up these field values before getting started with the tool.
How it Works
Procore's Document Management tool uses metadata and document fields to automatically grant access to and organize document revisions, making them easier to find. A project's document fields are configured in the Company level Admin tool through configurable fieldsets. Field options can be shown or hidden from the Document Management tool's Configure Settings page.
Note: Required fields for every document: Name, Type, Status, and Revision.

Important
It's important to have your naming standard and upload requirements set up for the Document Management tool before uploading documents. This ensures standardization and compliance and helps populate fields automatically. See What data can Procore automatically populate when uploading files to the Document Management tool?Note: You'll configure which fields should be required for each document, by document type, in the Upload Requirements section of this guide.
Fieldsets and Field Options for Documents
Company Admins can managing configurable fieldsets and default field options on the Document Management tool page of the Company level Admin tool.
Manage Configurable Fieldsets
Create new fieldsets or edit existing ones and then assign them to your projects. This allows you to set which fields should be required on documents across all of your projects.

Coming Soon
The Document Management tool will add Custom Fields so that you can create your own fields or hide ones you don't need.
Manage Default Field Options
You can configure default field options for the following Document Management fields:
- Classification
- Discipline
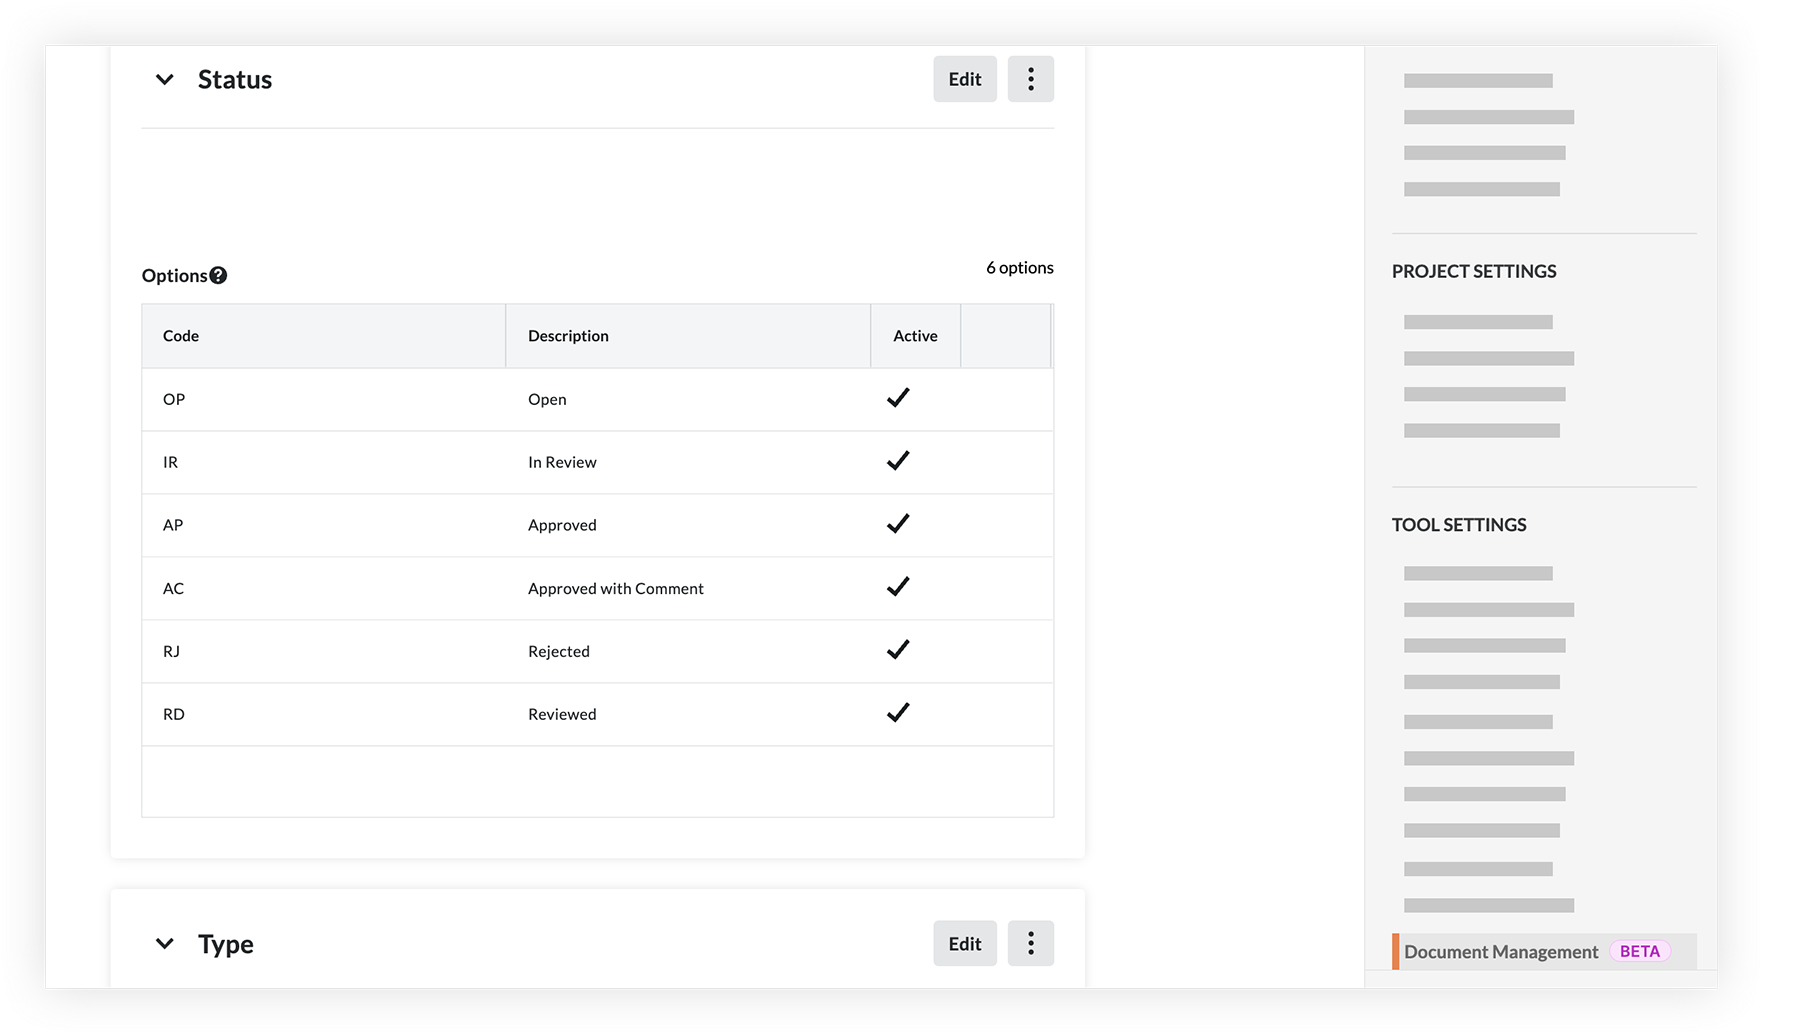
- Status
- Type
- Volume / System
Note
Most fields have a code that can automatically populate at the beginning of the field. The code is based on the naming standard. For example, a Drawing Type document would populate with 'DR' in the Type field. As information is entered, the codes are automatically sequenced together to create a new Name field for the document.
You'll set up your document naming standard in the 'Naming Standard' section of this guide.
Show or Hide Field Options Within a Project
You can choose to show or hide field options for single-select dropdown fields (such as Status, Type, and Discipline) at the Project level on the Document Management tool's Configure Settings page.


Additional Fields in Procore
The following fields are used for the Document Management tool but are configured in other areas of Procore (shown on the 'Set it Up' page for Document Fields):
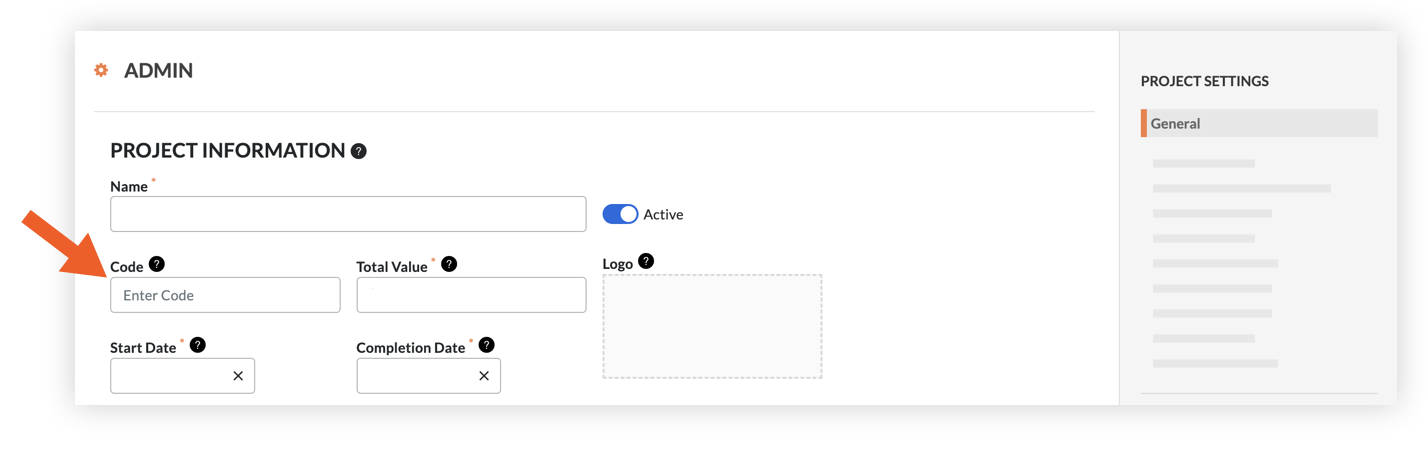
- Project: The Project Code should be an abbreviation of the project's name, such as 'VTX' for Vortex Business Center. The 'Code' field in the Project level Admin tool populates the 'Project' field for documents.
- Originator: Field signifying who a document originated from. For example, A person associated with 'ABC Company' in the Directory uploads a document, so 'ABC Company' should be selected for the Originator field. The 'Abbreviated Name' field for companies in the Company or Project level Directory tool show as options for the 'Originator' field.
- Location: This field represents the location associated with a document. Locations added in the Project level Admin tool show as options for the 'Location' field for documents.
- Stage: This field represents the phase of construction that a document was created for. 'Project Stages' on the 'Defaults' page of the Company level Admin tool show as options for the 'Stage' field for documents.
Best Practices
Before setting up document fields for the Document Management tool, consider the following:
- Which fields matter for your document management needs?
- Should field requirements vary by project, or are they consistent across your entire company?
- For required fields (like 'Status' and 'Type'), what values should be available for them?
- What "codes" should be associated with each field value (like 'DR' for Drawing) so that they are recognizable in your document naming standard?
Next Lesson: Document Fields - Set it Up
Set it Up
Now that you've learned about document fields in the Document Management tool, you're ready to complete the following actions in Procore:
Video
1. Create Configurable Fieldsets
In the Company level Admin tool, create a new configurable fieldset for the Document Management tool that you'll apply to your project. This allows you to set which fields should be required on documents across all of your projects.
Note: In the future, you'll be able to add new custom fields to the fieldsets as well as hide the fields you don’t plan to use.

2. Edit Default Fields
In the Company level Admin tool, decide which values you want available for document fields like status, document type, and document discipline. These field options will apply to all files in the Document Management tool across your company's projects.
3. Optional: Review Field Options for a Project
Document Management tool Admins have the option to hide certain field values within individual projects. To do this, go to the Document Management tool's Configure Settings in a project, review options for fields, and hide any that you don't want available for selection.
4. Set Up Additional Procore Fields
Depending on requirements for your projects, there may be a few additional fields you want to set up before you get started. If you plan to use a document naming standard, the Project code and Originator code are especially important.
Project Code
Enter a code for the project in the 'Code' field of the Project level Admin tool. This will be used in the 'Project' field for documents.
![]() VIEW THE STEPS
VIEW THE STEPS
Originator Code ('Abbreviated Name' Field)
In the Project or Company level Directory tool, add 'Abbreviated Name' codes for any company that project documents could originate from. These abbreviated company names will be available to select for the 'Originator' field. 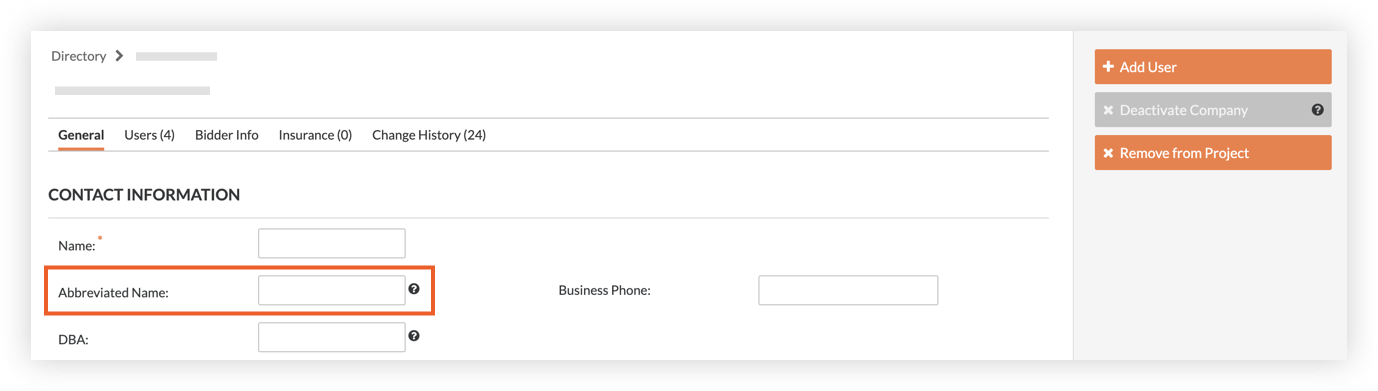
![]() VIEW THE STEPS
VIEW THE STEPS
Location Code
On the Locations page of the Project level Admin tool, add or manage locations and codes for the project as needed. These will show as options for the 'Location' field.
Make sure to:
- Select the 'Include optional code' setting.
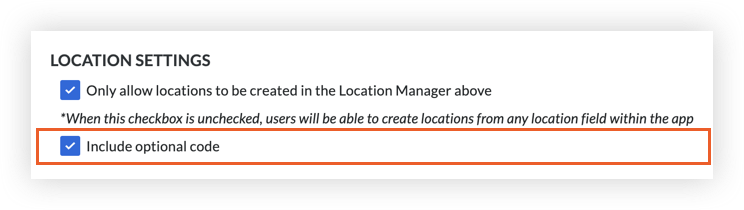
- Add a code for each location.

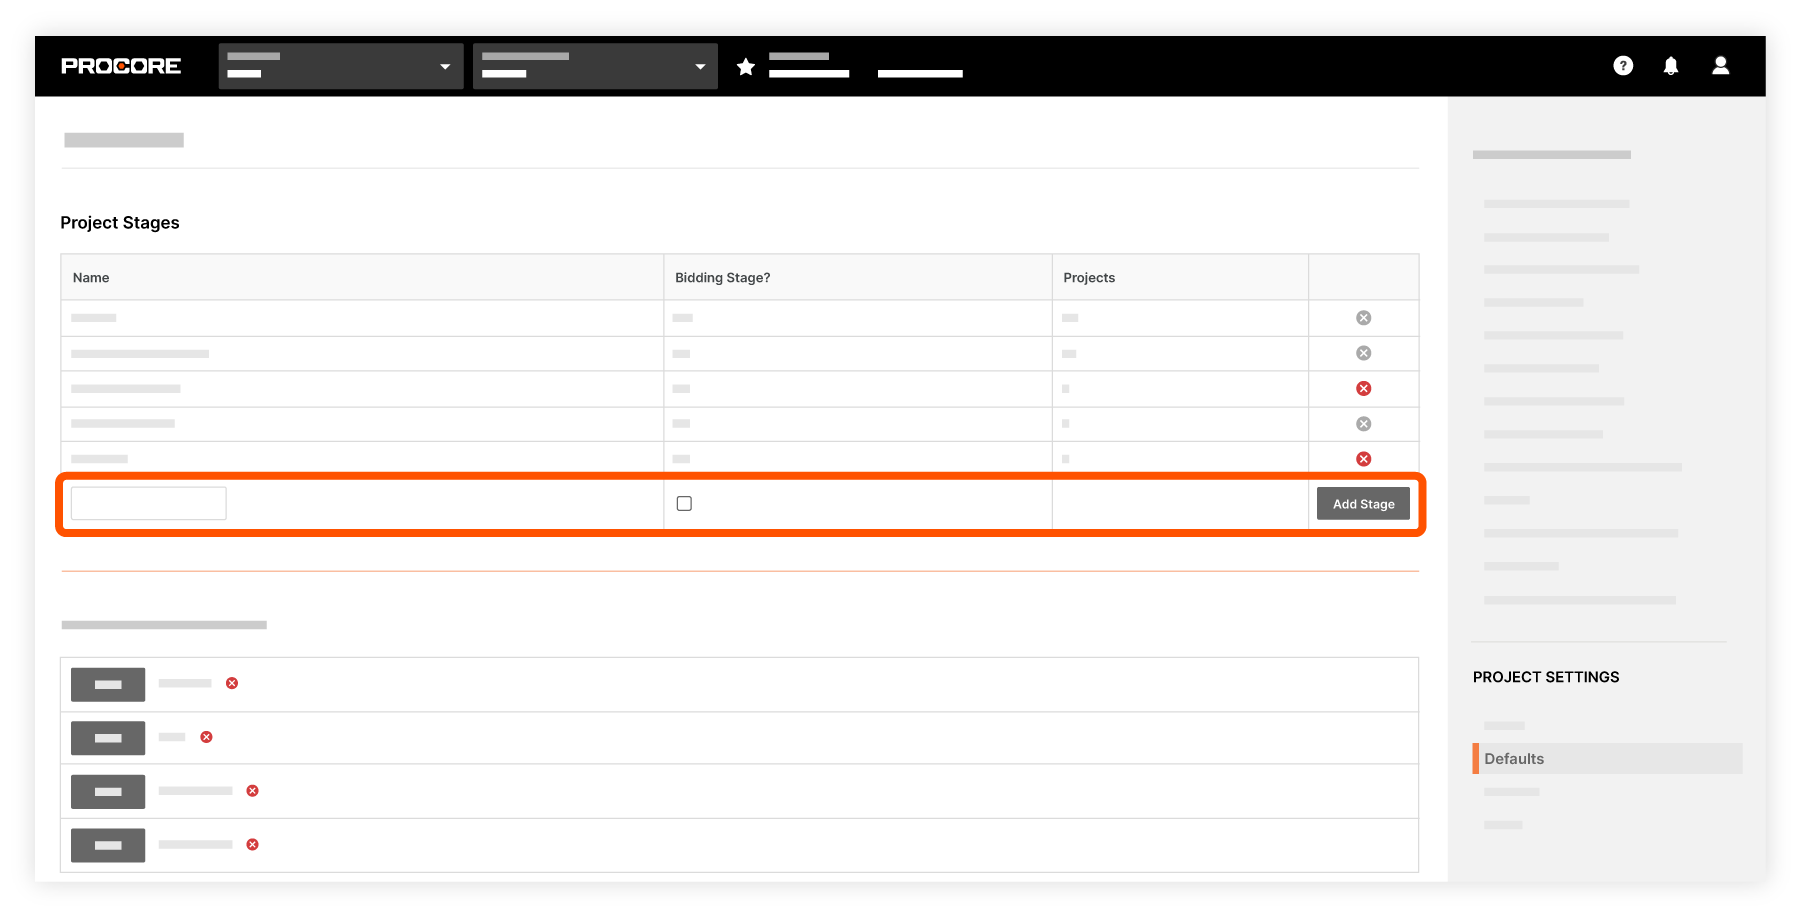
Stage Code
On the 'Defaults' page of the Company level Admin tool, review the 'Project Stages' section and add or remove stages as needed. These stages will show as options for the 'Stage' field.
![]() VIEW THE STEPS
VIEW THE STEPS