Basics of Table View
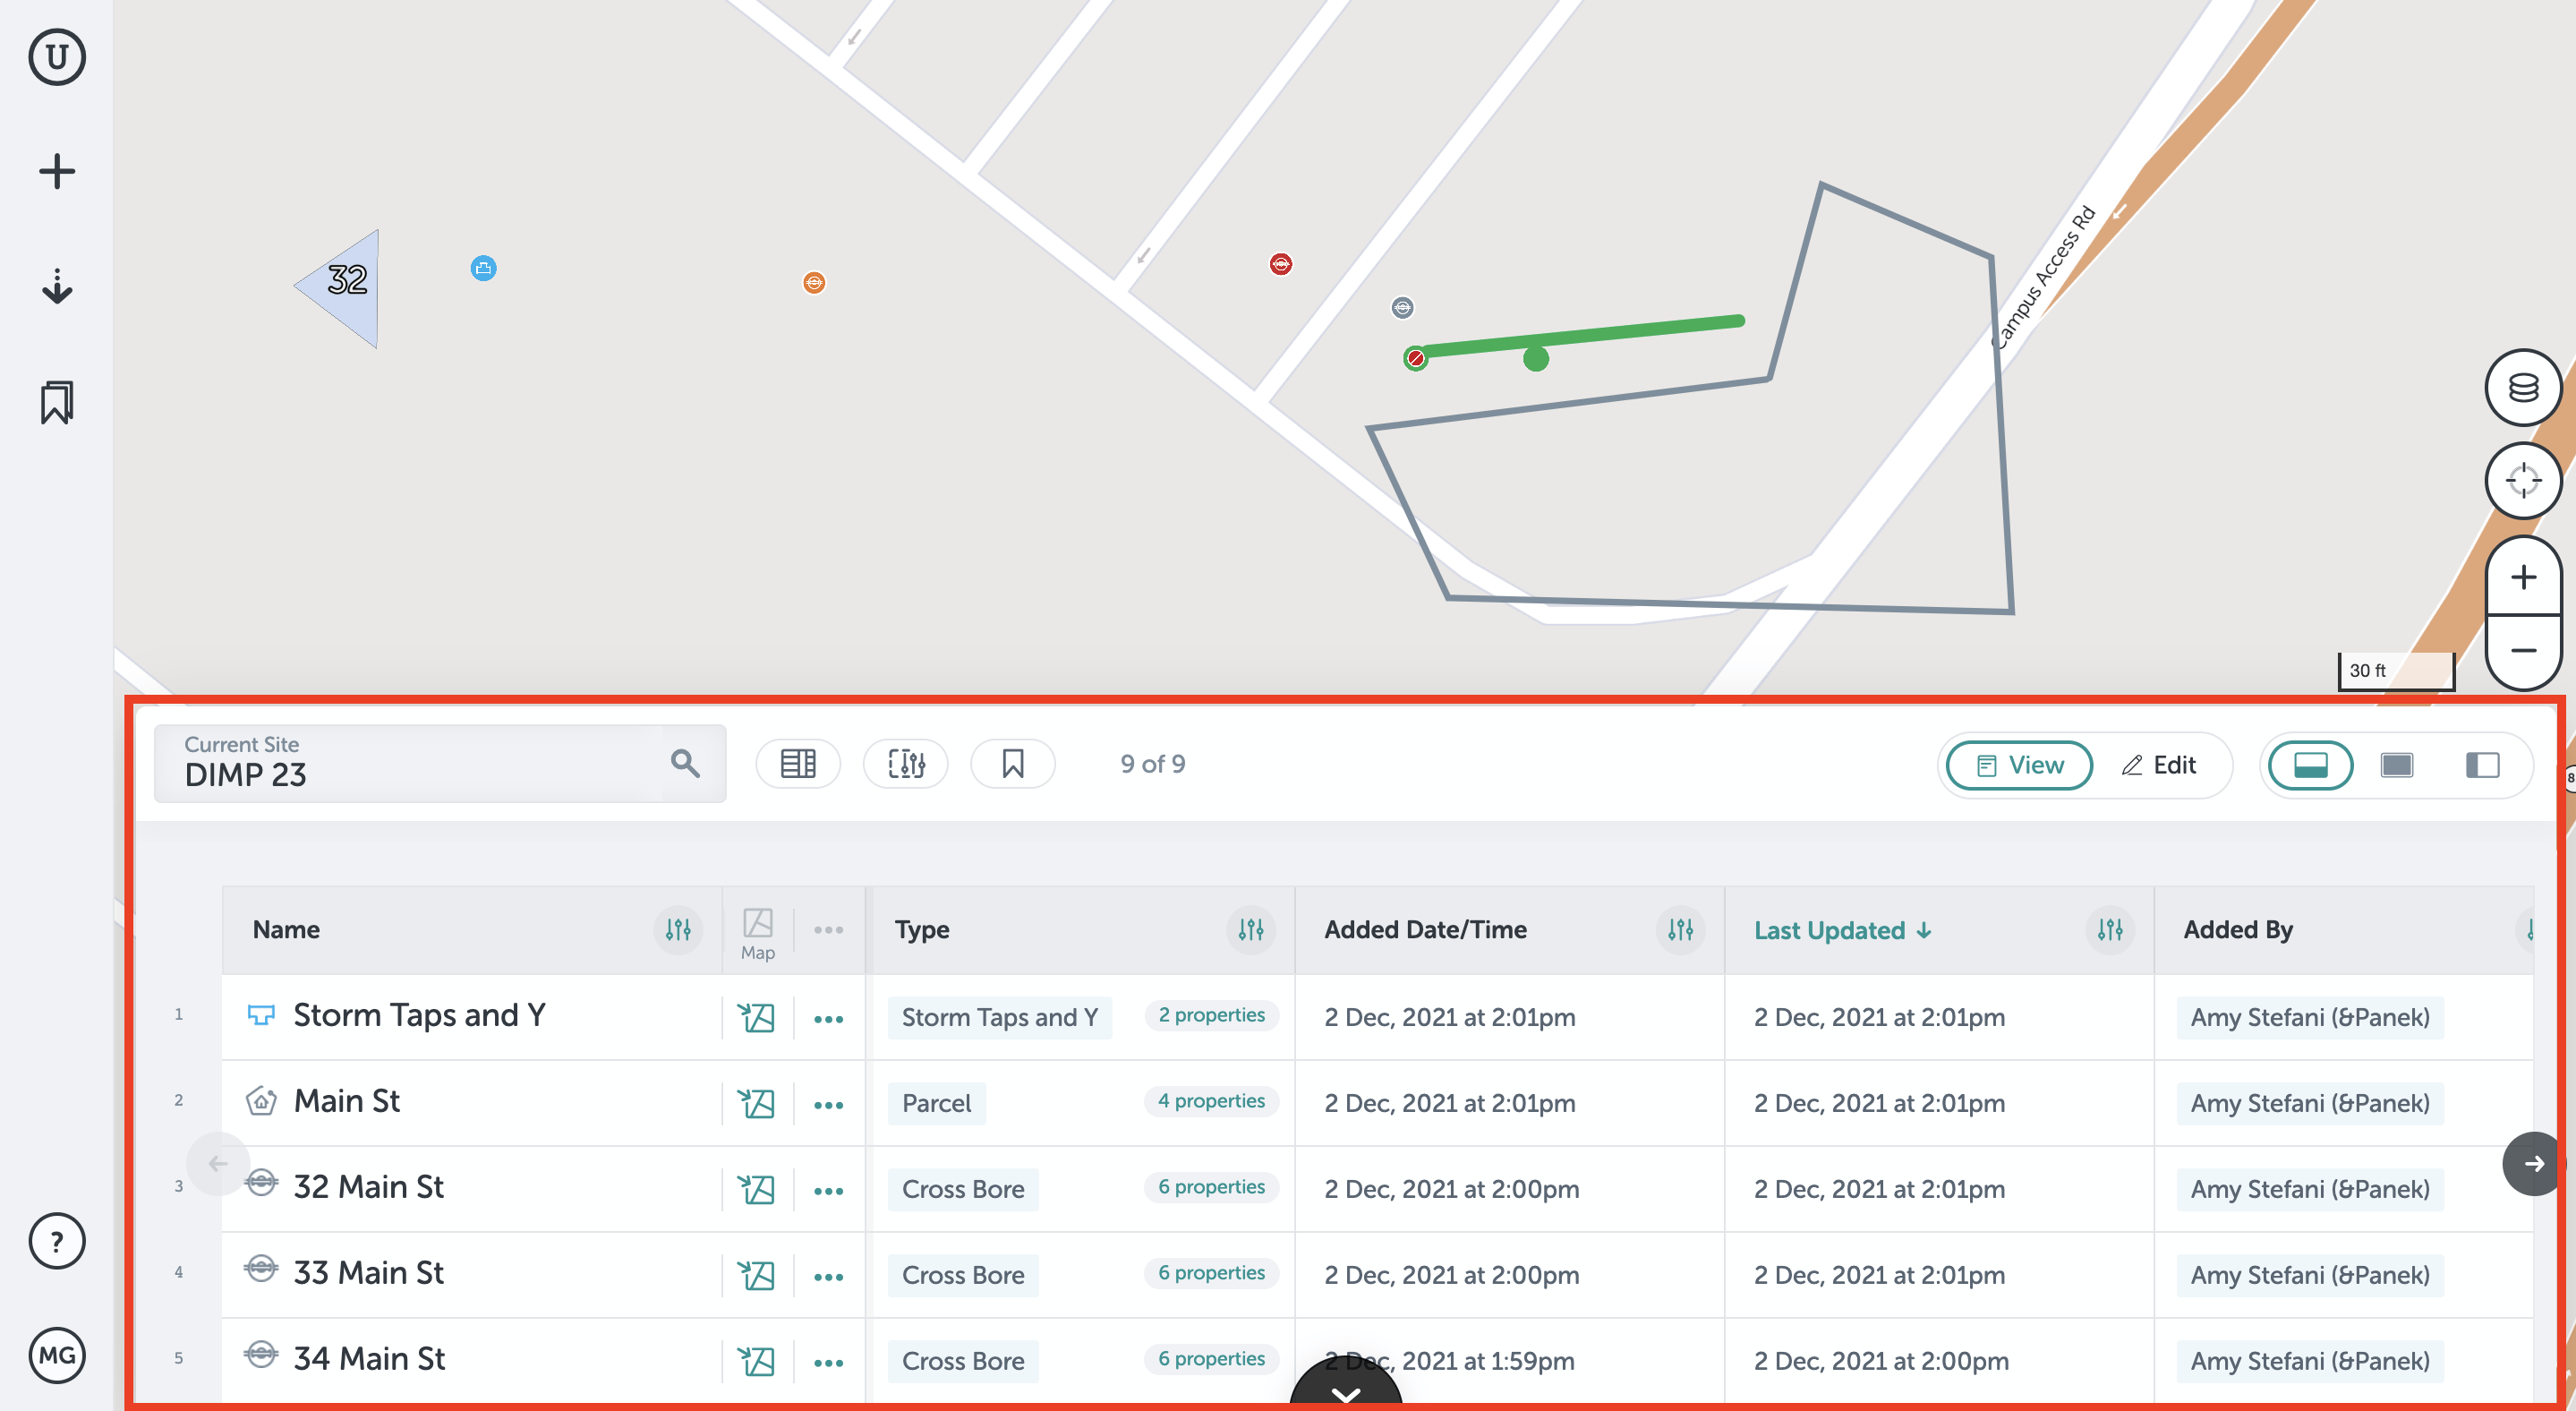
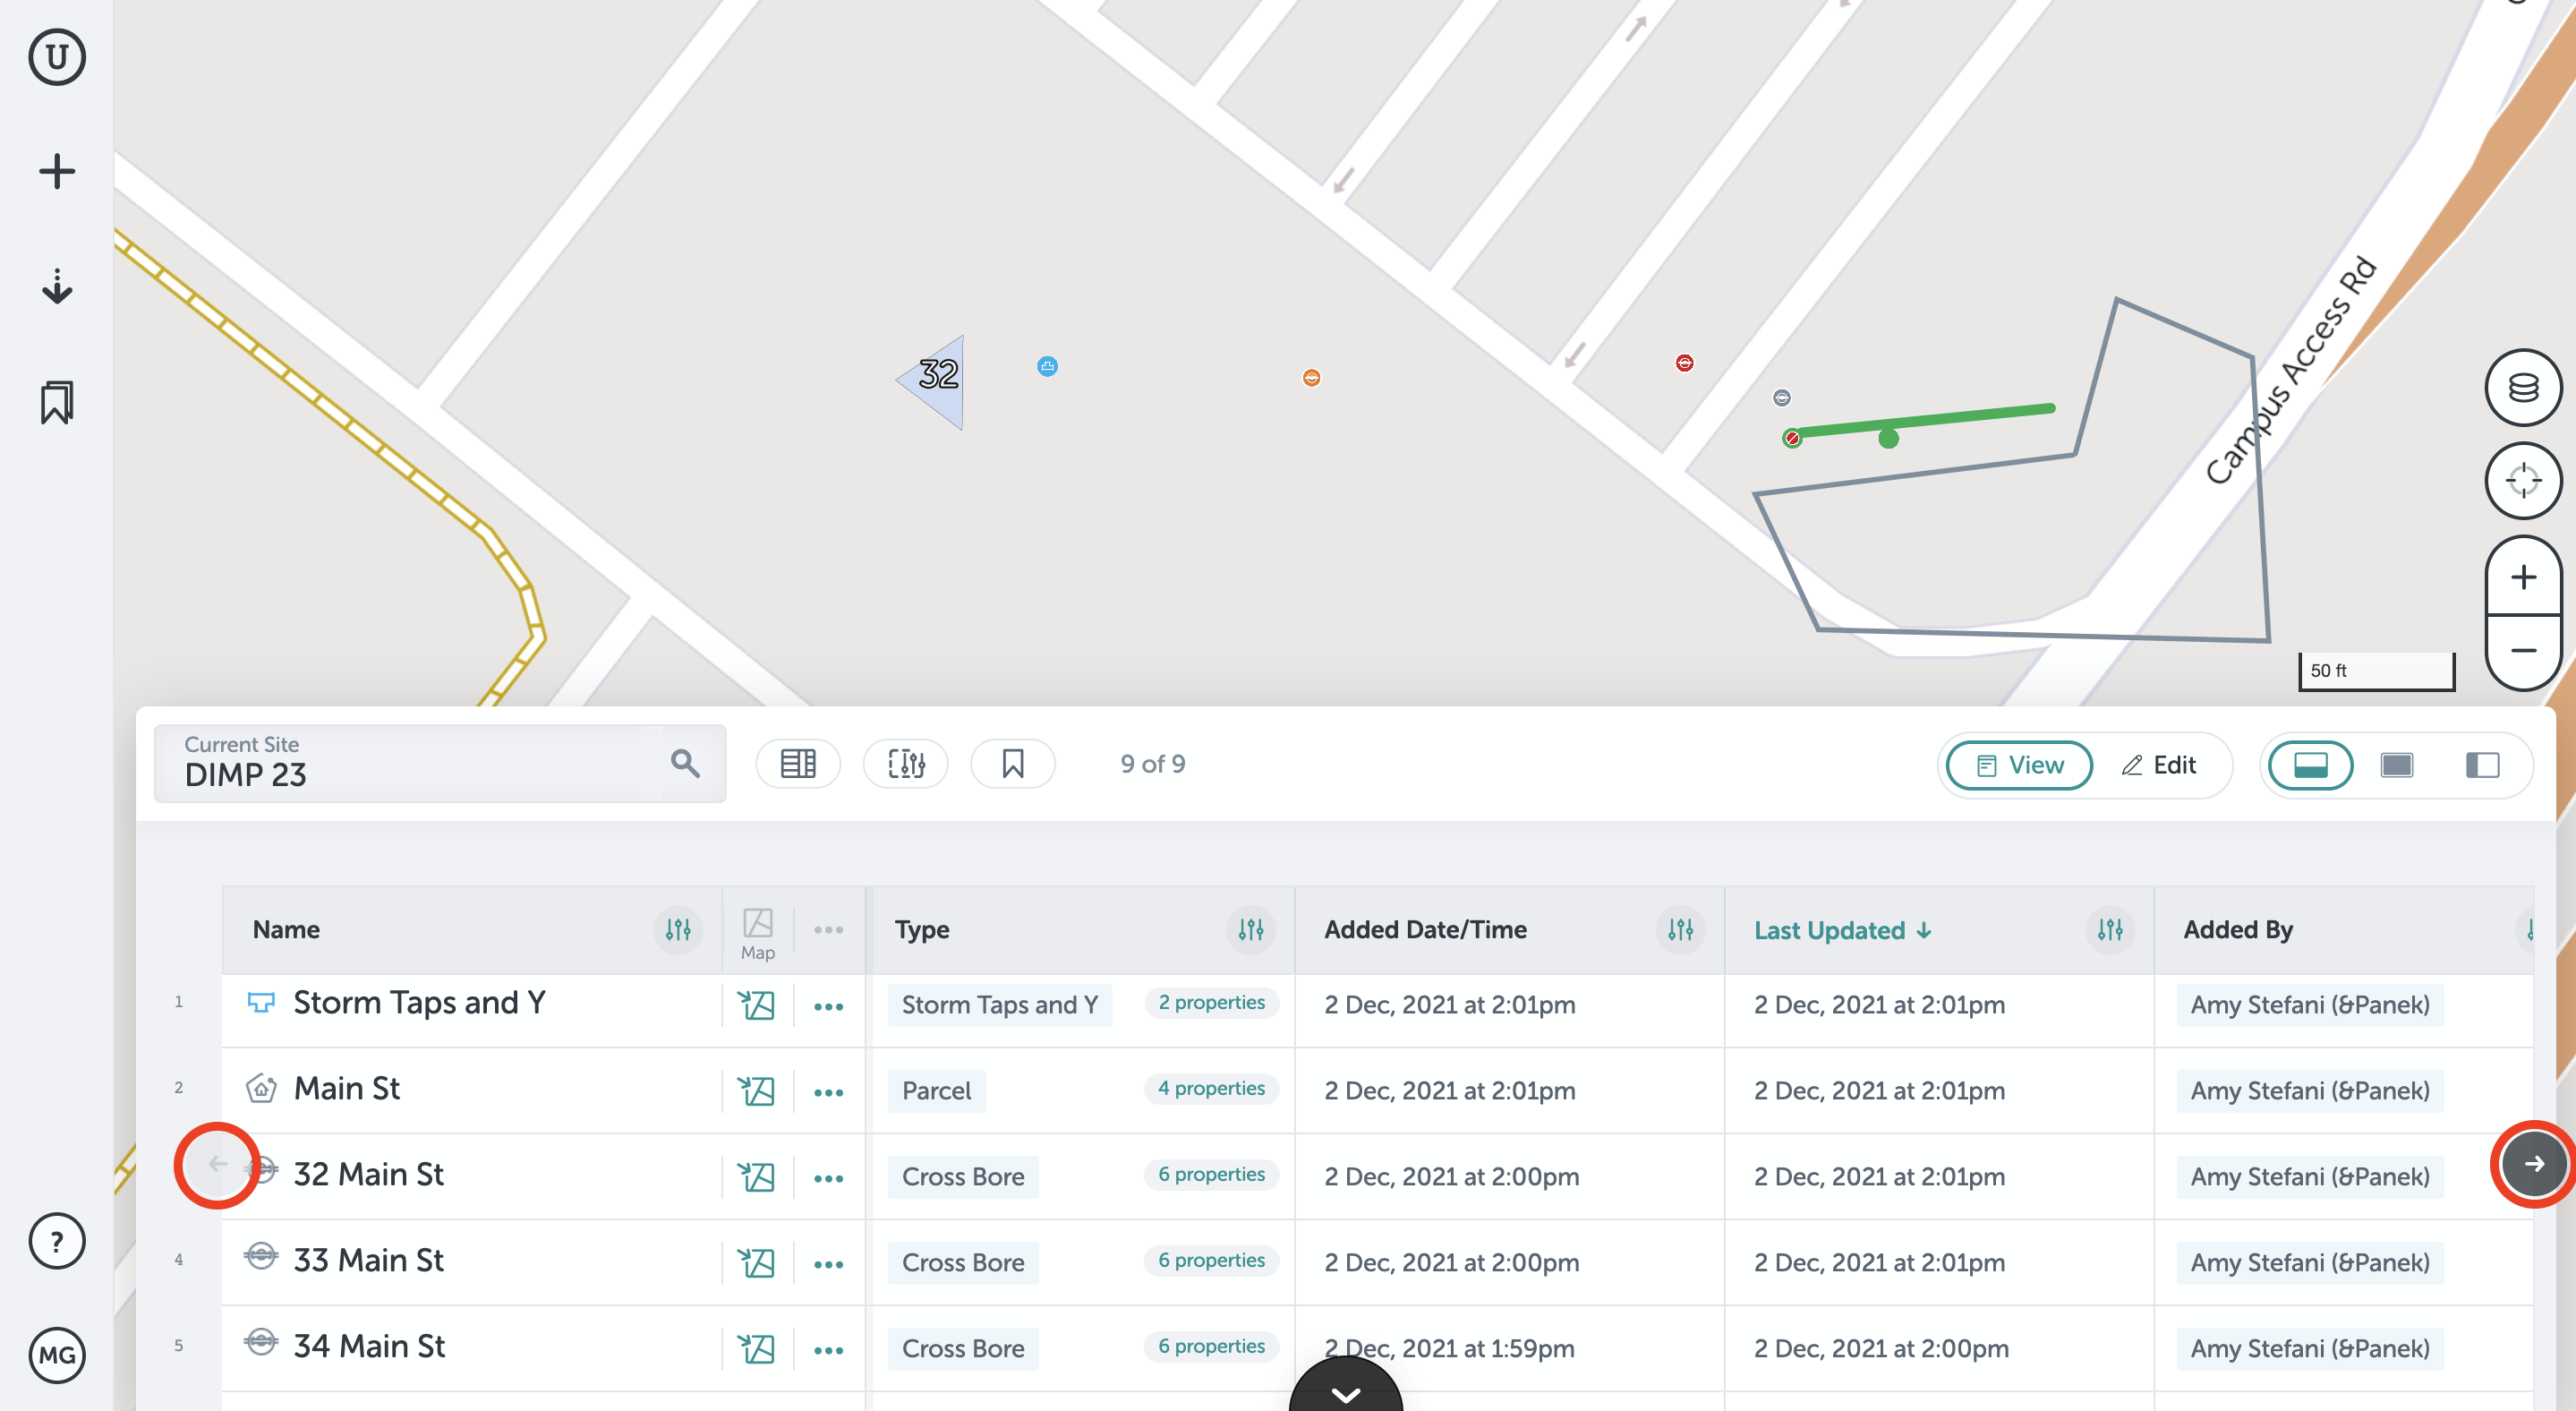
When you open your project, you will see the map and the default Table View. Table View shows you all of the assets in the project as a central list that can be filtered or sorted.
The assets listed in the table correspond to the matching asset on the map. You can access the assets by either clicking on the map, or from the table. It is typically easier to locate or sort assets in the table rather than on the map.
Table View enhances quality control tasks and provides a quick look at what is located within your project. This article will give you a quick overview of the layout of Table View.
- Open your project. You will see the default Table View at the bottom of the site window.
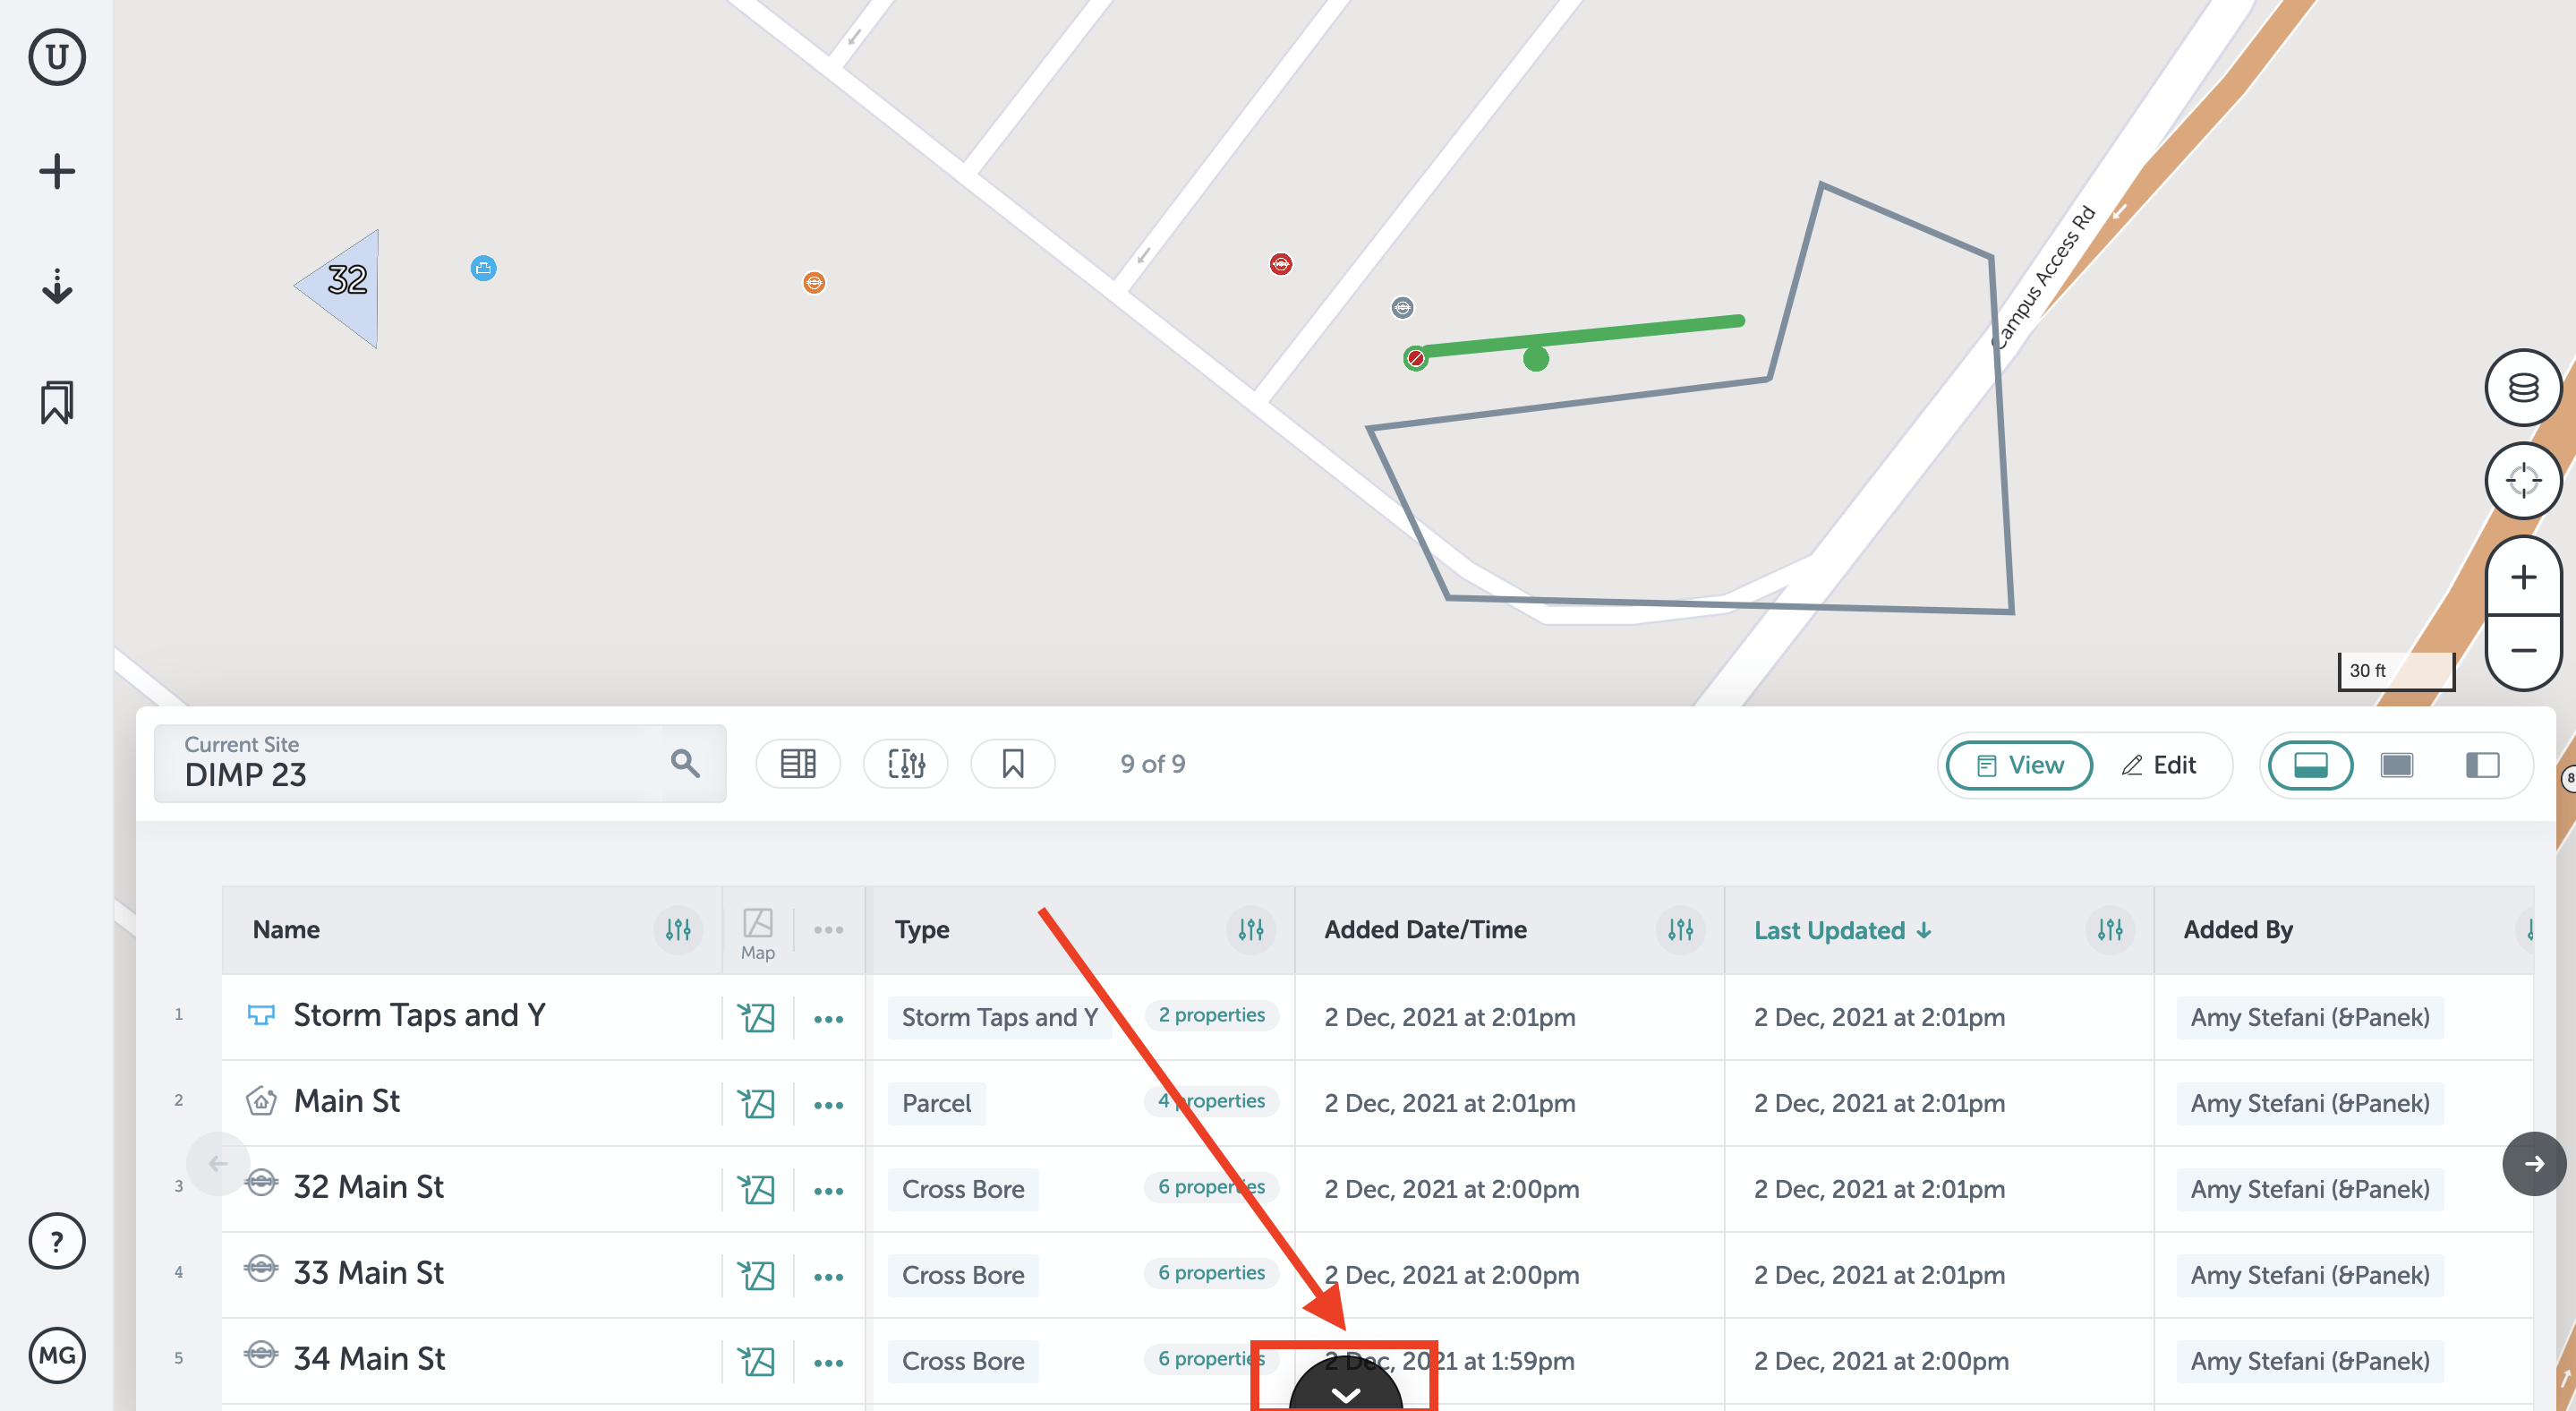
- If you would rather see more of the map, you can minimize the table by clicking on the arrow at the bottom of your screen.
Click it again to reopen Table View.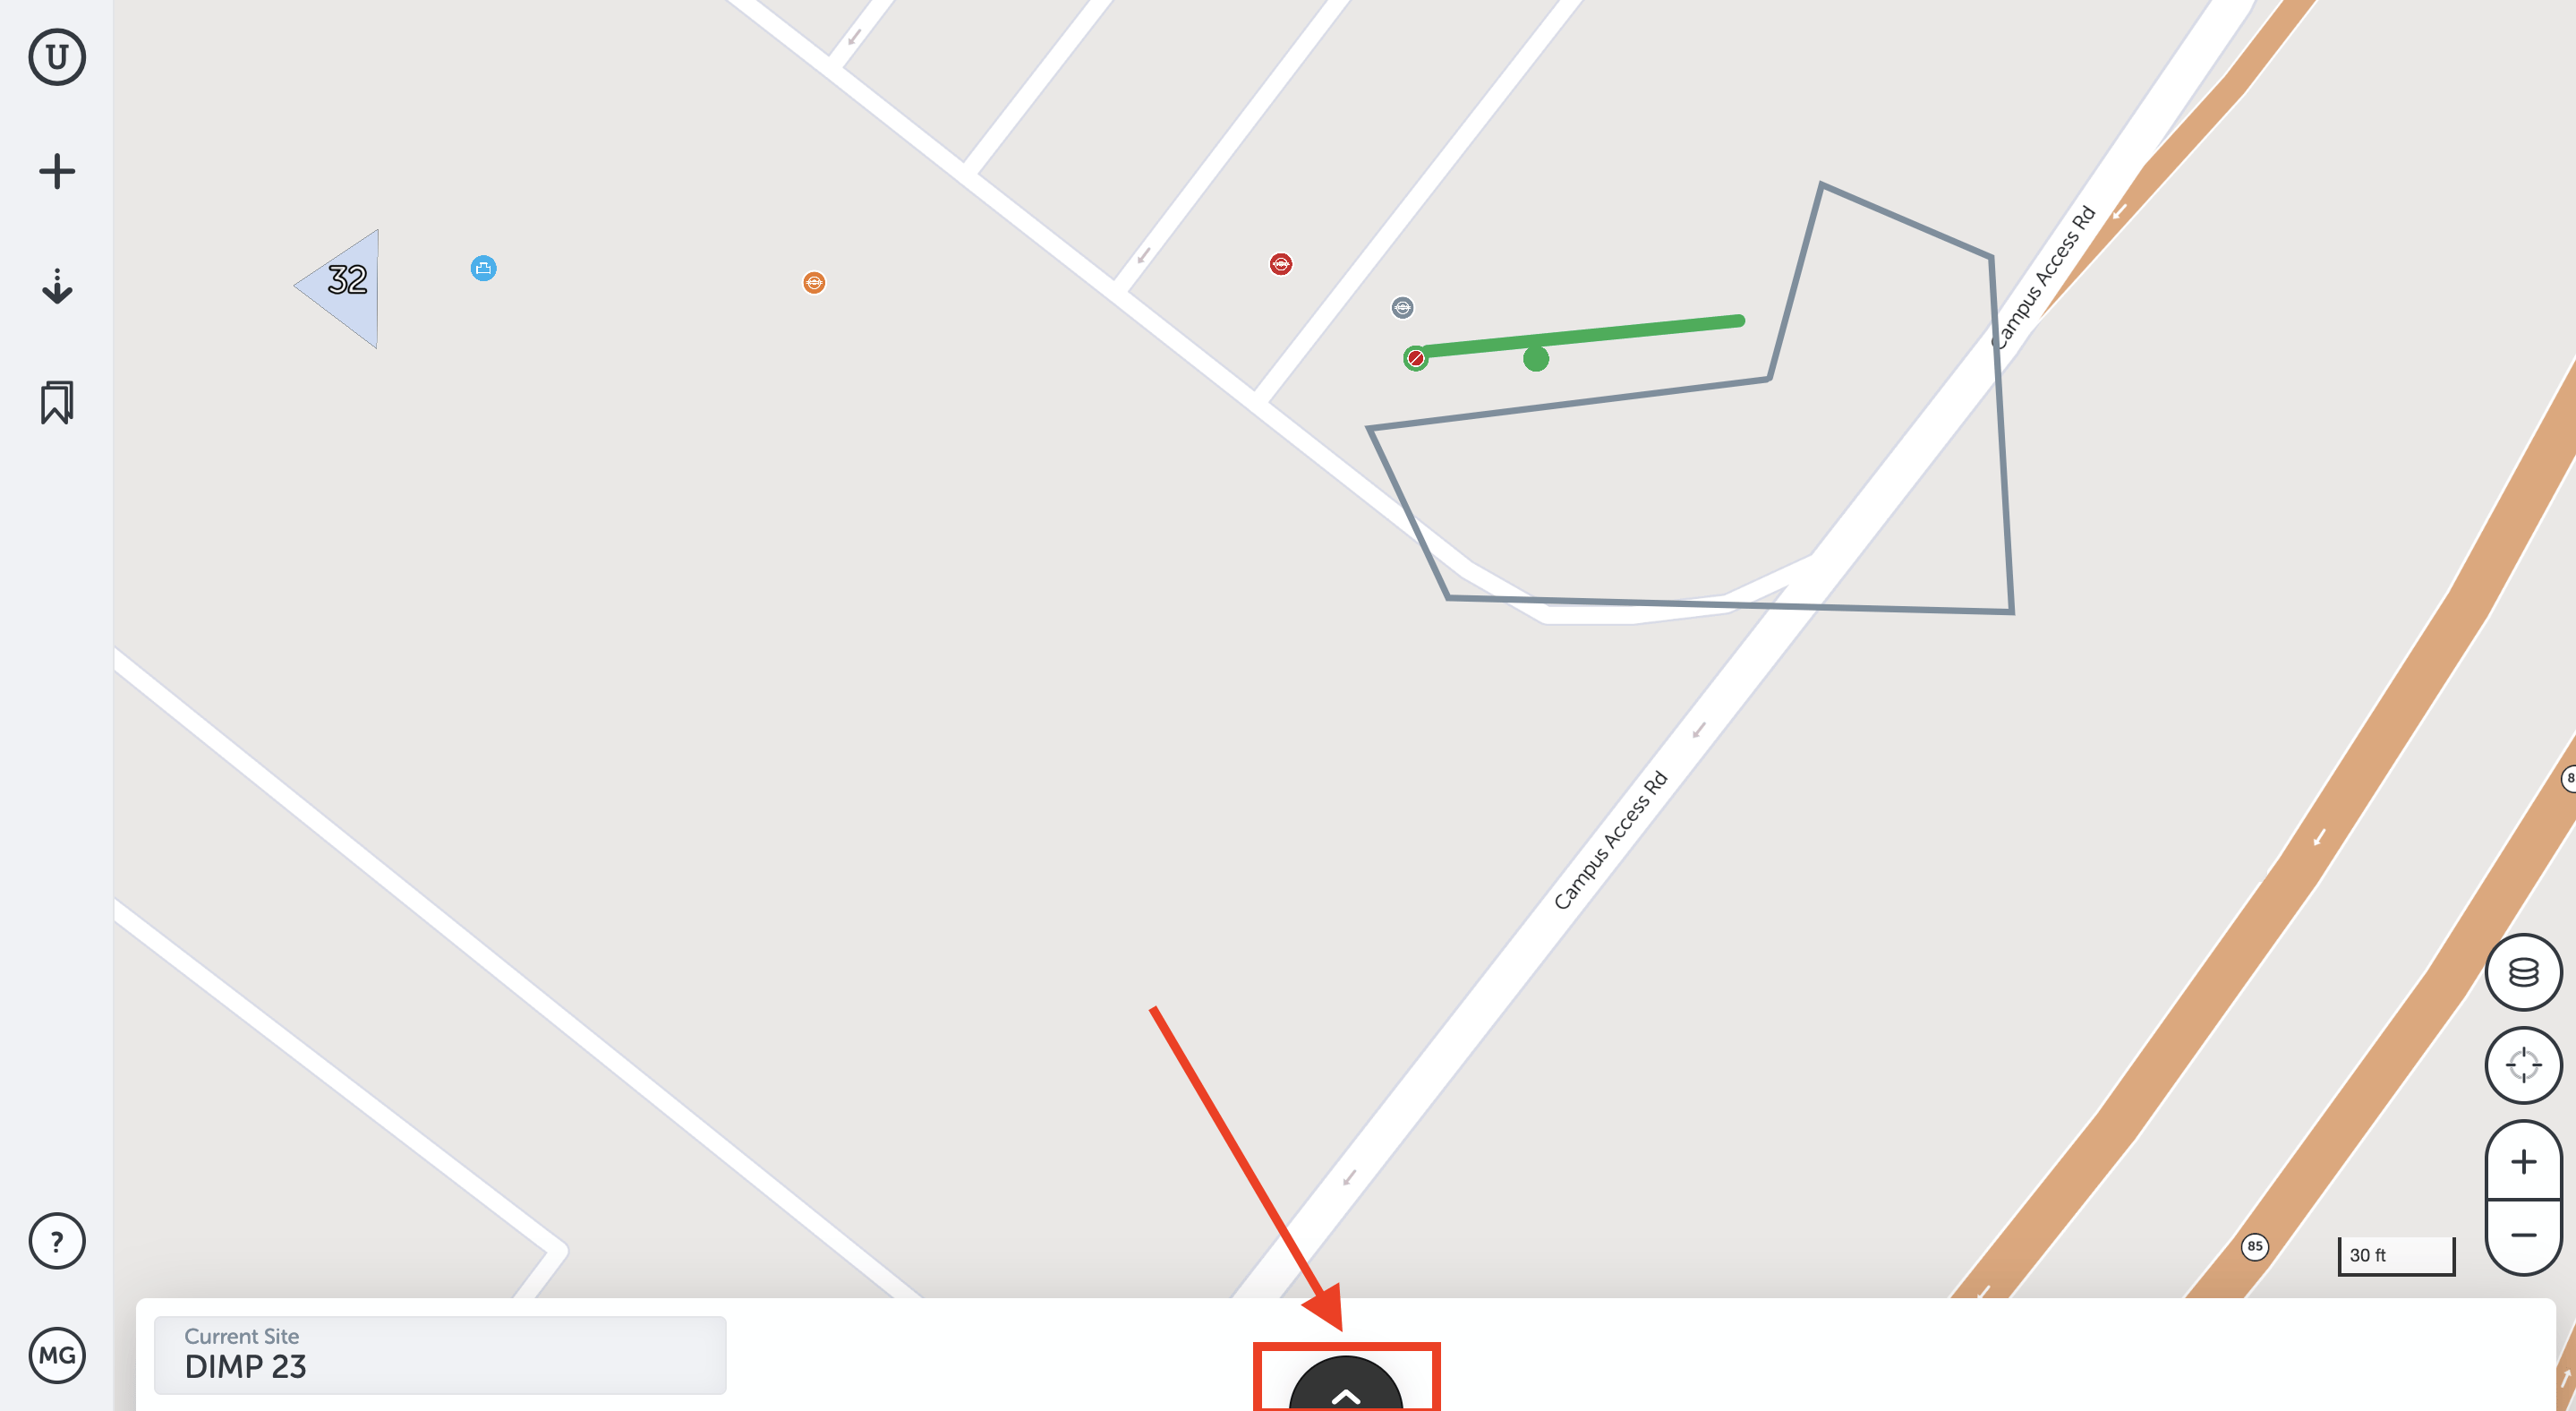
- You can change the size and location of the table with the icons on the upper-right side of the table.
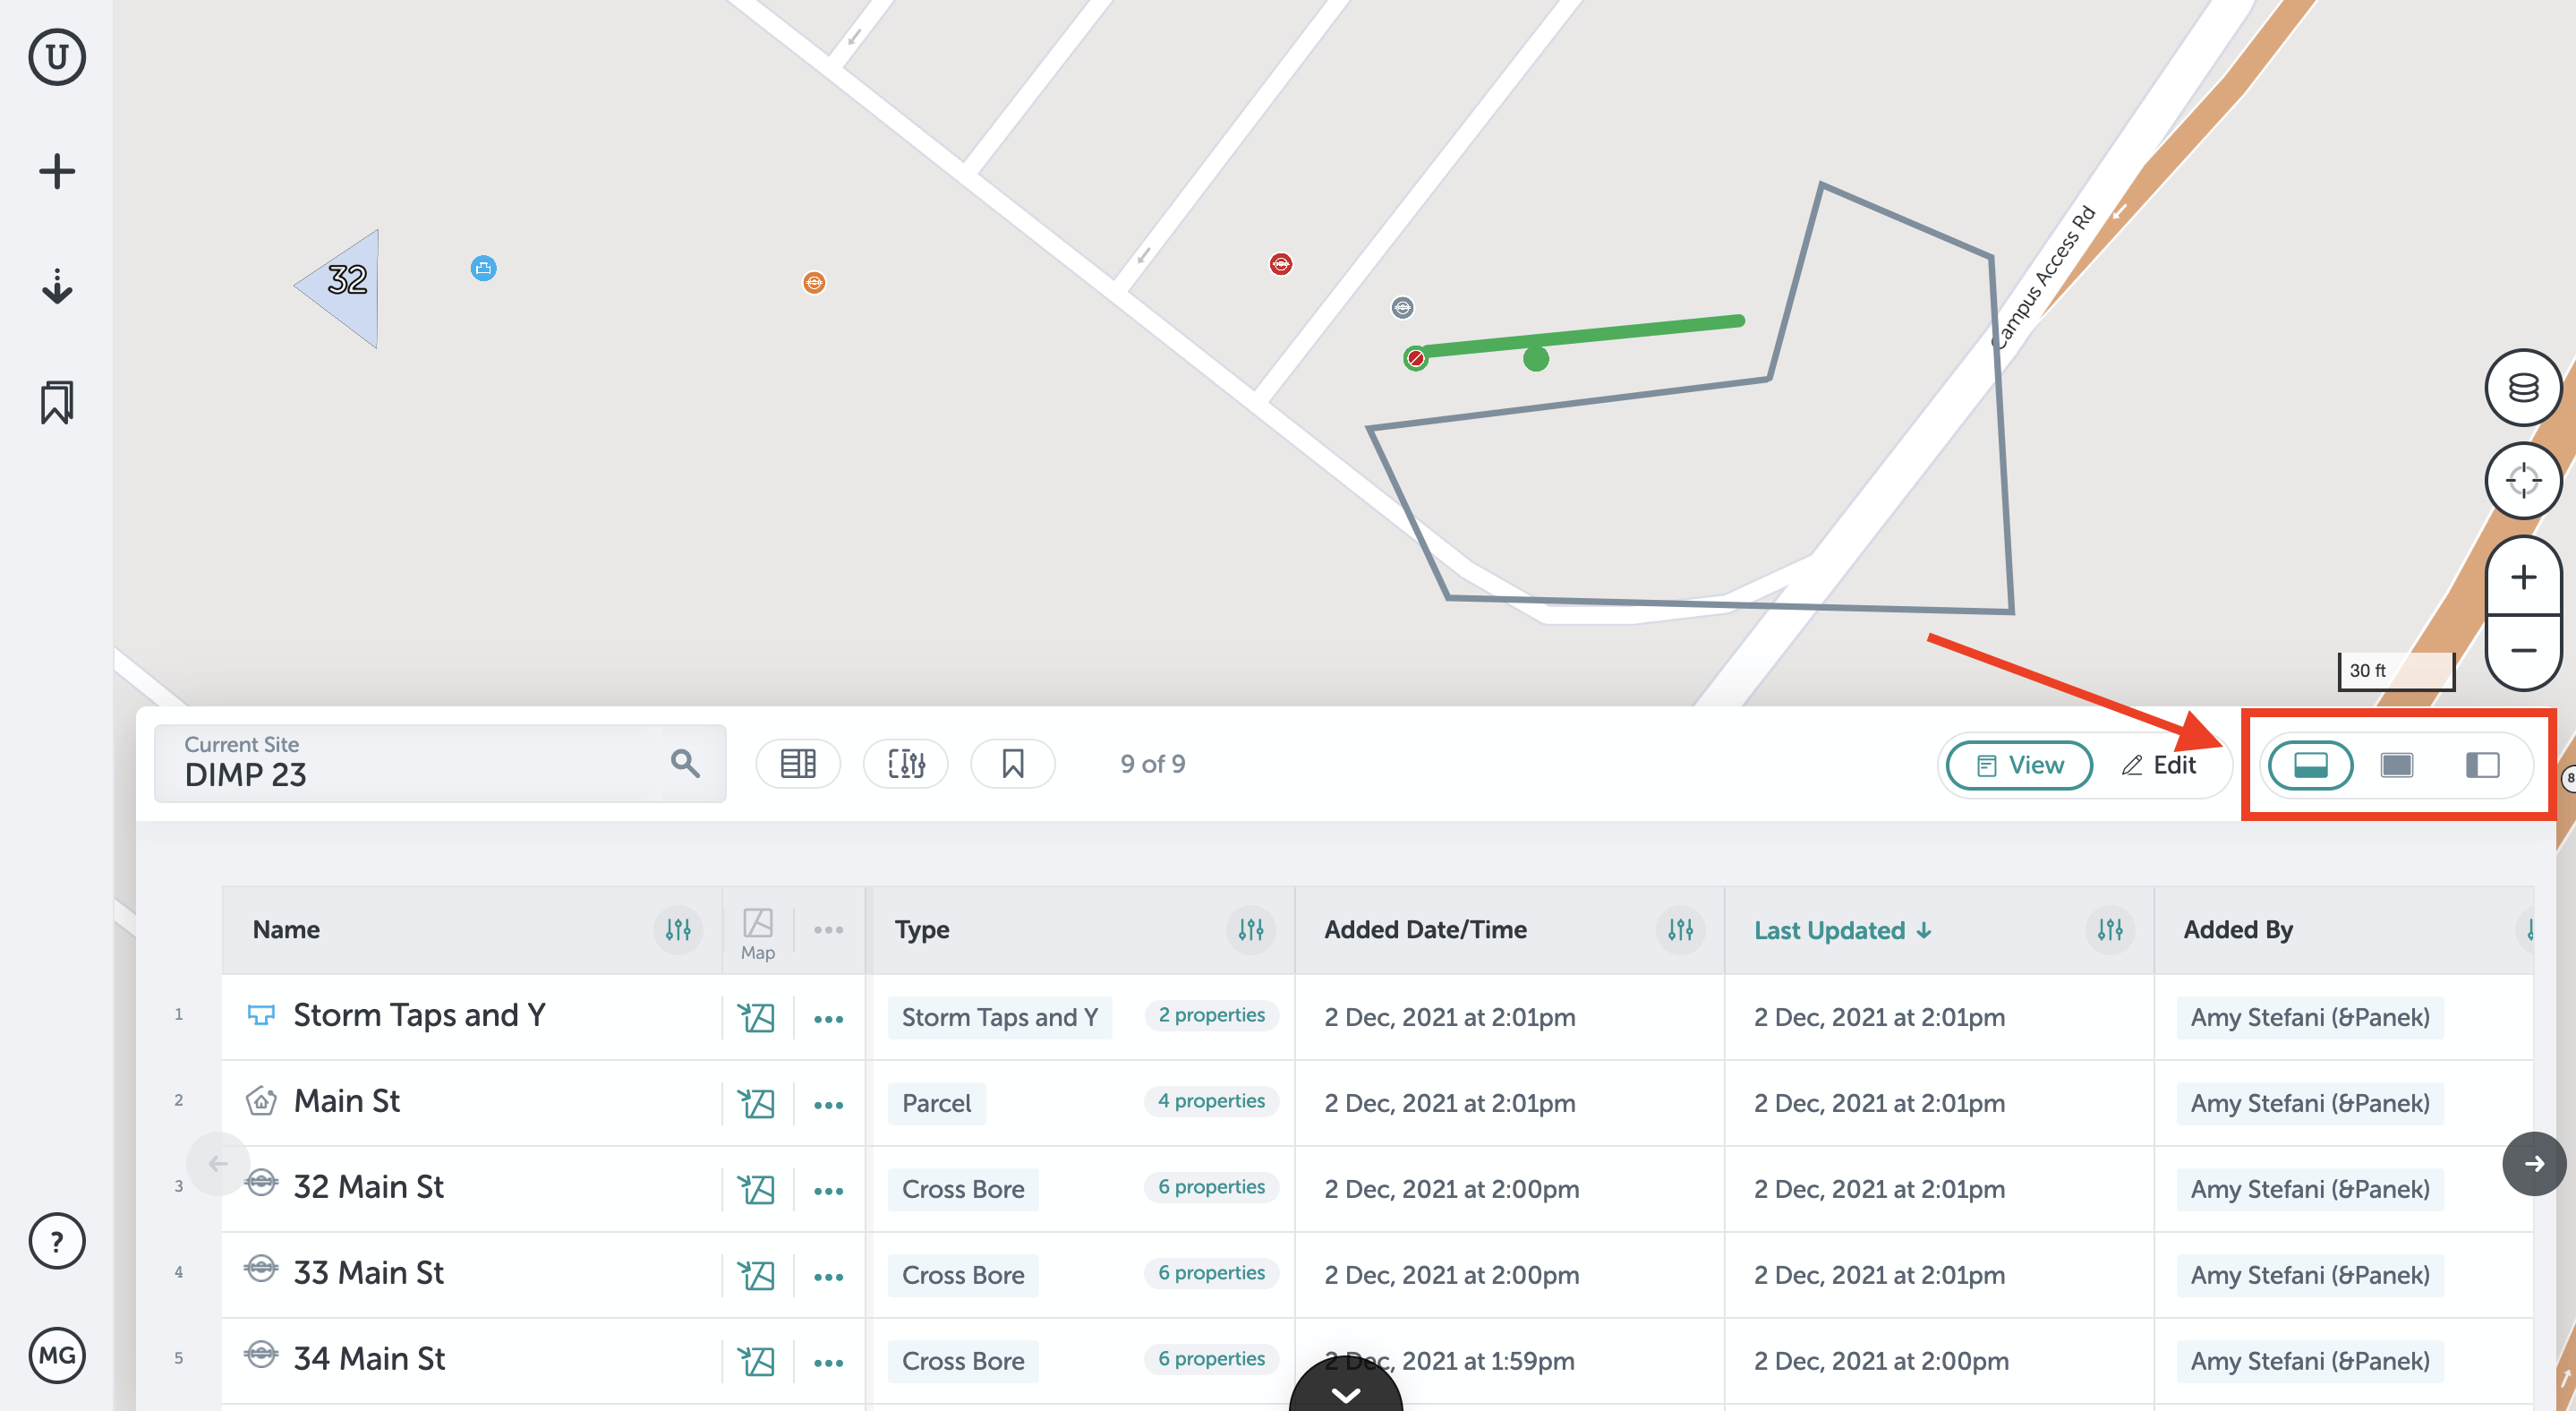
- Click the center icon to have the table fill the entire window.
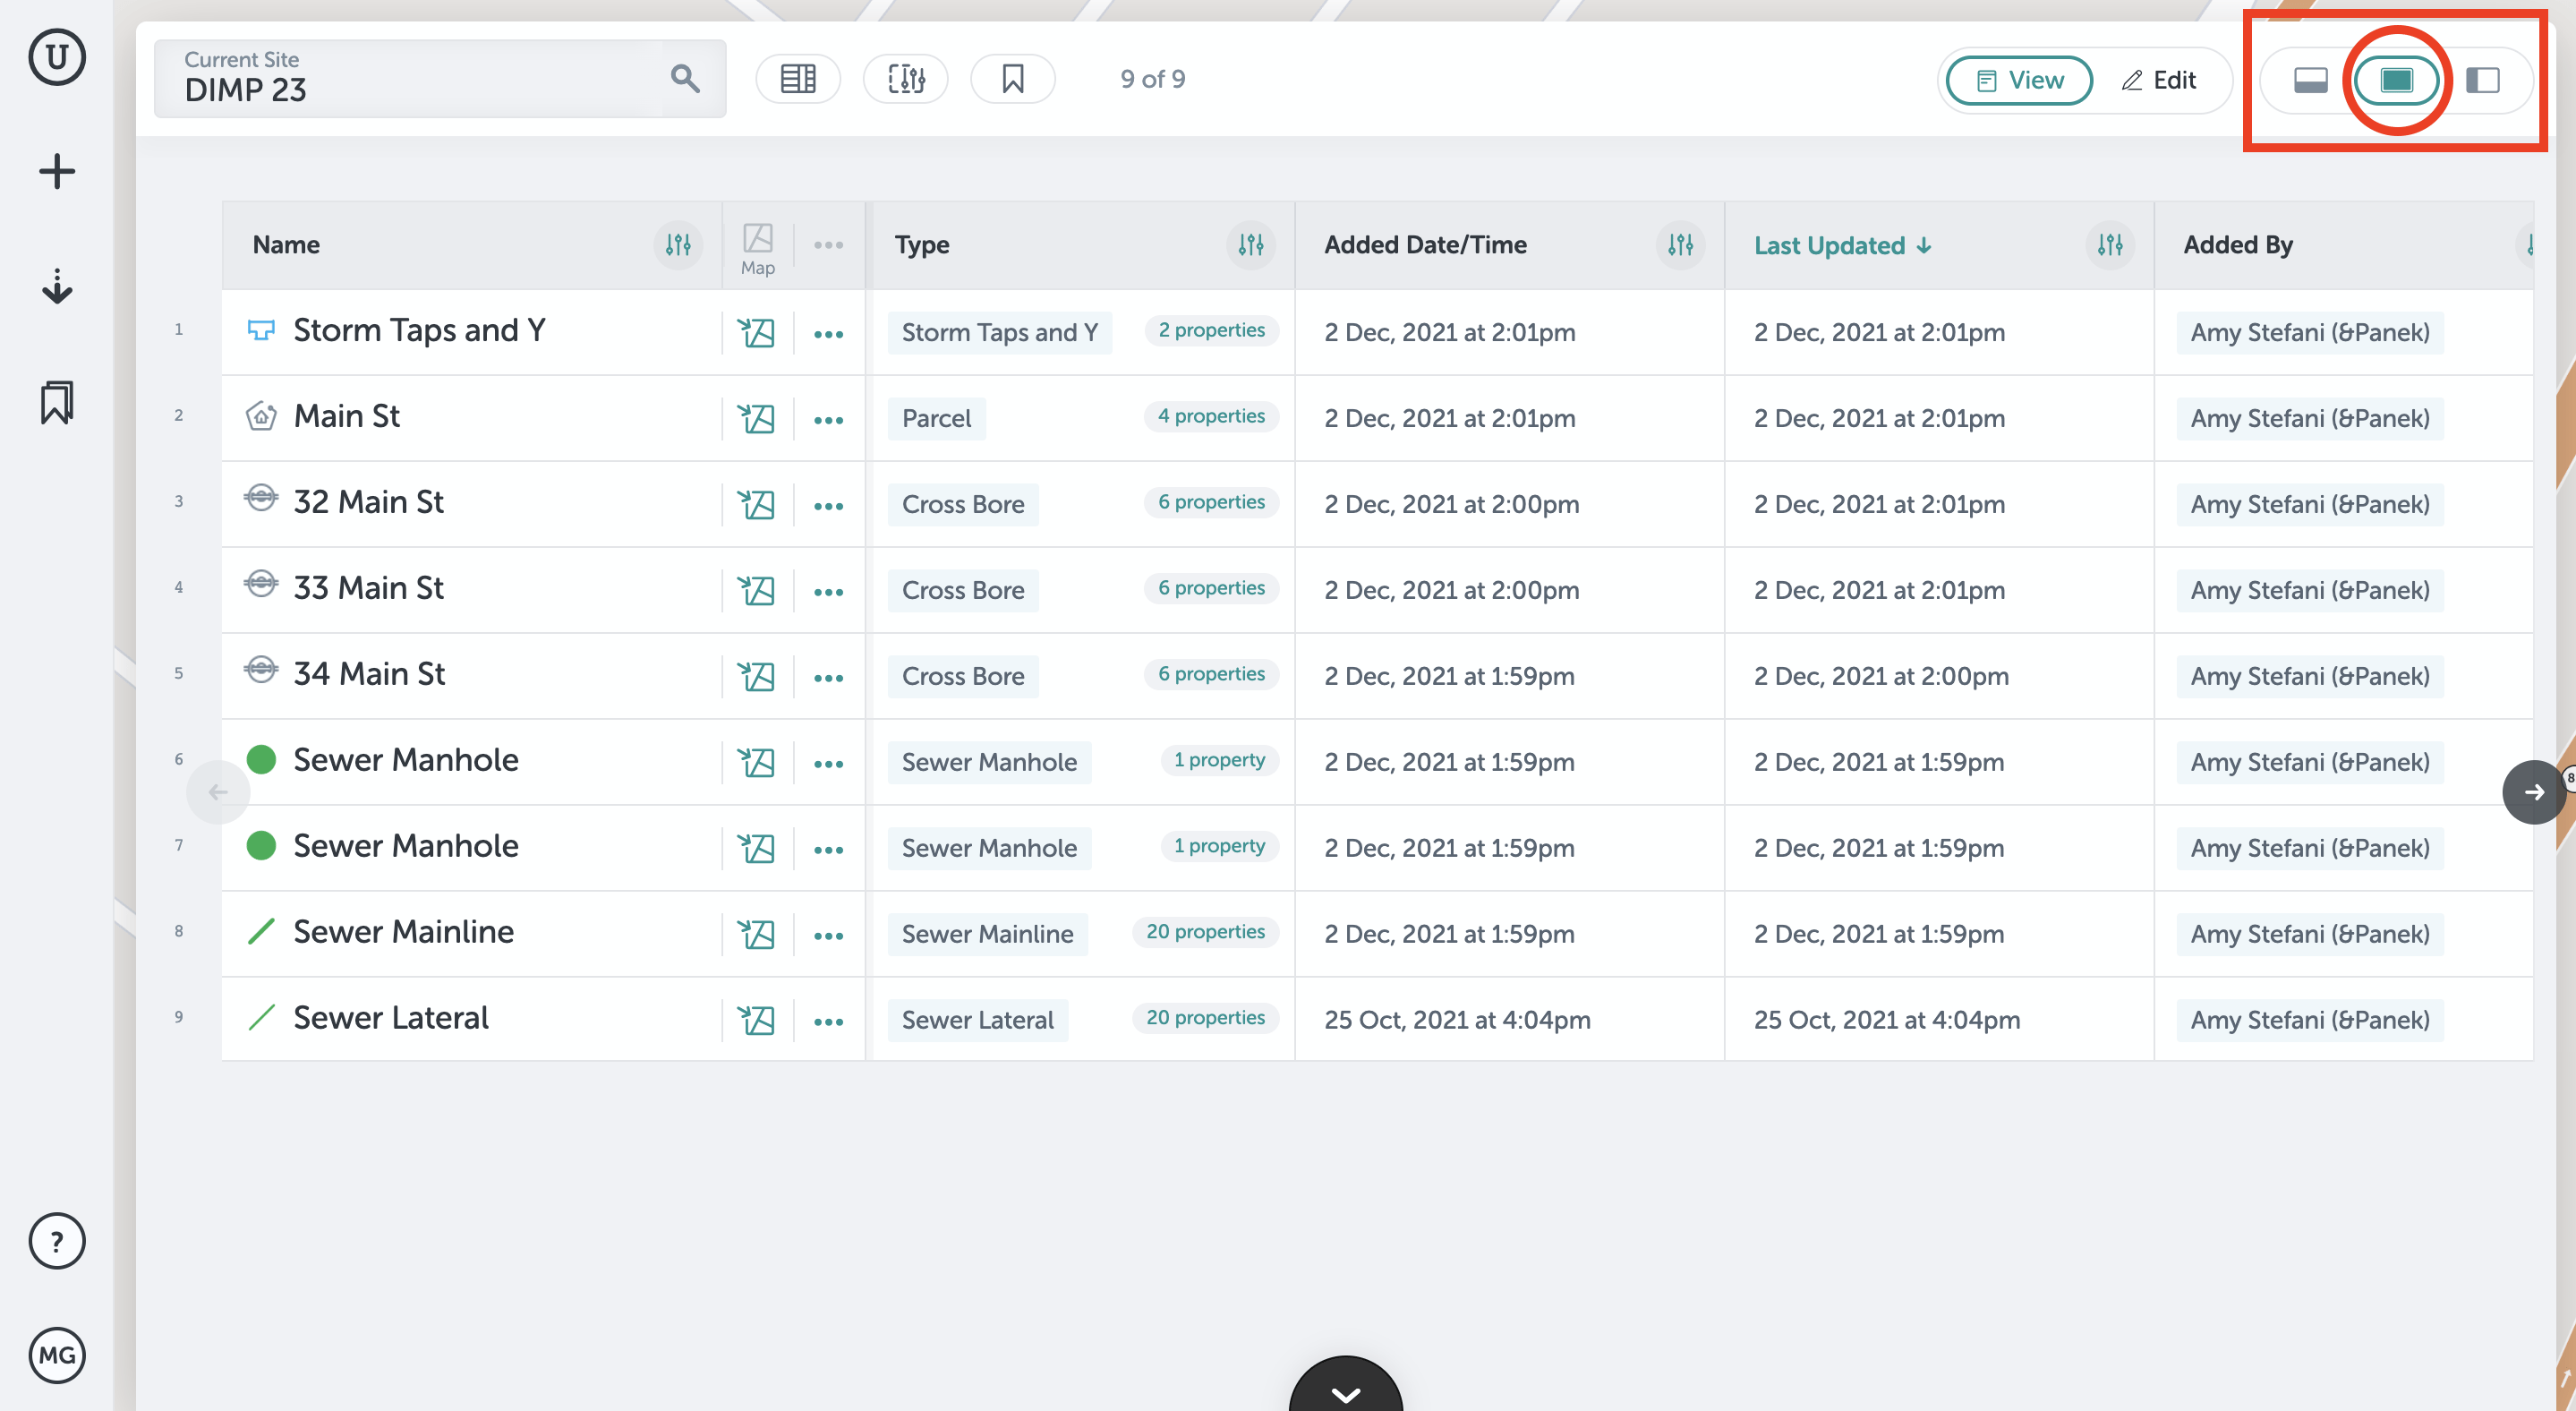
- Click on the right icon to move the table to the left side of your screen.
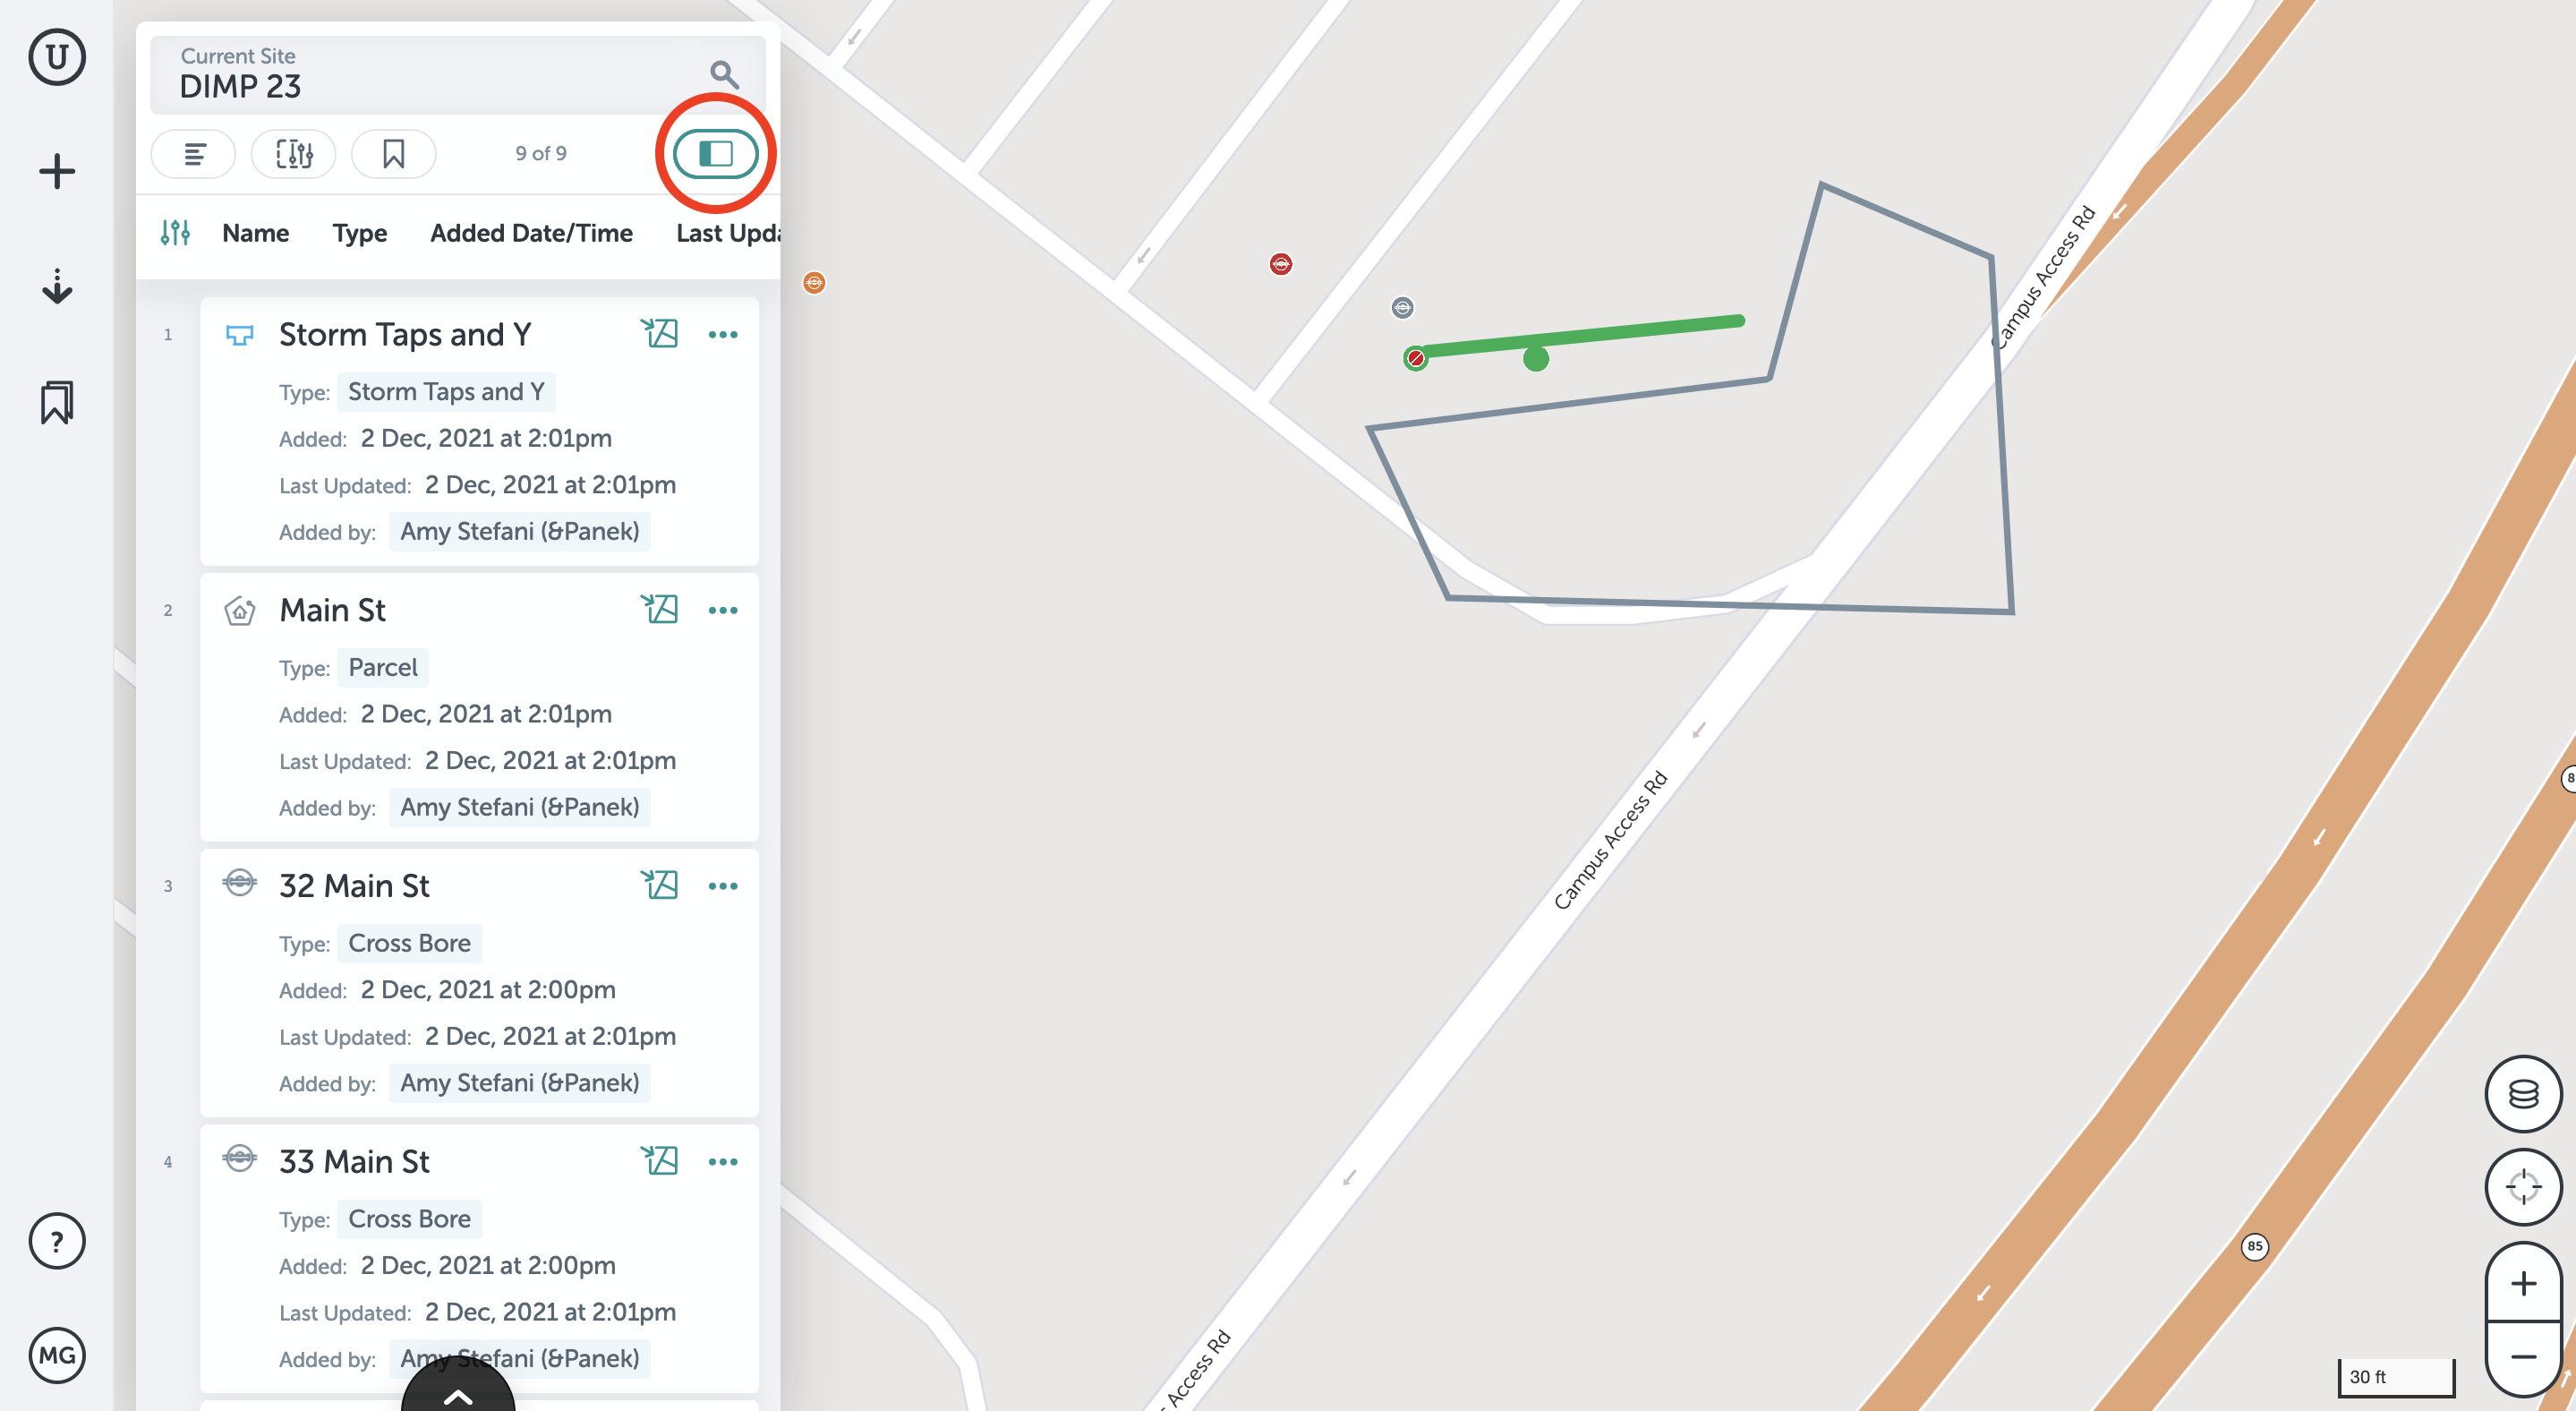
- Click on the icon again when in side view to pull up table location options, then you can switch back to full screen or half screen view.
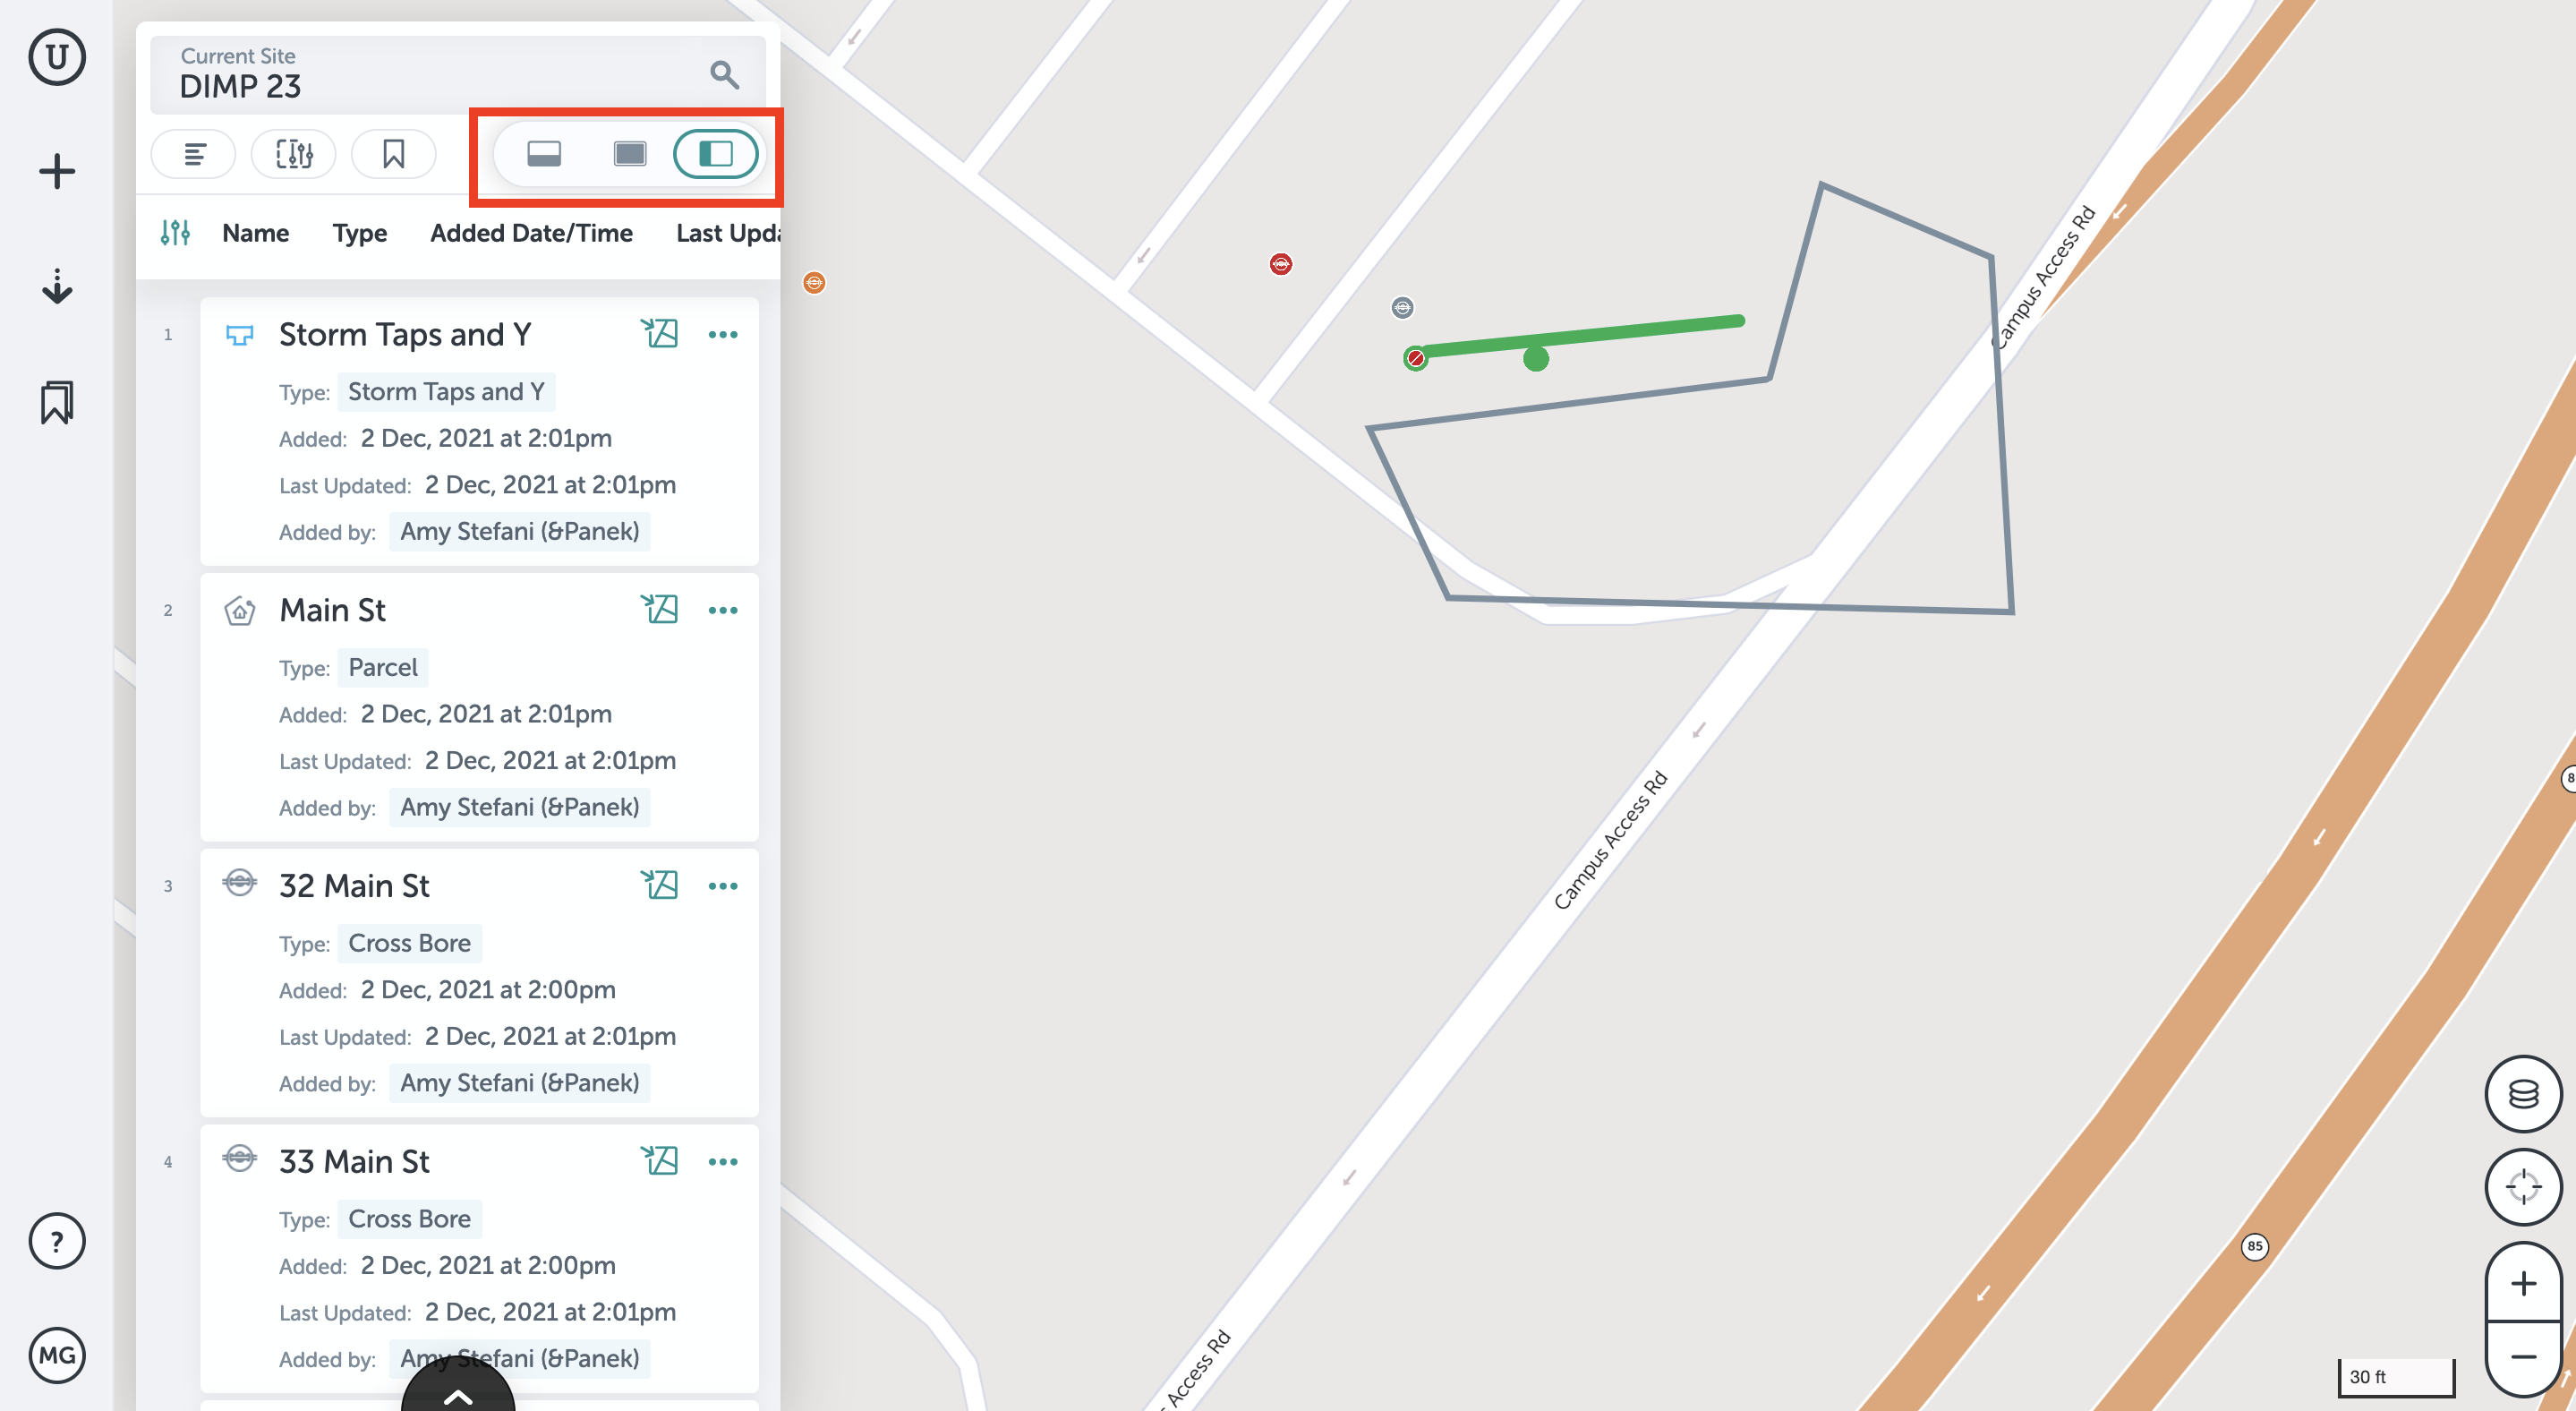
- Click the center icon to have the table fill the entire window.
- Use the "Search" bar to look up any asset in your site. Searching will show results including the search term in the name, properties, or form fields. You can also use the search bar to search for a particular address or location on the map.
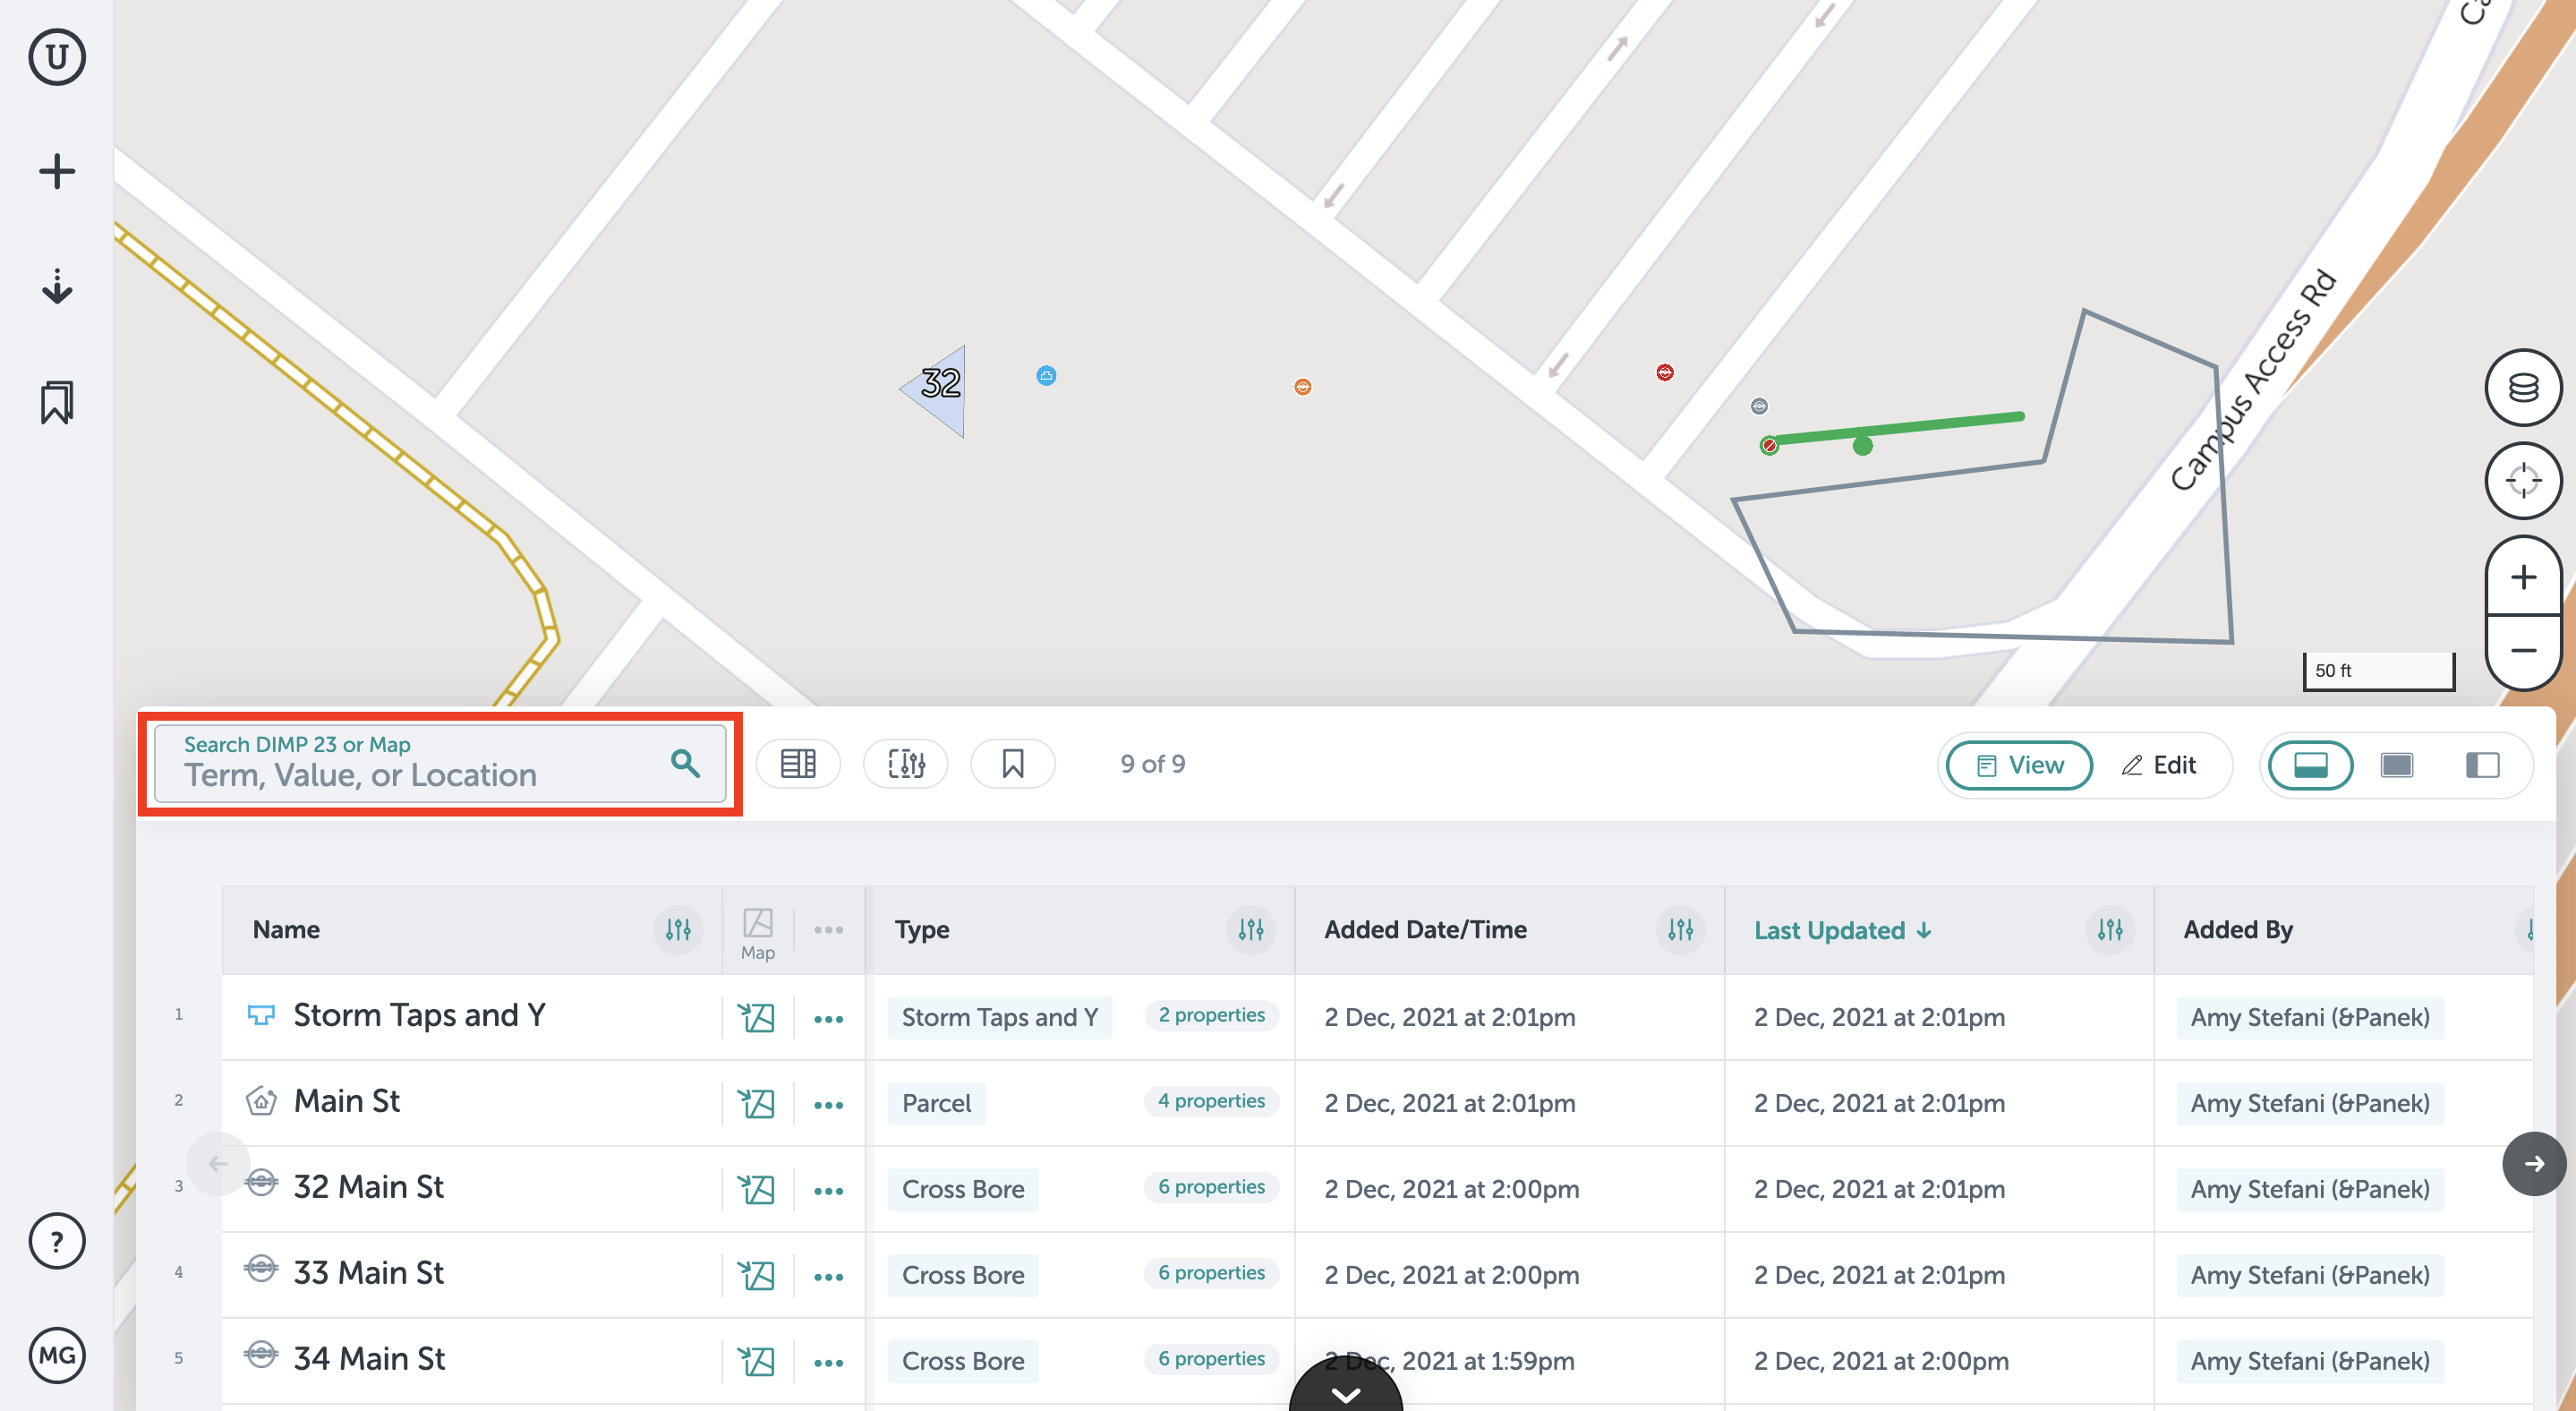
- Finally, use the right and left arrows to scroll through the columns in your table.
If you run into any issues or have any questions, please reach out to us at unearthsupport@procore.com
Revised October 2022

