Update Project Cost Codes for Export to Sage Intacct®
Objective
To update project cost codes for export to Sage Intacct®.
Background
If your company is using the ERP Integrations tool and a user adds new project cost codes to the Sage Intacct® Standard Cost Code List, those updates must be sent to the ERP Integrations tool so the changes can be reviewed by an accounting approver.
Important
Before you can export data to your ERP system, you must always update the project's cost codes first.The accounting approver then reviews the new cost codes and cost type assignments in the ERP Integrations tool and then updates the codes as described in the steps below. This approves the cost code updates in Procore and gives Procore the permission it needs to export those codes to your Sage Intacct® system, so your Procore project and the Sage Intacct® job are in sync.
Things to Consider
- Required User Permission:
- Prerequisites:
- A user must add at least one new cost code to the ERP-synced project in Procore.
- Additional Information:
- If a new cost code that already has a different cost type assignment in Procore is approved/updated, both cost type assignments will be tied to the cost code.
- Existing cost code descriptions in Sage Intacct® will not be overwritten. For example, if the cost code already has a description in Sage Intacct® that's different from the Standard Cost Code's description that appears in Procore, the cost code's description in Sage Intacct® will stay the same.
Steps
- Navigate to the company's ERP Integrations tool.
- Click Jobs.
- Under Filters, click Ready to Update.
Note: To refresh the content in the Ready to Update page, click Refresh Job List. - Click View Requested Updates.

- Review the details in the Cost Codes for Update window.
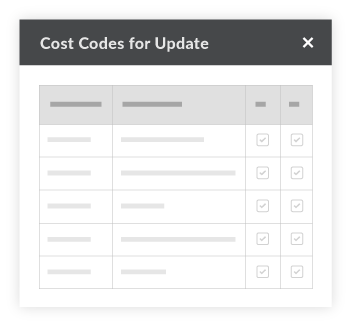
Notes: Editing is NOT permitted in this window, so the checkboxes are dimmed and unavailable. - When you are ready to proceed, click Close (X).
- Continue with one of these steps:
Accept the Codes
- Review the information in the Jobs tab.
- Choose Accept.
- Click Export to Sage Intacct.
Procore exports the codes and assignments during the next data sync.
Reject the Codes
- Review the information in the Jobs tab.
- Choose Reject.
- Enter a brief comment to explain why the project cost codes were rejected in the Enter a Comment (Optional) field.
- Click Reject.