Send Subcontractor Invoices to ERP Integrations for Accounting Acceptance
Objective
To send invoices the ERP Integrations tool so they can be accepted by an accounting approver for export to your integrated ERP system.
Background
When you create invoices on a Procore project, they must be sent to the ERP Integrations tool in Procore for acceptance by an accounting approver. After acceptance, the system will export the invoice data to your integrated ERP system. After invoices are sent to the ERP Integrations tool, users will NOT be able to edit the invoice in the Commitments tool (with the exception of the invoice's attachments).
When working with the Procore + QuickBooks® Online integration, you will need to be aware of what the different icons and ribbons signify in the Commitments tool.
For companies using the ERP Integrations tool, color-coded icons and ribbons appear in relevant areas of Procore to show the current status of an item.
| ICON | RIBBON | COLOR | DEFINITION |
|---|---|---|---|
| YELLOW | Data that was sent ERP Integrations tool for approval has been retrieved from the tool by an end user. OR Data that was sent to the ERP Integrations tool has been rejected for export to the integrated ERP system by an accounting approver. |
||
| GREEN | Data is synced between Procore and an integrated ERP system. | ||
| BLUE | Data was sent to the ERP Integrations tool and is waiting for accounting approver to accept it for export to the integrated ERP system. | ||
| GREEN | When a user is designated as an accounting approver, this badge appears next to their user profile in the Company and Project Directory. |
Things to Consider
- Required User Permissions:
- 'Admin' permission on the project's Commitments tool.
- Minimum Invoice Requirements:
- Before you can send an invoice from the Commitments tool to the ERP Integrations tool, the invoice must be in the Approved, Approved as Noted, or Pending Owner Approval status.
- Your company's Procore Administrator must specify a QuickBooks® Online Service Item for the Retainage Payable configuration setting. This setting is configured during the QuickBooks® Online implementation process.
- Additional Information:
- Billing Date. This date in Procore is transferred to QuickBooks® Online as the Bill Date on the bill.
- Payment Due. This date in Procore is transferred to QuickBooks® Online as the Bill Due date.
Note: If the Payment Due field is empty, Procore will not transfer ANY date to the Bill Due Date in QuickBooks® Online. This allows QuickBooks® Online to calculate a Bill Due date based on any terms set up for the vendor in QuickBooks® Online. - Accounting Method. For purchase orders and subcontracts with an amount-based accounting method, Procore sends the dollar amount for each line item to QuickBooks® Online. For purchase orders and subcontracts with a Unit/Qty accounting method, Procore sends the quantity invoiced for each line item to QuickBooks® Online.
Steps
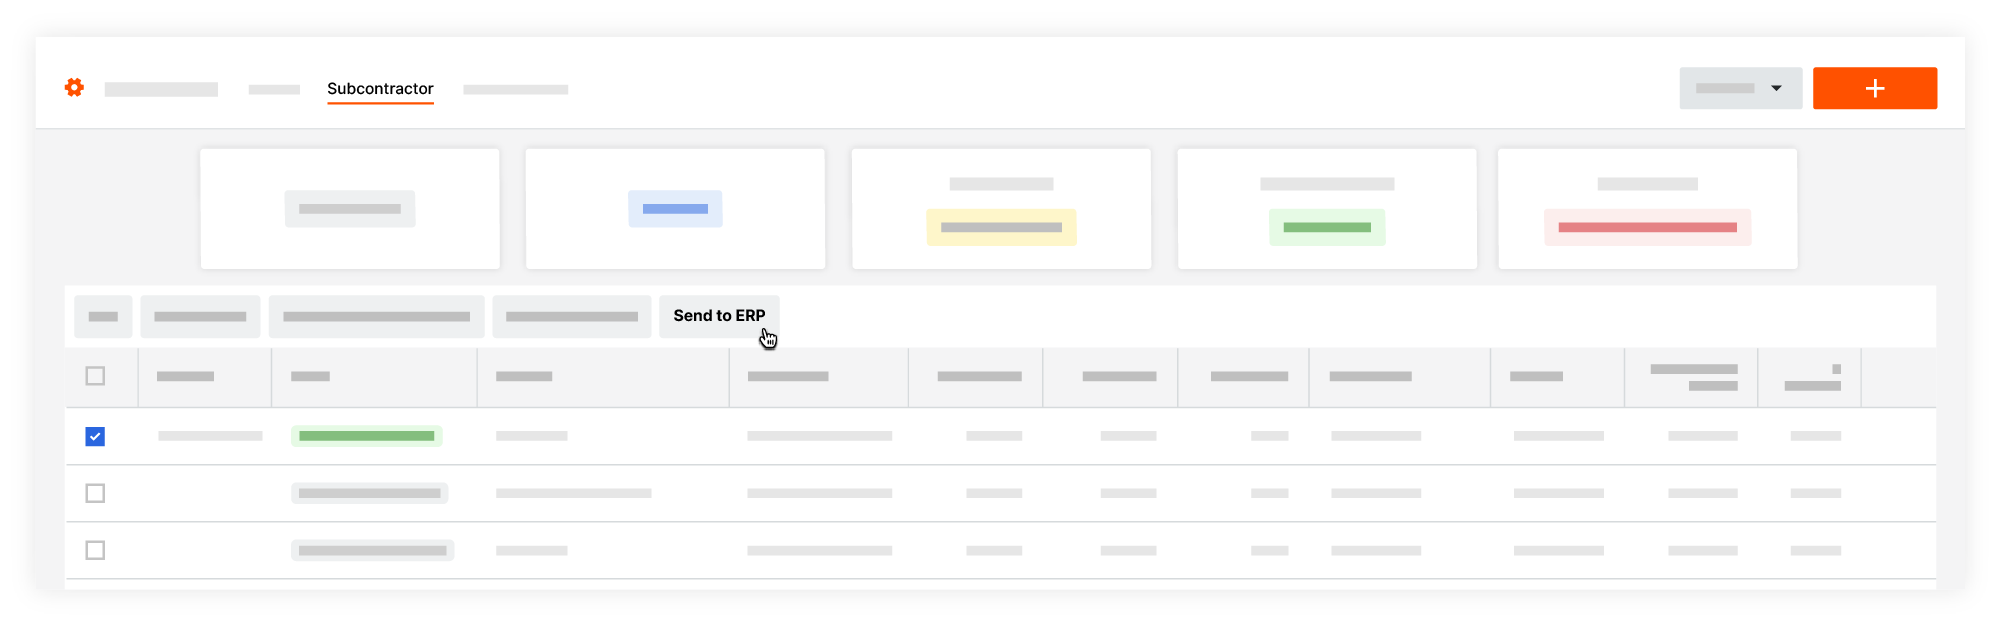
Send One or More Subcontractor Invoices to ERP
A user with 'Admin' permission on the Commitments tool can perform this task in the project's Invoicing tool.
- Navigate to the project's Invoicing tool.
- Click the Subcontractor tab.
- Mark the checkboxes that correspond to the invoices that you want to send to ERP.
Note: To select invoices, they must be in the Approved, Approved as Noted, or Pending Owner Approval status. - Click Send to ERP. Procore sends the invoice data to the ERP Integrations tool so it can be reviewed by the accounting approver.
Notes:- If you place a checkmark next to an invoice and the 'Send to ERP' button is grayed out and unavailable, it is generally because the invoices are not in one of the required statuses.
- After invoices are sent, users will NOT be able to edit the invoice in the Commitments tool (with the exception of editing the invoice's attachments).
Send an Individual Subcontractor Invoice to ERP
- Navigate to the project's Commitments tool.
- Click the desired Commitment Number link to open it.
- Click the Invoices tab.
- Click on the Invoice Number or Invoice Position link.
- Click Send to ERP.
Notes:- If the Send to ERP button is grayed out and unavailable, hover your cursor over the question mark (?) to learn why. It is most often because the invoice is not in the Approved, Approved as Noted, or Pending Owner Approval status.
- When the Retrieve from ERP button appears, this invoice has successfully been sent to the ERP Integrations tool. An ERP icon also appears. See What do the ERP icons mean?
- The system sends the invoice data to the ERP Integrations tool so it can be reviewed by the accounting approver. After invoices are sent to the ERP Integrations tool, users will NOT be able to edit the invoice in the Commitments tool (with the exception of editing the invoice's attachments).