After a company template is copied to your project, it becomes a project template that can be modified without affecting the company template from which it originated.
Project templates may be modified in the Project level Inspections tool throughout the duration of the project, but changes will only be reflected on project checklists that are created from the modified template.
You can use a default inspection template more than once.
Creating an asset inspection automatically links it to the asset record as a related item.
Add Templates
To create an inspection for assets, you must first configure the following settings:
The Assets tool must be enabled for your project. See Add and Remove Project Tools.
Assets records must be added to your project. See Add or Remove Equipment from Projects.
Assets must be enabled on your configurable fieldset for inspections. See Edit Configurable Fieldsets.
To create an inspection for equipment, you must first configure the following settings:
The Equipment tool must be enabled for your project. See Add and Remove Project Tools.
Equipment records must be added to your project. See Add or Remove Equipment from Projects.
Equipment must be enabled on your configurable fieldset for inspections. See Edit Configurable Fieldsets.
Navigate to the Project level Inspections tool.
Click Create.
Note: If your company does not yet have Company level inspection templates set up, you first need to create an inspection template.
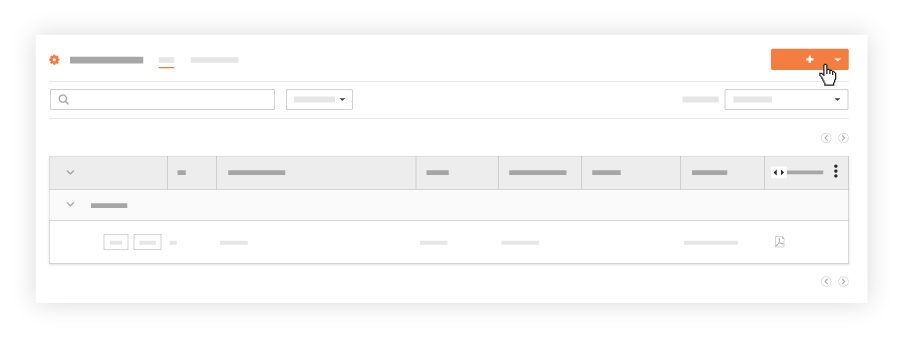
Select Inspection.
Select a default inspection template from your list of templates from the drop-down menu. Note: Templates must be added to your project. See Add Company Level Inspection Templates to Your Project.
Enter the relevant general information for each field.
Name: Enter a name for the inspection.
Number of Inspections. Enter the number of identical inspection copies you want to create.
No. Enter the initial number to begin the sequential numbering for this batch of inspections.
Type. Select the category of the inspection, such as Quality, Safety, or Environmental.
Status. Set whether the inspection is currently Open, In Review or Closed.
Trade. Select the specific construction trade or discipline related to this inspection.
Location. Choose the exact physical area on the jobsite where this inspection takes place.
Distribution. Select additional team members who should receive notifications and updates about this inspection.
Private. Check this box to restrict visibility to only admins, assignees, and specific list members.
Spec Section. Link the inspection to a specific project specification number from your contract documents.
Equipment. Associate the inspection with a specific piece of equipment tracked on the project.
Select Existing Equipment
Click the Equipment or Equipment Name drop-down menu select the equipment.
Add Existing Equipment from the Company Equipment Tool
Click the Equipment or Equipment Name drop-down menu and search for the equipment.
When no results appear, click Search Company Register.
Search and select the equipment from the Company level Equipment tool.
Click Add to Project.
Create New Equipment Record
Note: Use this to track equipment you own or are renting longterm. These records are also added to the company's Equipment tool.
Click the Equipment or Equipment Name drop-down menu and search for the equipment.
If it has yet to be created, select Create Equipment.
Click Add to Register.
Enter the equipment information.
Equipment Photo
Click the image.
Select a file from your computer.
Click Open to upload the photo.
Specification Information
Category. The equipment category.
Type. The equipment type.
Make. The equipment make.
Model. The equipment model.
Serial Number. The serial number.
Year. The year the equipment was built.
General Information
Equipment ID. The equipment ID.
Equipment Name. The name of the equipment.
Rate per hour. The cost of the equipment per hour.
Status. The status of the equipment.
Ownership. Indicates if equipment is owned, rented, or subcontracted. If not owned, the following fields are available:
Vendor Name. The name of the equipment vendor.
Rental Start Date. The start date for the equipment rental.
Rental End Date. The start date for the equipment rental.
Assignee. The equipment's assignee.
Note: Assignees must be listed as a user in the Company Directory.
Onsite. Indicates if the equipment is at the project site.
Groups. The group for the equipment.
Note: This is configured in the Resource Planning tool.
Notes. Notes about the equipment
Additional Information
Any additional information about the equipment.
Attachments
Click Attach File and select the file from your computer.
OR
Drag and drop one or more files into the 'Drag and Drop' box.
Click Create.
Create Unmanaged Project-Only Equipment
Note: Use this to track temporary equipment, such as a rented generator. These records are not added to the company's Equipment tool.
Click the Equipment or Equipment Name drop-down menu and search for the equipment.
If it has yet to be created, select Create Equipment.
Enter the equipment ID.
Click Create to add it to the item and the 'Project-Only Equipment' tab in the project's Equipment tool.
Enter the relevant inspection details for each field.
Optional: Under Inspection Items Preview, review the inspection items and their response options.
Click Create.
With the bulk create feature, you can quickly create multiple inspections with identical details to save time.
In the new field titled Number of Inspections, enter the desired quantity. You can use the up/down arrows or type the number directly.
Optionally, you can set the starting number for the inspections in the sequence. For example, if you set the starting number to 64 and the number of inspections to 5, the inspections will be numbered sequentially starting at 64.
Fill in all the other inspection details (e.g., location, assignee, due date) as you normally would.
Note: All the inspections created in this bulk action will have the exact same details. This feature does not allow you to assign different locations or assignees for each individual inspection.
Once you have filled in all the details, click Create.