About Pinning and Connected Items in the Document Management Tool
Background
On complex project drawings, team members often need to track specific issues or site observations that do not require a structured review process. The Connected Items feature allows you to pin these items to a precise location on a document, ensuring that everyone with access to the document can see the associated status, markups, and details in one centralized view.
Things to Consider
-
Required User Permissions: Must have the ability to add markups to Document Management workflows to utilize grouping features for more organized and efficient reviews.
-
Workflow Independence: Pins created via the Connected Items tab are independent and do not interact with pins or issues created within the Comment Register workflow.
-
Functional Limits: While you can link existing or create new items, certain tools (like Observations) do not currently support a details panel within the viewer.
Steps
To pin an existing or new item to a document, perform the following steps:
-
Open the Connected Items Tab
-
Link an Existing Item
-
Create a New Pinned Item
-
Pinning Capability Table
Open the Connected Items Tab:
-
Navigate to the project’s Document Management tool.
-
Make sure you are in the Documents tab.
-
Click the Connected Items
 icon on the left rail.
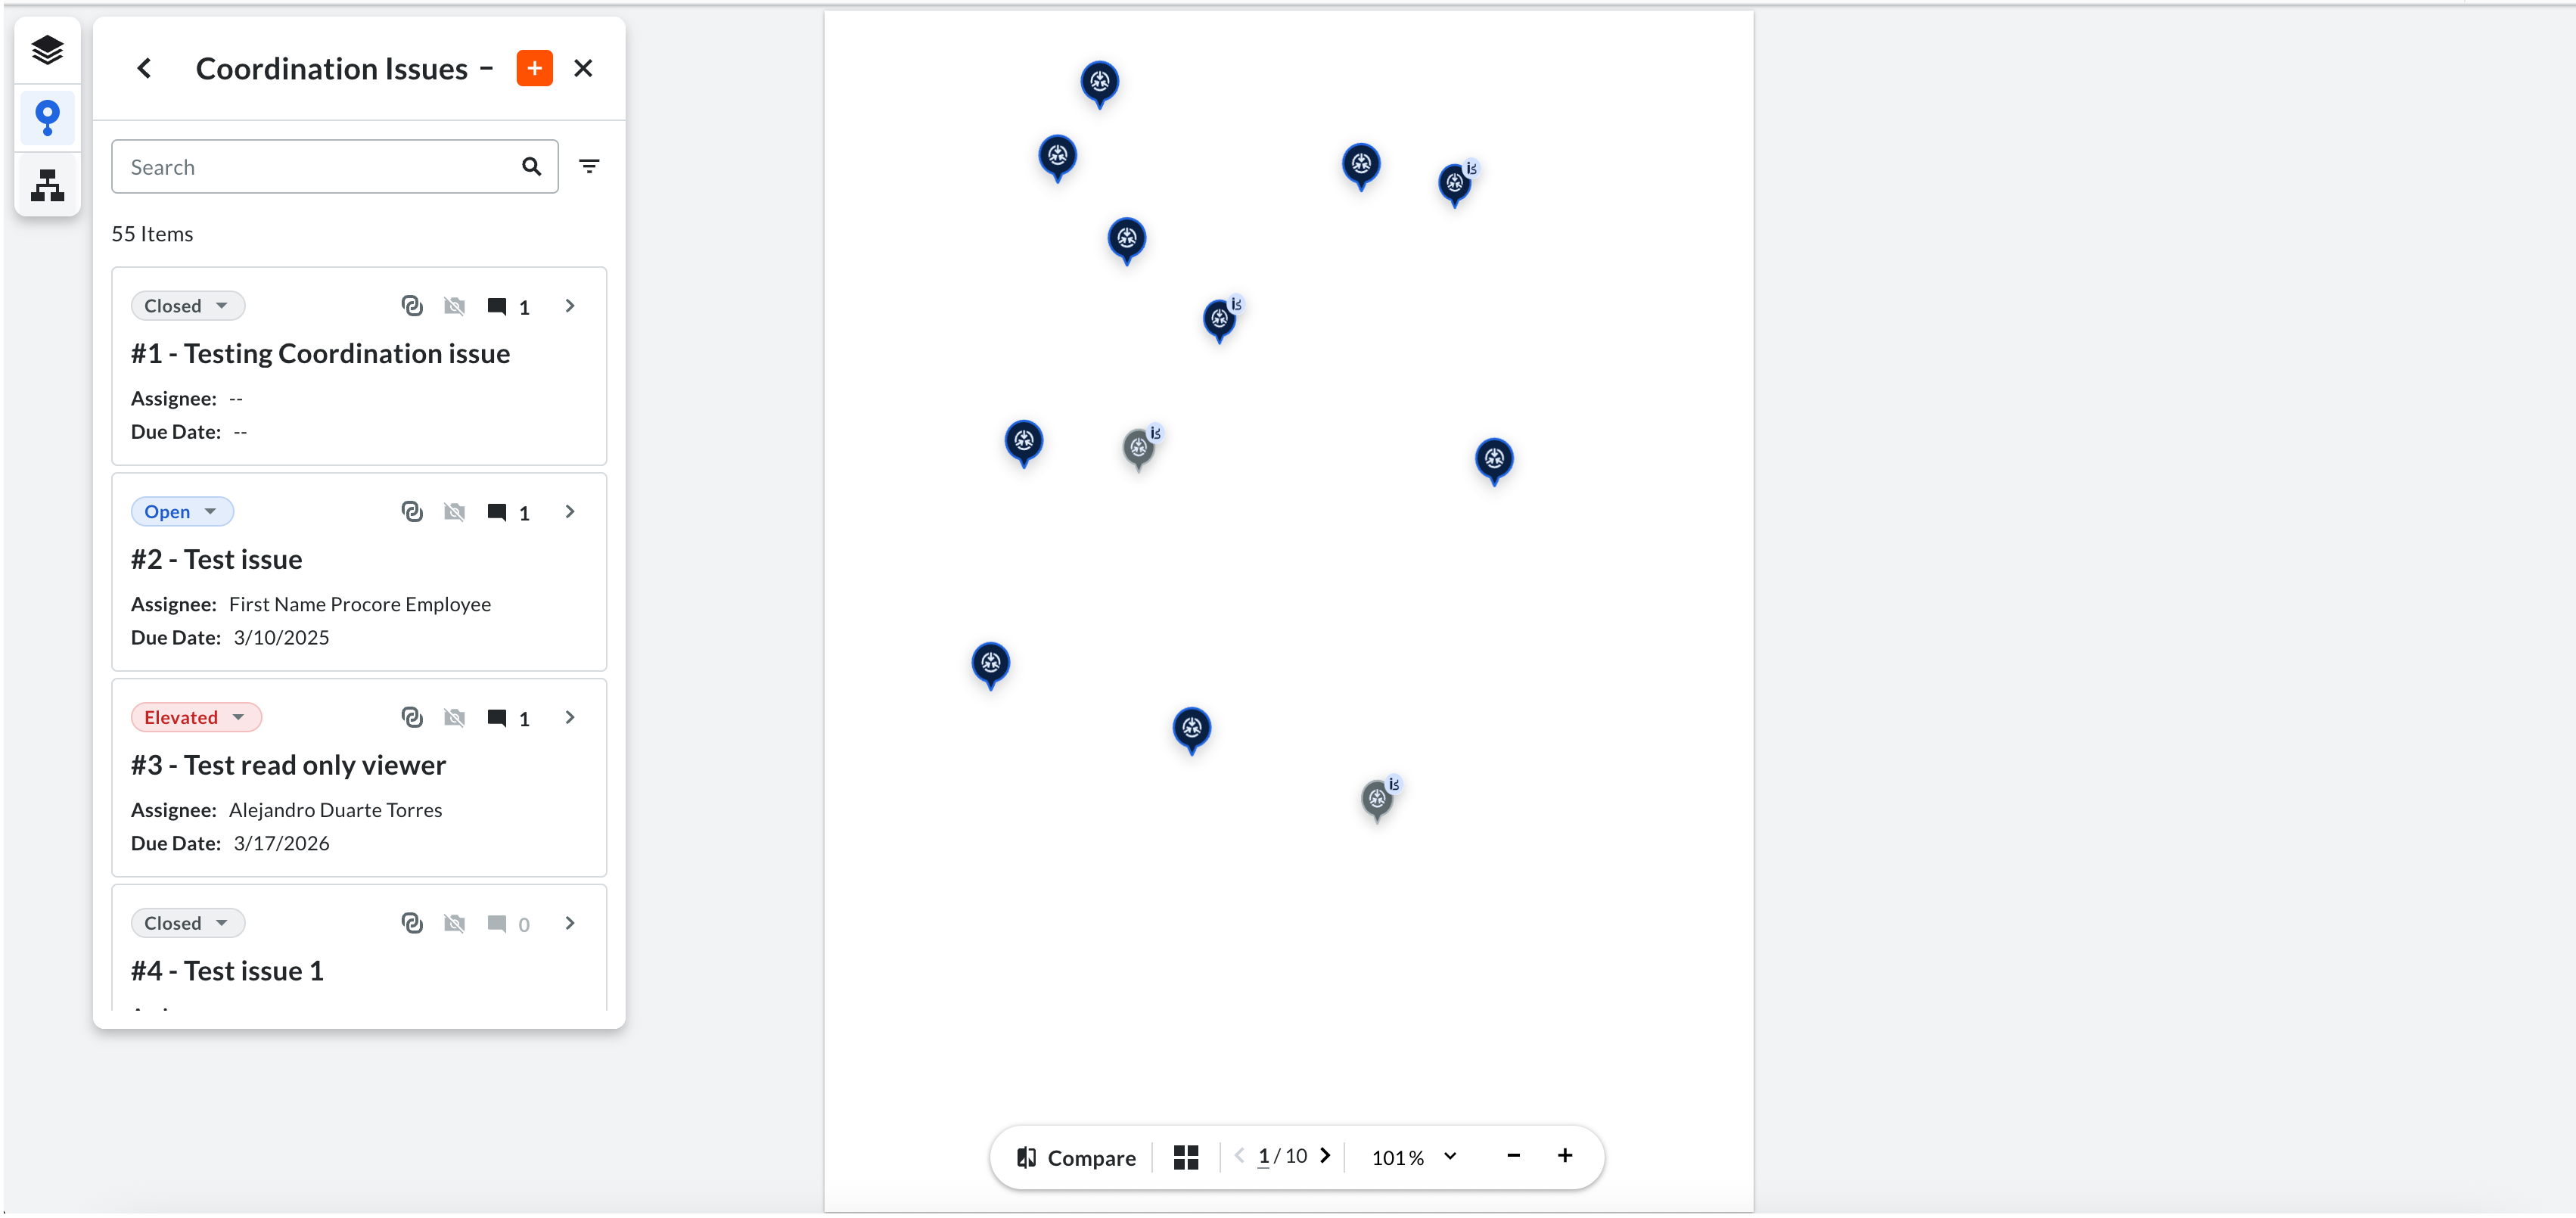

Link an Existing Item:
-
Navigate to the project’s Document Management tool.
-
Make sure you are in the Documents tab.
-
Click the Connected Items
icon on the left rail. -
Select a tool (for example, Coordination Issues) to see items correlated to the document.
-
On the desired item card, click + Pin.
-
Click the location on the document to drop the pin.
-
(Optional) Use the markup tools (for example, Cloud) to add a drawing. This markup is now attributed specifically to this pin and is only visible when the pin is selected.
Create a New Pinned Item:
-
Within the Connected Items tab, click the plus (+) icon.
-
Click the document to drop the pin.
-
Fill out the required fields in the creation form and click Create.
Pinning Capability Table:
|
Feature/Tool |
Link Existing |
Create New |
Add Markup |
Details Panel (in viewer) |
|---|---|---|---|---|
|
Coordination Issues |
Yes |
Yes |
Yes |
Yes |
|
Observations |
Yes |
Yes |
Yes |
No |