Accept or Reject a Sub Job for Export to ERP Integration
Objective
To accept or reject a Sub Job that has been sent to the ERP Integrations tool for review by an accounting approver.
Background
After a user sends a Sub Job to the ERP Integrations tool for acceptance, an accounting approver can review the information as submit a response to the Sub Job as follows:
- Accept. Accepts the Sub Job for export to [Your ERP Integration].
OR - Reject. Rejects the Sub Job and returns it to the Project level Admin tool. The Sub Job can then be corrected and re-sent to the ERP Integrations tool for accounting acceptance. See Send a Procore Sub Job to ERP Integrations for Accounting Acceptance.
Note: If there is at least one Sub Job in the ERP Integrations tool that's awaiting accounting acceptance, Procore sends an automated email notification to the people at your company who are designated as an accounting approver. Approver will receive the email once per day with the subject line 'ERP Integrations Daily Summary' until their response is submitted. This notification lists all of the Sub Jobs awaiting acceptance.
Things to Consider
- Required User Permissions:
Note: Users who are granted only 'Standard' level permission to the ERP Integrations tool can view information, but do not have sufficient permission to accept/reject Sub Jobs for export.
- Prerequisites:
- The company account must be integrated with [Your ERP Integration]. See [Your ERP Integration]: Setup Guide.
- The Sub Job must be sent to the ERP Integrations tool. See Send a Sub Job to ERP Integrations for Accounting Acceptance.
- The system will pre-fill the value in the SubJob ID field for accounting approvers.
Steps
Review a Sub Job
- Navigate to the company's ERP Integrations tool.
This reveals the [Your ERP Integration] page. - Click the Sub Jobs tab.
- Under Filters, click Ready to Export.
This shows a list of all the Sub Jobs from different projects that have been sent to the ERP Integrations tool. See Send a Procore Sub Job to ERP Integrations for Accounting Acceptance. - Continue with one of the following:
Accept a Sub Job
- Under Sub Jobs Only in [Your ERP Integration], locate the Sub Job that you want to accept.
- Choose Accept.
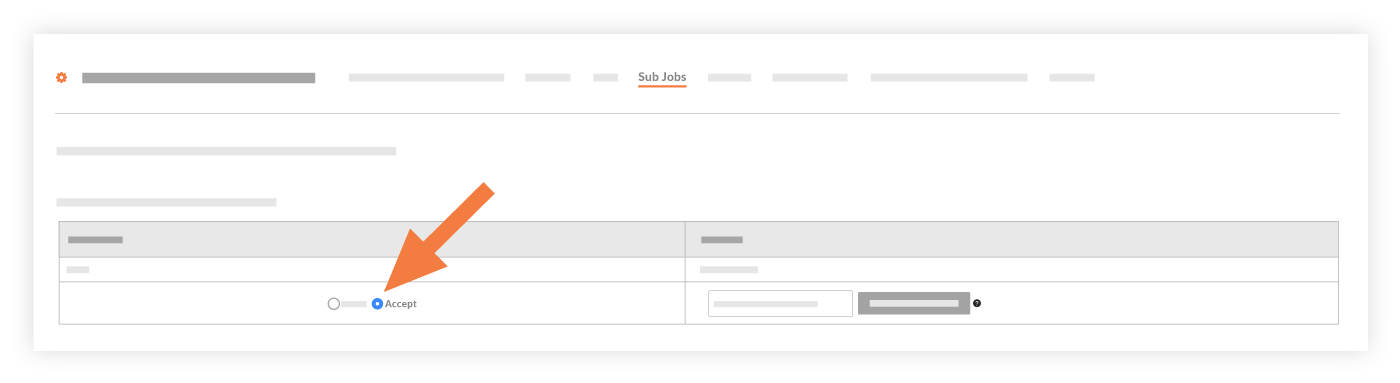
Note: If this button is NOT visible, you have NOT been granted the 'Can Push to Accounting' privilege in the Company Directory. Your company's Procore Administrator must submit a request to your Procore point of contact to enable it. - In the text box that appears, verify that the pre-filled [Your ERP Integration] Job ID number is correct.
- Click Export to [Your ERP Integration].
This exports the Sub Job to [Your ERP Integration]. The process typically takes a few minutes and a 'Successfully Exported' message will appear in GREEN.
Notes:- If for any reason a Sub Job (or another item) fails to export to [Your ERP Integration], you can view the failed item(s) by clicking the Failed to Export link in the Views menu in the right pane.
- When a Sub Job fails to sync, follow the steps in Reject a Sub Job. below Next, Edit Sub Jobs on a Project as desired and then Resend a Rejected Sub Job to ERP Integrations for Accounting Acceptance.
- (Optional) To verify that the sync was successful, log into [Your ERP Integration] and verify that your data appears as expected.
Reject a Sub Job
- Under Sub Jobs Only in [Your ERP Integration], locate the Sub Job that you want to accept.
- Choose Reject.
Note: If this button is NOT visible, you have NOT been granted the 'Can Push to Accounting' privilege in the Company Directory. Your company's Procore Administrator must submit a request to your Procore point of contact to enable it. - Enter a short explanation about the reason(s) for the rejection.
- Click Reject.

The following events occur:- The system removes the Sub Job from the ERP Integrations tool so you can update it in the Project level Admin tool.
- The system sends an automated email notification to the user who created the Sub Job to alert the user of the 'Reject' response.