Add a My Time Entry (Android)
Also available on ![]()
Objective
To add a My Time entry on your Android mobile device.
Things to Consider
- Required User Permissions:
- 'Standard' or 'Admin' level permissions on the company's Timecard tool.
- Additional Information:
- Zero (0) hour entries are supported. This provides your team with the flexibility it needs to enter time off and per diem.
- Adding a My Time entry is a separate function from clocking in to or out of a job through the My Time tool. For instructions on how to clock in and out of a job site, see Clock Your Time (Android).
- My Time entries on a mobile device will be logged as a time entry in the Daily Log, Company Timecard, and if Timesheets is enabled, Project and Company Timesheets tools.
Prerequisites
- To see My Time as an option on your project, you must be marked as an employee of your company. See How do I add someone as an employee of my company?
Steps
- Navigate to your project's My Time tool using the Procore app on an Android mobile device.
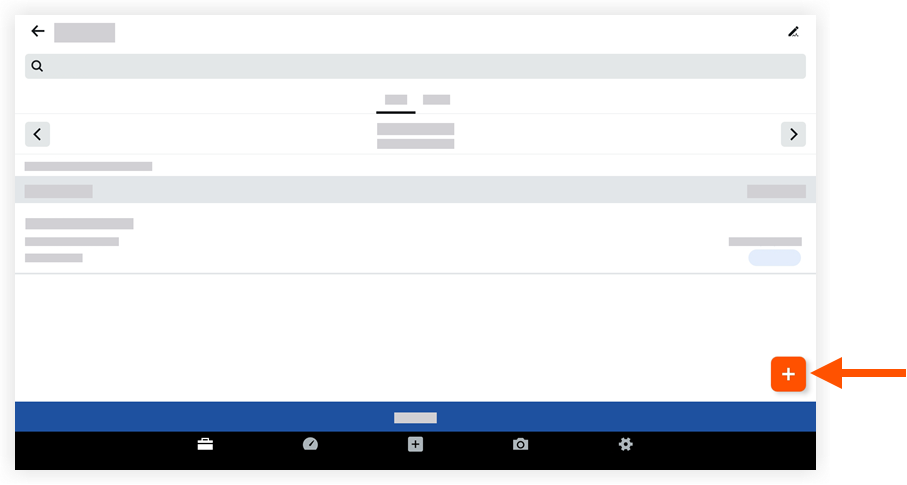
- Tap the plus
 icon.
icon.
- Tap the following fields to enter the appropriate information.
Notes
- An asterisk (*) denotes a required field.
- Some fields can be configured as required, optional, or hidden. See Which fields in the My Time tool can be configured as required, optional, or hidden?
- *Date: Enter a date for the time entry.
- Cost Code: Select the appropriate cost code for the time entry.
- Time Type: Select the type of pay for which the entry qualifies.
- Billable: Select whether the entry is billable or not.
- Description: Enter a more detailed description for the entry.
- If the Timesheets tool is enabled, the following fields will be available:
Note: An asterisk (*) denotes a required field.- *Project: Select the project you are currently working on.
- Classification: If the company has enabled the classifications feature on the project, select one from the list. See Which Procore tools support 'Classifications'?
- Sub Job: If the company has enabled sub jobs on the project, select one from the list.
- Location: Select the location where the work is being performed.
- *Start Time: Enter or Select the time the user began working.
- *Stop Time: Enter or Select the time the user stopped working.
Note: You will only see the Start and Stop fields if the project settings have been configured to show these fields. See Configure Advanced Settings: Timesheets. - Lunch Time: Select the amount of time taken for a lunch break.
- Add Line: Click this option to create extra line items on a time entry.
- Tap Save.