Download and Install the Procore BIM Plugin
You can download the Procore BIM Plugins directly from the Procore web application to any Windows® computer running supported Autodesk® software.
Things to Consider
- Required User Permissions: To download an installer, you need permission to a Procore project tool. You only need to install each plugin once from any tool:
- Coordination Issues (Project) or Models (Project): 'Standard' or 'Admin' level permissions
- Documents (Project): 'Read Only' level permissions or higher
- Locations (Beta): 'Admin' level permissions
- Locations (Legacy) in Admin (Project): 'Admin' level permissions
- Supported Autodesk® Software List: Show/Hide
-
- PC Administrator Rights: Requires Windows® Administrator rights to install a plugin. If you don't have rights, contact your organization's IT Administrator.
- Plugin Installation: Always install the Procore BIM Plugins on the same Windows® computer running your Autodesk® design software.
- Mandatory Updates: Procore releases mandatory updates to ensure you're always running the latest version. See When are mandatory updates released for the Procore BIM Plugin?
Steps
You can download the Procore BIM Plugin directly to a Windows® computer running your Autodesk® design software from any of these Procore project tools. You only need to install the plugin once.
To download the installer from the project's Coordination Issues tool Show/Hide.
- On a Windows computer, navigate to the project's Coordination Issues tool in Procore.
- Click Download Plugin.
- Read the Terms and Conditions and click Accept. Procore downloads the installer to your web browser's Downloads folder.
- Go to your Downloads folder and click the setup package to start the install.
- At the Welcome to the Setup Wizard prompt, click Next.
- At the License Agreement, read the Software Terms and Conditions and choose I Agree. Then click Next.
- At the Confirm Installation prompt, click Next to start the installation.
- At the Installation Complete prompt, click Close to exit.
You can now open your Autodesk® Navisworks®, Revit®, or AutoCAD® design software on your Windows® computer. A 'Procore' tab is visible in the program.
To download the installer from the project's Documents tool Show/Hide.
- On a Windows computer, navigate to the project's Documents tool in Procore.
- Click Configure Settings.
- With the General tab selected, scroll down to Download Tools.
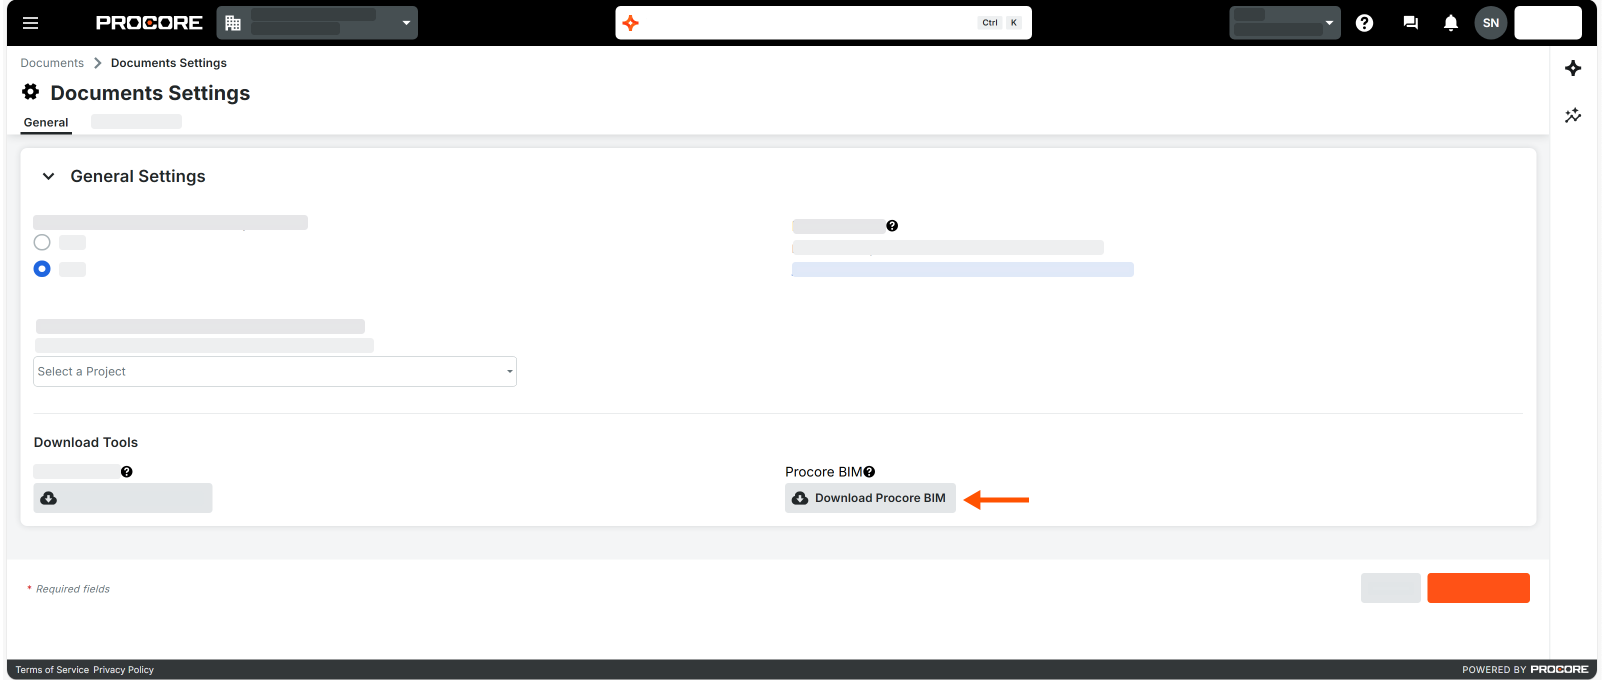
- Under Procore BIM, click Download Procore BIM. Procore downloads the installer to your web browser's Downloads folder. This is the Procore BIM Plugin.
- Go to your Downloads folder and click the setup package to start the install.
- At the Welcome to the Setup Wizard prompt, click Next.
- At the License Agreement, read the Software Terms and Conditions and choose I Agree. Then click Next.
- At the Confirm Installation prompt, click Next to start the installation.
- At the Installation Complete prompt, click Close to exit.
You can now open your Autodesk® Navisworks®, Revit®, or AutoCAD® design software on your Windows computer. A 'Procore' tab is visible in the program.
To download the installer from the project's Models tool Show/Hide.
- On a Windows® computer, navigate to the project's Models tool in Procore.
- Click Download Plugin. This downloads the Procore VDC Plugin.

- Read the Terms and Conditions and click Accept. Procore downloads the installer to your web browser's Downloads folder.
- Go to your Downloads folder and click the setup package to start the install.
- At the Welcome to the Setup Wizard prompt, click Next.
- At the License Agreement, read the Software Terms and Conditions and choose I Agree. Then click Next.
- At the Confirm Installation prompt, click Next to start the installation.
- At the Installation Complete prompt, click Close to exit.
You can now open your Autodesk® Navisworks®, Revit®, or AutoCAD® design software on your Windows® computer. A 'Procore' tab is visible in the program.
To download the installer from the project's Locations (Beta) tool Show/Hide.
- On a Windows computer, navigate to the project's Locations tool.
- Click the Import button on the top right side of the Locations page.
- Click Download BIM Plugin.
- The Procore+BIM+Plugins+Setup Windows Installer Package is downloaded to your computer's default Downloads folder.
- To install the Procore BIM Plugin, do the following:
- Go to your Downloads folder and click the setup package to start the installation. A setup wizard prompt appears.
- At the setup prompt, click Next.
- At the License Agreement prompt, read the Software Terms and Conditions and choose I Agree. Then, click Next.
- At the the Confirm Installation prompt, click Next to start the installation.
- At the Installation Complete prompt, click Close to exit. You can now open your Autodesk® design software on your Windows® computer. A 'Procore' tab is visible in the program.
-
Extract locations from a 3D Model. See Import Locations Using the Procore BIM Plugin with Revit®.
To download the installer from the Locations (Legacy) utility in the project's Admin tool Show/Hide.
- On a Windows computer, navigate to the project's Admin tool in Procore.
- Under Project Settings, click Locations.
- In the blue banner, click Download Plugin. Procore downloads the installer to your web browser's Downloads folder. This is the Procore VDC Plugin.

- Go to your Downloads folder and click the setup package to start the install.
- At the Welcome to the Setup Wizard prompt, click Next.
- At the License Agreement, read the Software Terms and Conditions and choose I Agree. Then click Next.
- At the Confirm Installation prompt, click Next to start the installation.
- At the Installation Complete prompt, click Close to exit.
You can now open your Autodesk® Navisworks®, Revit®, or AutoCAD® design software on your Windows® computer. A 'Procore' tab is visible in the program.
Note
Want to install the Procore BIM Plugin now? Click here to Download the Procore BIM Plugin
Check your web browser's downloads folder for the download files and then open the file to start the installation.