(Beta) Approve Prime Contracts
Objective
To change the status of a prime contract for a construction project to 'Approved.'
Background
After the prime contract is created, you can follow the steps in Update the Schedule of Values on a Prime Contract. Once the line items on the SOV are complete and the agreement between the project owner and your company is finalized, you can place the contract into the Approved status. This action allows your project team to begin creating change orders (see Create a Prime Contract Change Order) and owner invoices (see Create an Owner Invoice).
Things to Consider
- Required User Permissions:
- 'Admin' level permissions on the project's Prime Contracts tool
- 'Admin' level permissions on the project's Prime Contracts tool
- Additional Information:
After you complete the steps below, your project team can then perform the following tasks:
Prerequisites
- (Beta) Create Prime Contracts
- Update the Schedule of Values (SOV) on a Prime Contract
- Confirm that all parties to the prime contract are in agreement prior to changing its status to 'Approved.'
Steps
- Navigate to the project's Prime Contracts tool.
- Locate the prime contract to work with. Then click its Number link.
- Click the Edit Contract button.
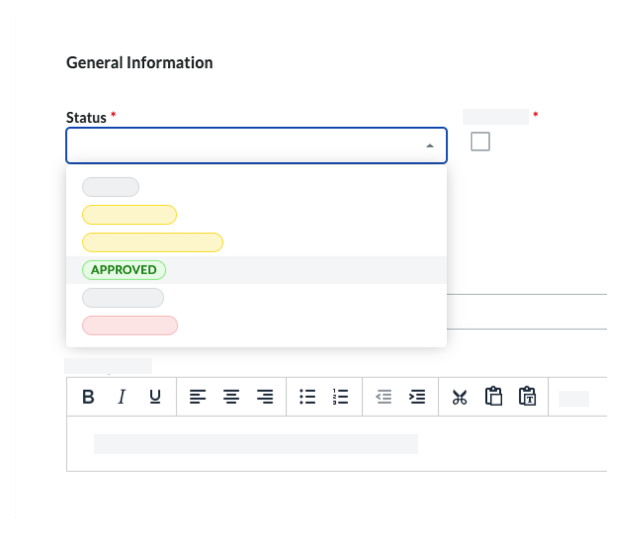
- Under General Information, choose Approved from the Status drop-down list.
- Click Save.