Mark an Email as Private
Objective
To mark an email as private so that only users with 'Admin' permissions or those listed on the email can view the email.
Background
Email messages in the project's Emails tool can be set to Public or Private. In addition, if you are a user with 'Admin' level permission to the Emails tool, you also have the ability to define whether all emails are public or private by default. See Configure the Email Tool's Settings.
Things to Consider
- Required User Permissions:
- To make any email private or public, 'Admin' on the project's Emails tool.
- To make an email that you created private or public, 'Standard' on the project's Email tool.
- Additional Information:
- Public. The email message is visible to any user who has 'Read Only' access permission or higher on the project's Emails tool.
- Private. The email message is only visible to email recipients and users with 'Admin' level permission on the project's Emails tool.
Important
Steps
Choose from the following:
Mark an Email as Private
- Navigate to the project's Emails tool.
- Select the email message you want to make private.
- Click Make Private.
Important!-
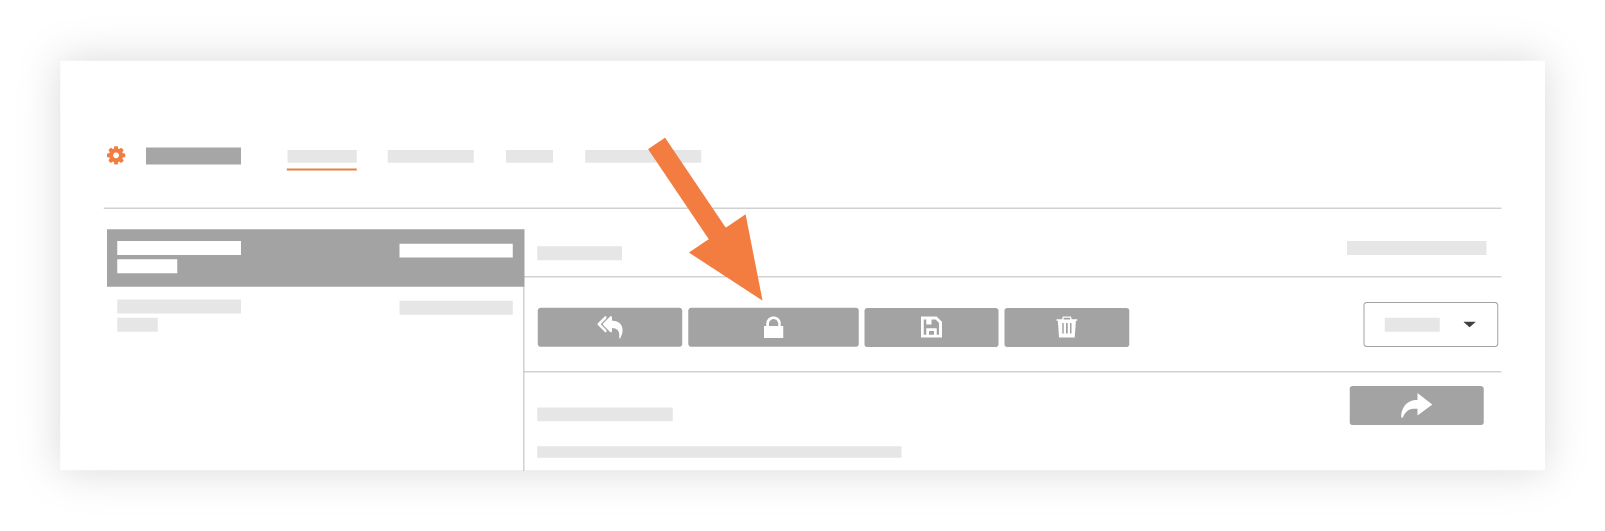
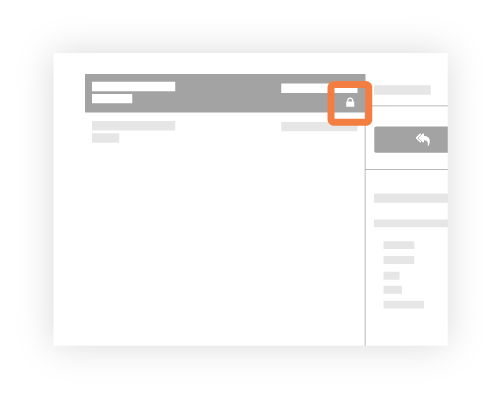
The system applies a lock icon to the message in the left pane of the Emails-Inbox page as shown below.
-
Mark an Email as Public
- Navigate to the project's Emails tool.
- Select the email message you want to make public.
- Click Make Private.
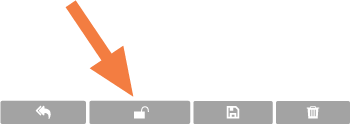
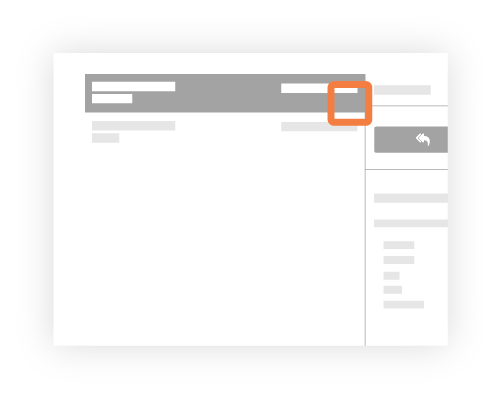
The system removes the lock icon from the message in the left pane of the Emails-Inbox page as shown below.
See Also
If you would like to learn more about Procore's email management software and how it can help your business, please visit our construction email management software product page  .
.