Upload a New Version of a File in the Project Level Documents Tool
Objective
To upload a new version of a file into the Project level Documents tool.
Things to Consider
- Required User Permissions:
- 'Standard' or 'Admin' permissions on the Project level Documents tool.
- Additional Information:
- When you upload files to a folder in the Documents tool, Procore will automatically check the folder for existing files. If a file with the same name is found, you can upload it as a new version of the existing file. See Bulk Upload New File Versions below.
- If you work in an environment where multiple people have access to edit files, it is strongly recommended that you always check files in and out to prevent conflicts (e.g., overriding another users changes). See Check Files In or Out in the Project Level Documents Tool.
Video
Steps
Upload a New Version of a File
- Navigate to the Documents tool.
- Locate the file you want to upload a new version of.
- Hover over or right-click on the file.
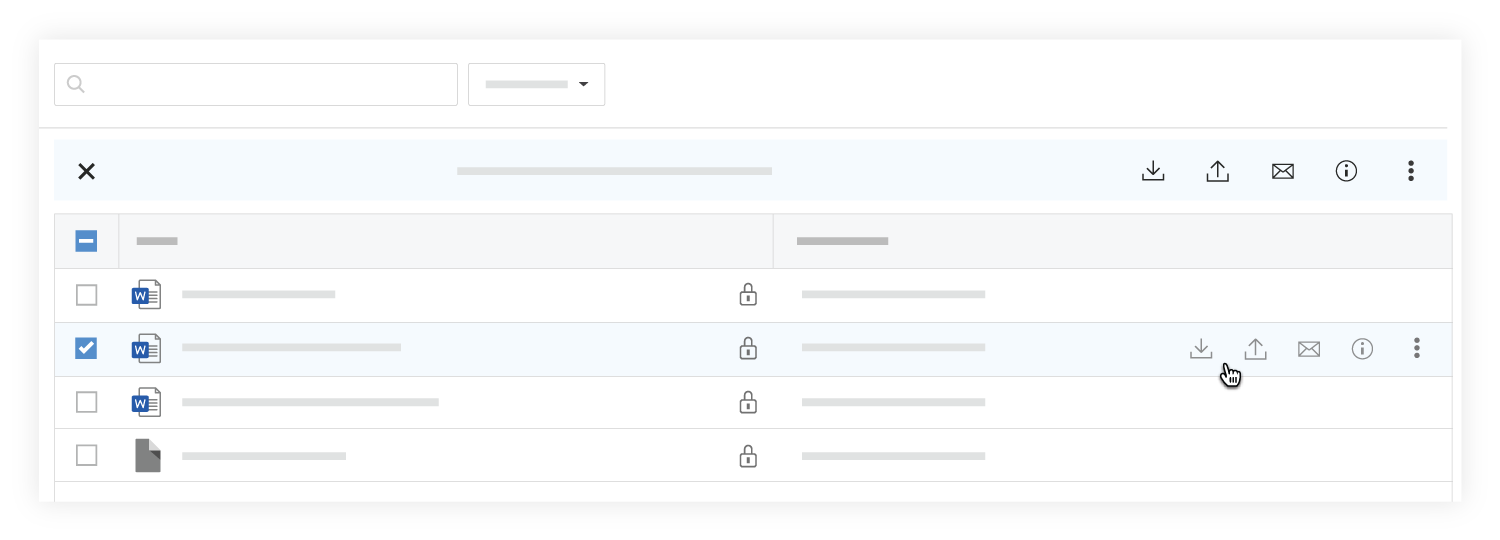
- Click New Version
 .
. - Drag and drop the file to the box under New Version.
OR- Click the box under New Version to browse for the file.
- Select the file and click Open.
- Optional: Add comments about the new version of the file.
- Click Upload.
Bulk Upload New File Versions
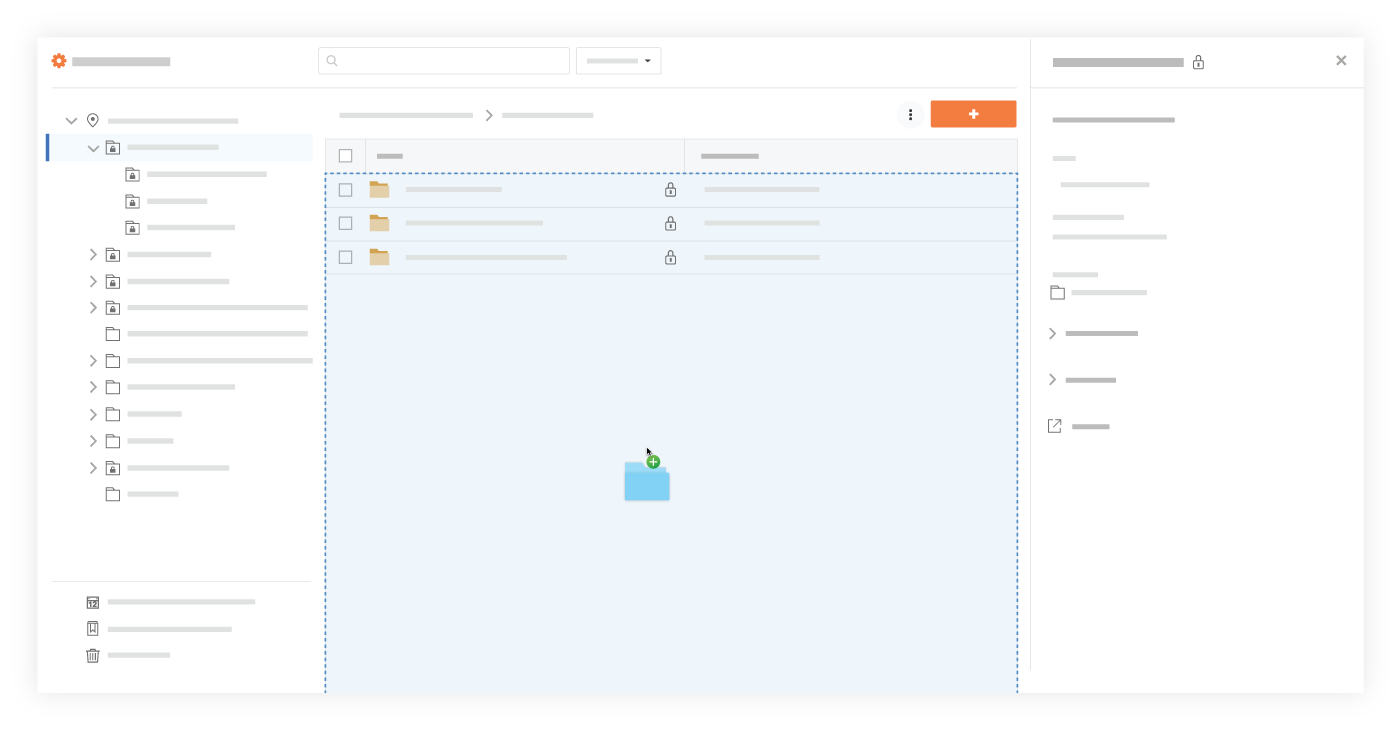
- Navigate to the Documents tool.
- Open the folder you want to upload files to.
- After selecting files on your computer, drag and drop them to the center panel of the Documents tool.
OR
- Click the + New drop-down menu and select File Upload.
- Select the files you want to upload from your computer.
- Click Open.
- A window opens with a message that files with the same name already exists in the folder.
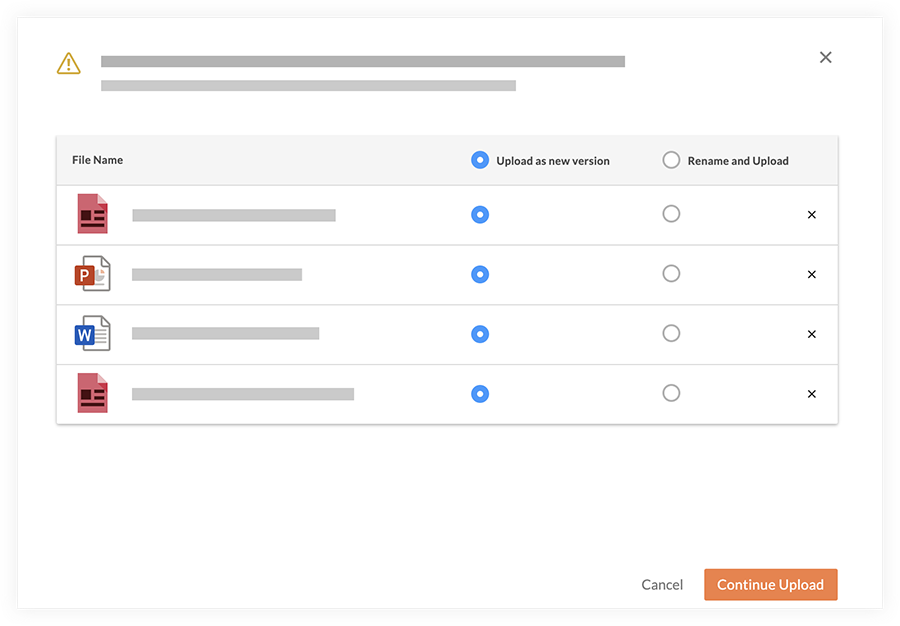
- Ensure any files you want to upload new versions of have Upload as new version selected.
- Click Continue Upload.
Note: The files automatically begin uploading as new versions.