Upload a Project Logo
Objective
To upload a project logo to the Project level Admin tool.
Background
If your construction project has a project logo that it wants to display in Procore, you can add a copy of the logo image to Procore when it meets the logo requirements detailed in Things to Consider below. Your project logo appears in the upper-left corner of the Procore web application, as well as on all forms, reports, project-level pages, and most email messages related to your company. It is important to note that once you've uploaded a project logo to Procore, the only way to remove it is to replace it with another logo.
Things to Consider
- Required User Permissions:
- 'Admin' level permissions on the Project level Admin tool and 'Standard' level permissions or higher on the Project level Documents tool.
- Logo Requirements:
- Additional Information:
- A project can only have one (1) project logo at any given time.
- If you do not upload a project logo, Procore will display the current company logo throughout the project.
- After you upload a project logo, the system will always require the project to maintain its own logo. For example, if you want your company logo to appear on the project, you must upload a copy of your company logo using the steps below. The project cannot revert back to display the current company logo in the Company level Admin tool (see Upload a Company Logo).
- Limitations:
- When uploading a project logo, take care to always upload the correct one and ensure that it meets the stated size requirements. Project logos can only be replaced (see Replace a Project Logo).
Steps
Upload a Project Logo
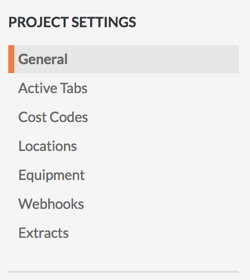
- Navigate to the Project level Admin tool.
- Under 'Project Settings', make sure General is selected.
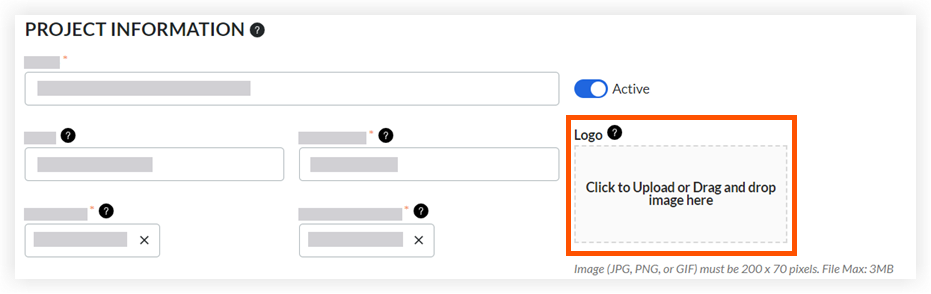
- In the 'Project Information' section, upload the file for the logo by clicking the space below Logo or by dragging and dropping the file from your computer into the space.
- Scroll to the bottom of the page and click Update.
The system updates the logo so it appears on the project's navigation bar.

Replace a Project Logo
If you want to replace a project's logo, follow the steps in Upload a Project Logo above. This permanently removes the previous logo from the system. It is important to note that the removed file is not recoverable.