Sage 300 CRE - Workflow Diagrams
The following workflow diagrams explain the order of operations when creating certain types of items in a Procore account that's integrated with Sage 300 CRE®.
- Job Setup
- Sub Job Setup
- Budget Update
- Create and Export Commitments
- Create and Export CCOs
- Create and Export PCCOs
- Create and Sync Vendors
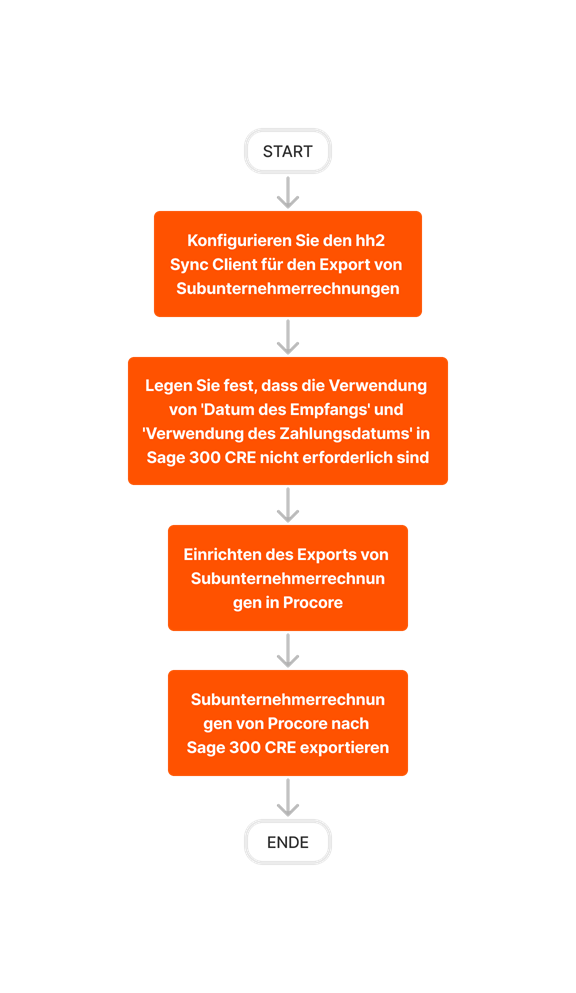
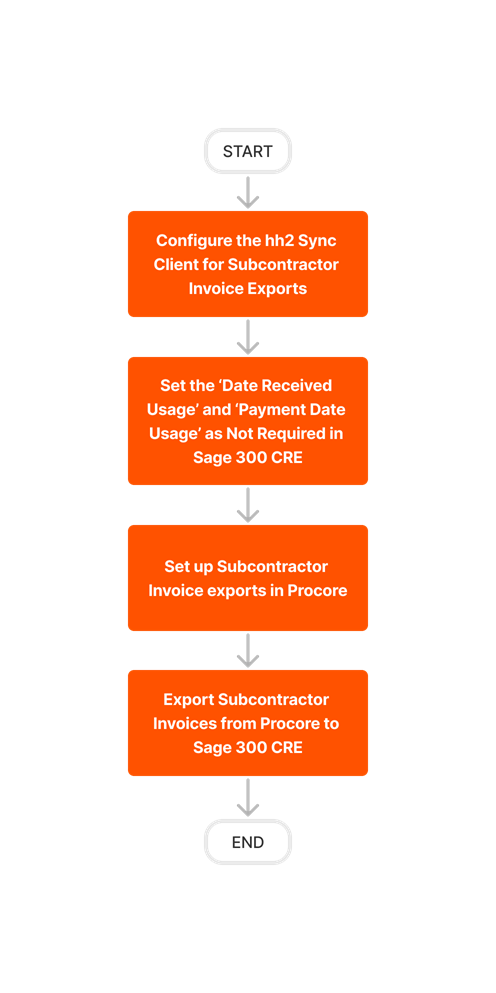
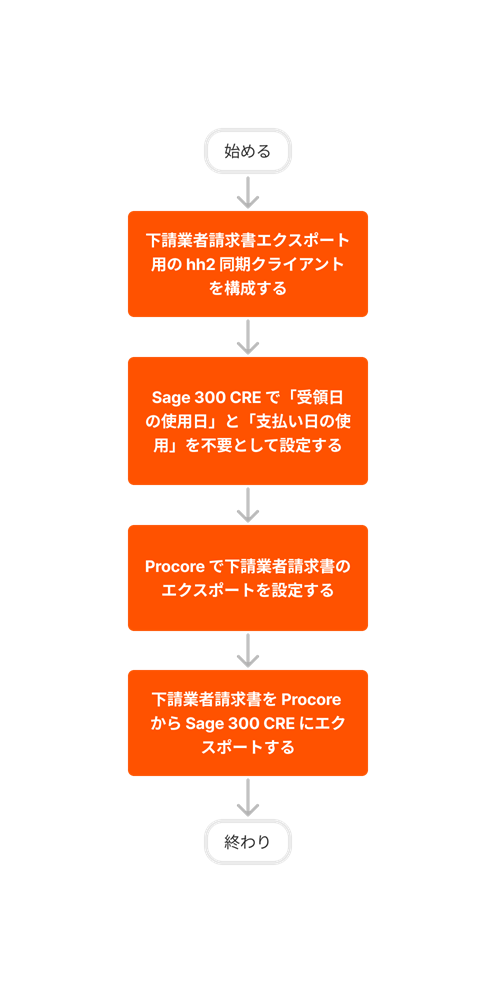
- Set Up the Subcontractor Invoices Feature
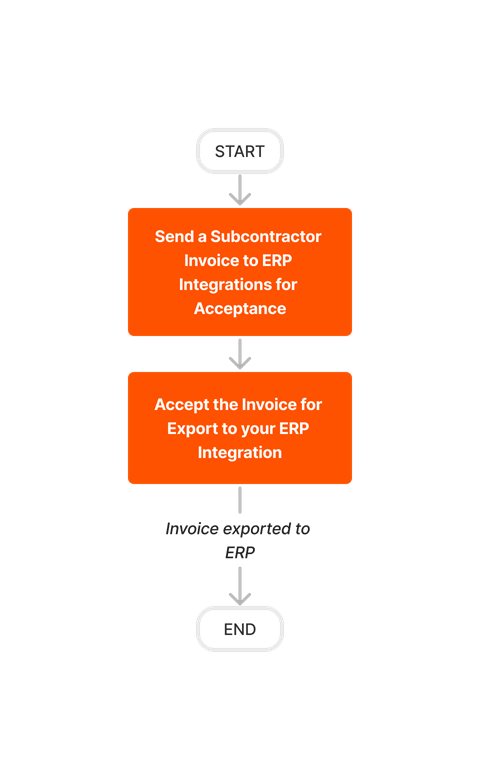
- Export Subcontractor Invoices from Procore
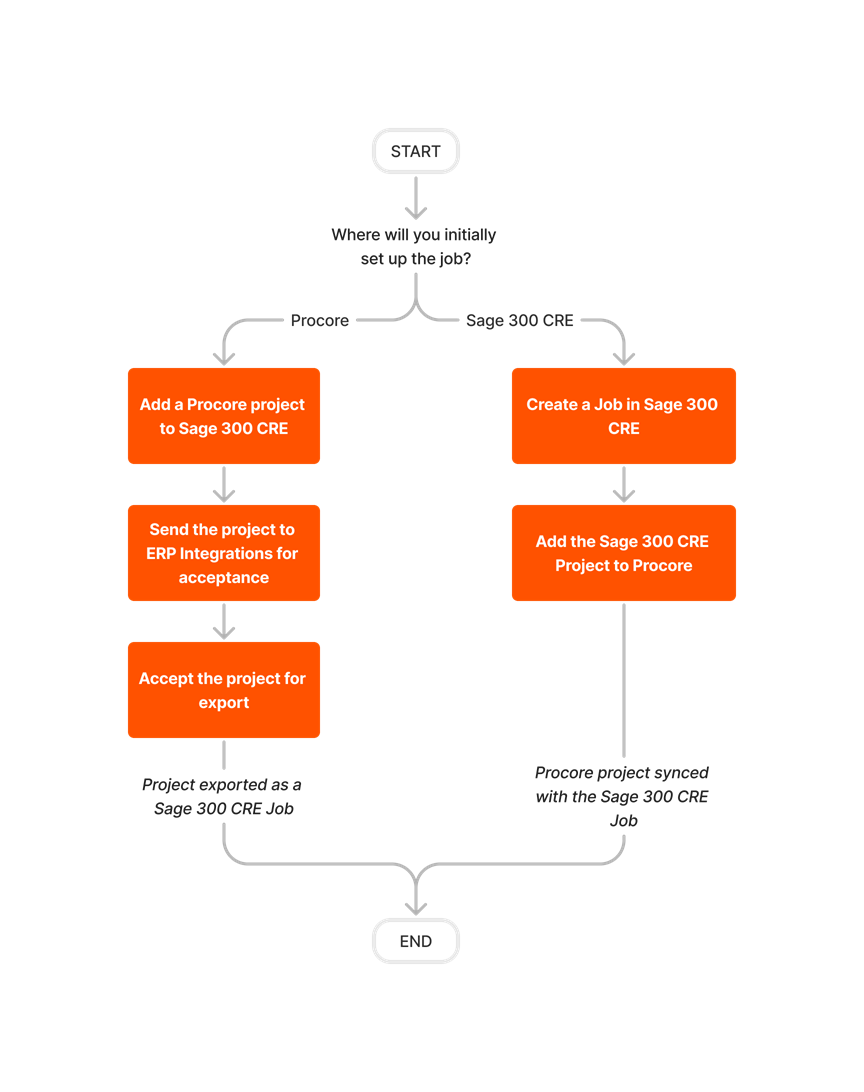
Job Setup
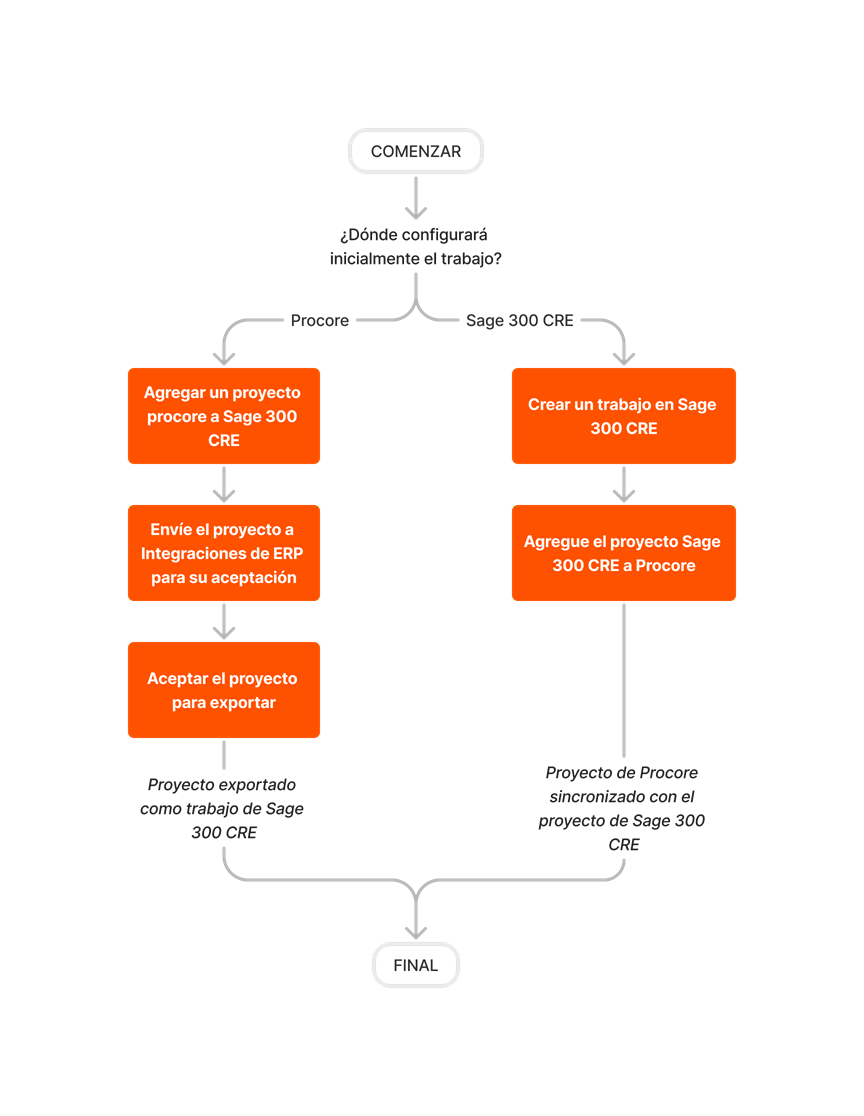
There are two different ways to set up a Procore/Sage integrated job.
Important! Jobs must be created in one location and pushed to the other, jobs CANNOT be created in both locations and linked together.
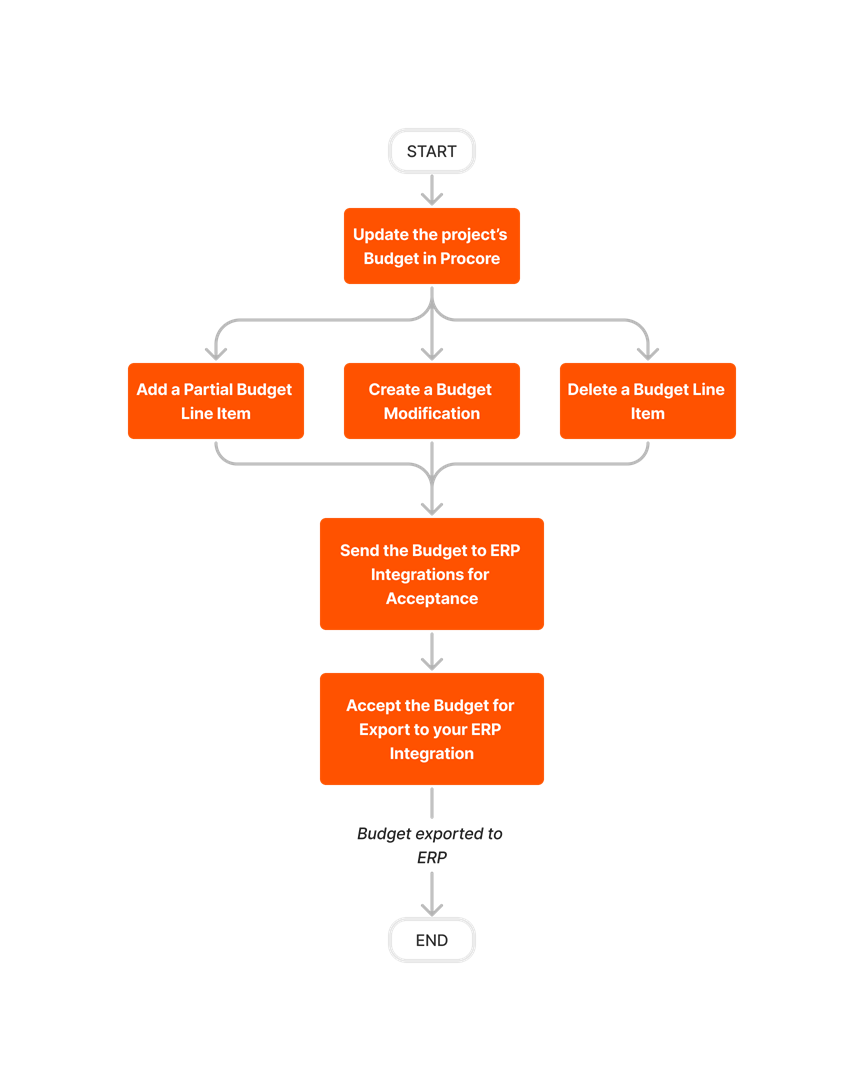
Budget Update
If you need to update a budget in Procore after exporting it to Sage 300 CRE, use the workflow below as a guideline.
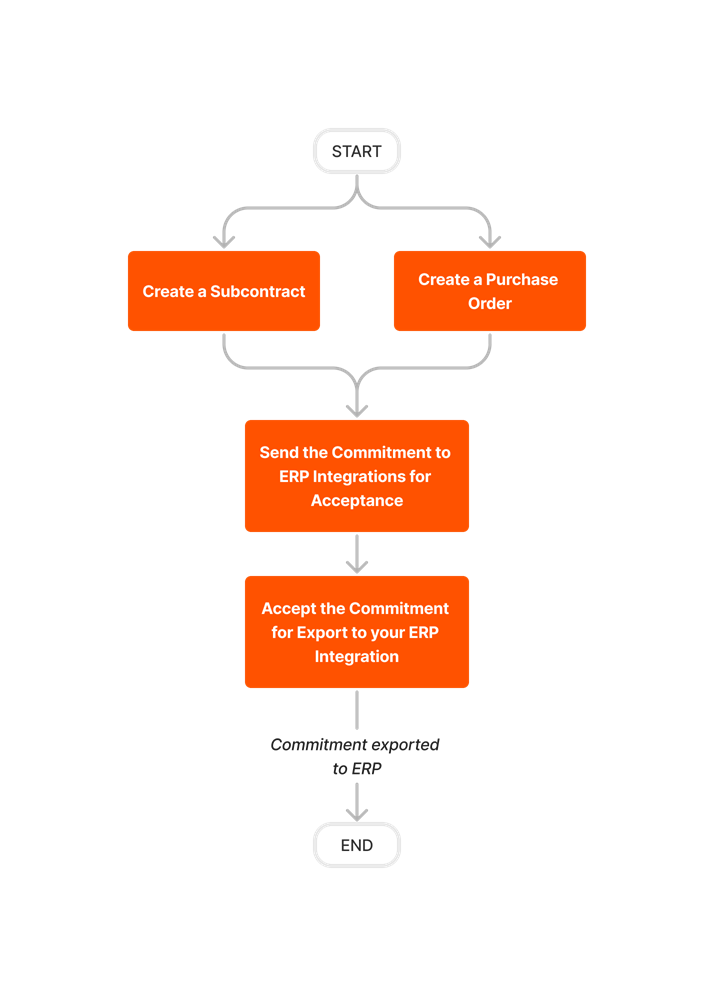
Create and Export Commitments
Follow the steps below to create commitments in Procore and then export them to Sage 300 CRE.
Important! After a Procore project is synced with a Sage job, commitments must always be created in Procore using the steps below. Do NOT create commitments directly in Sage 300 CRE.
Create and Export CCOs
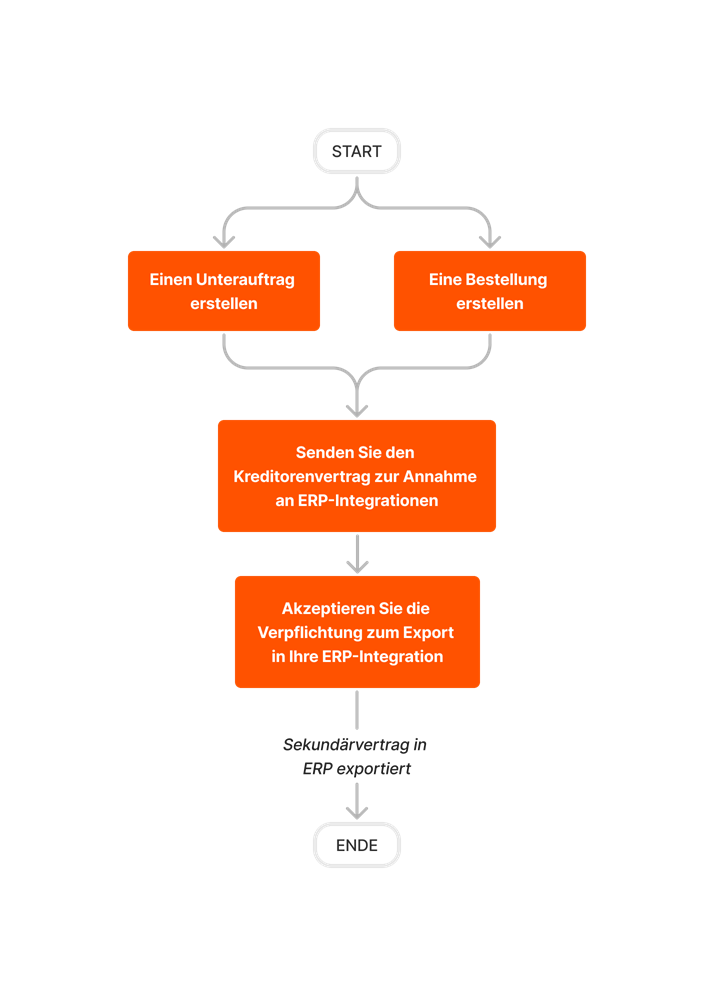
Follow the steps outlined below to create Commitment Change Orders (CCOs) in Procore and then export them to Sage 300 CRE.
Important! Change orders can only be created from synced commitments.
Create and Export PCCOs
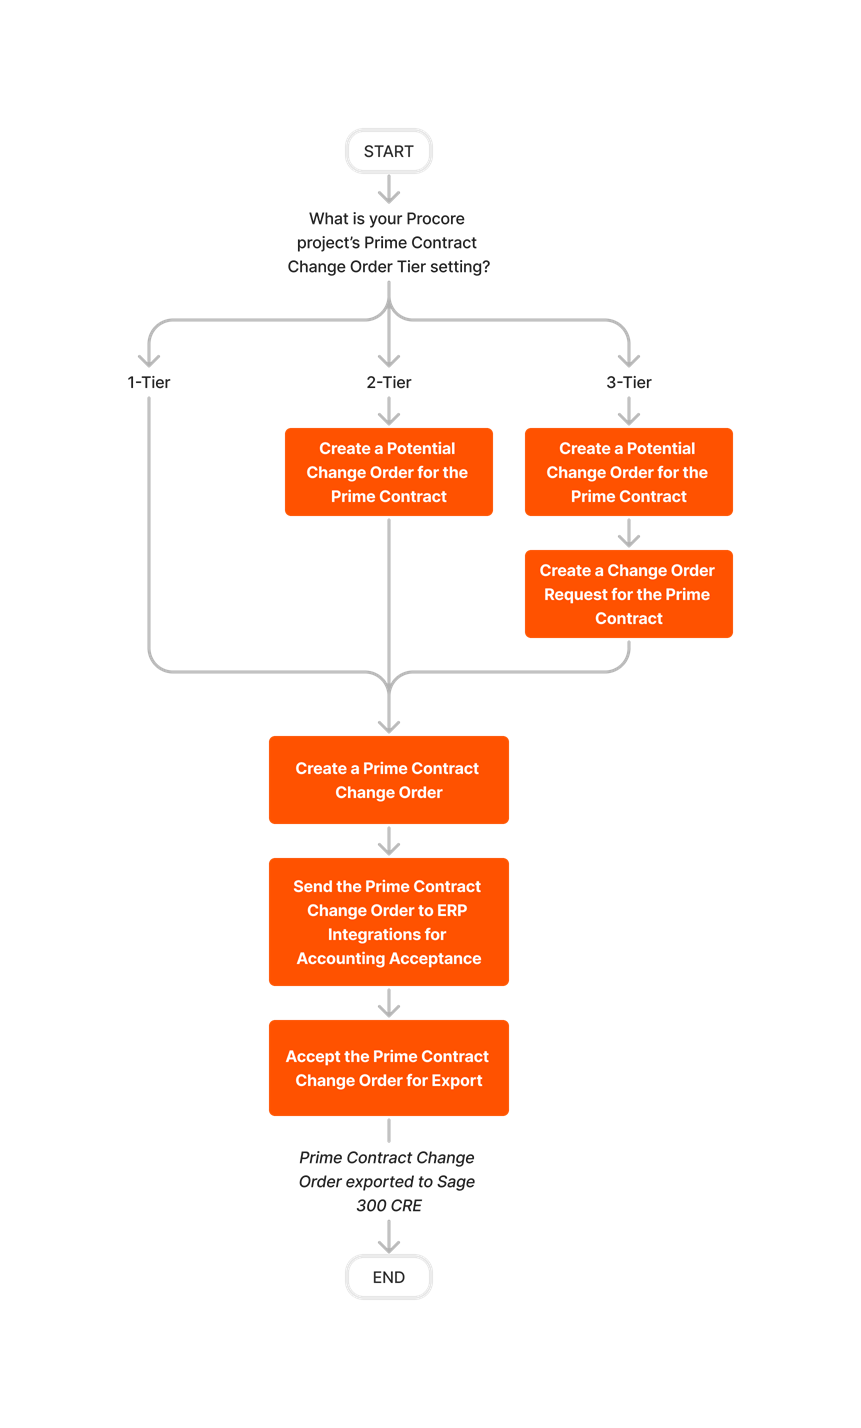
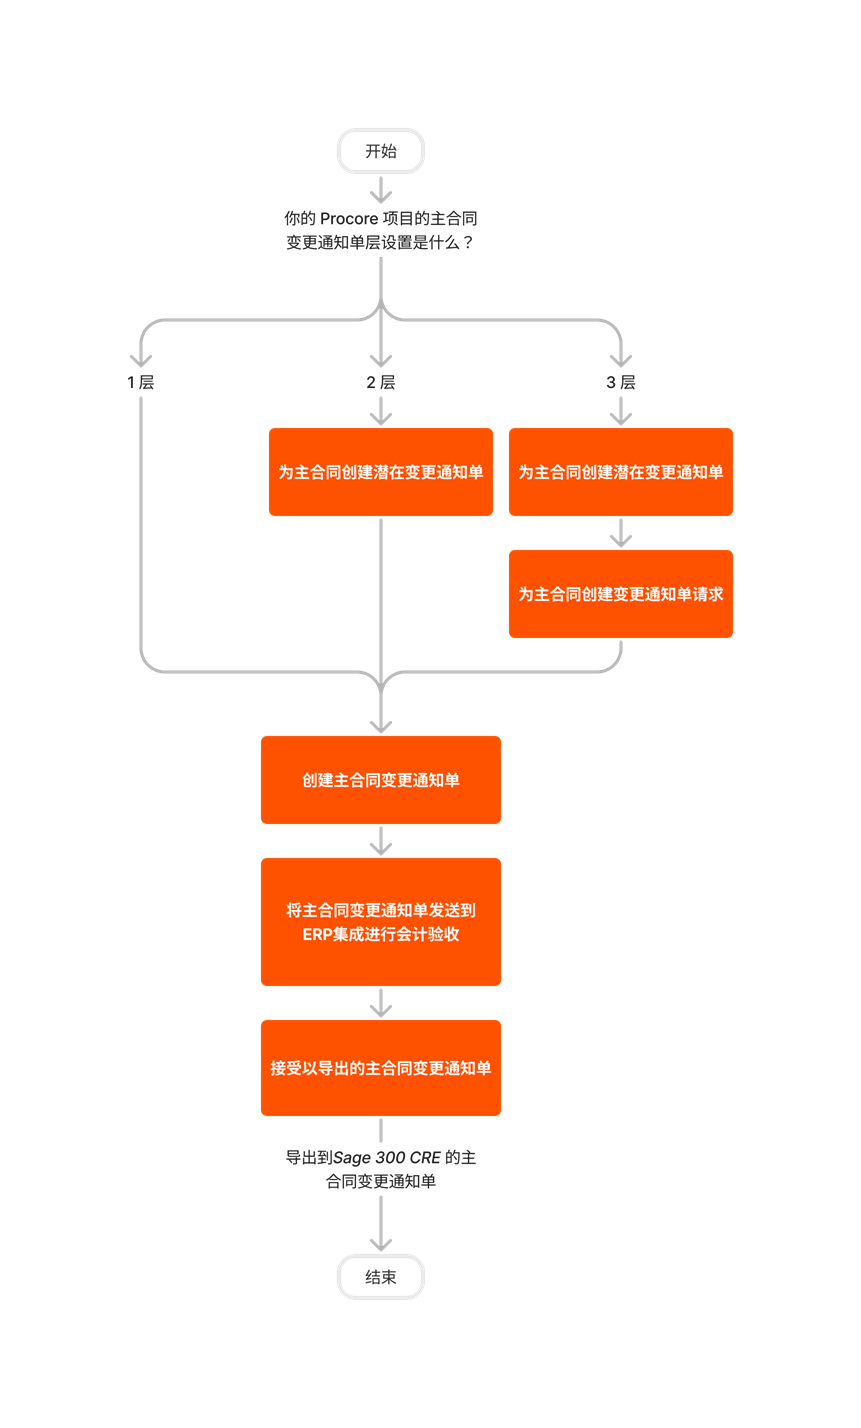
Follow the steps outlined below to create Prime Contract Change Orders (PCCOs) in Procore and then export them to Sage 300 CRE®.
Create and Sync Vendors
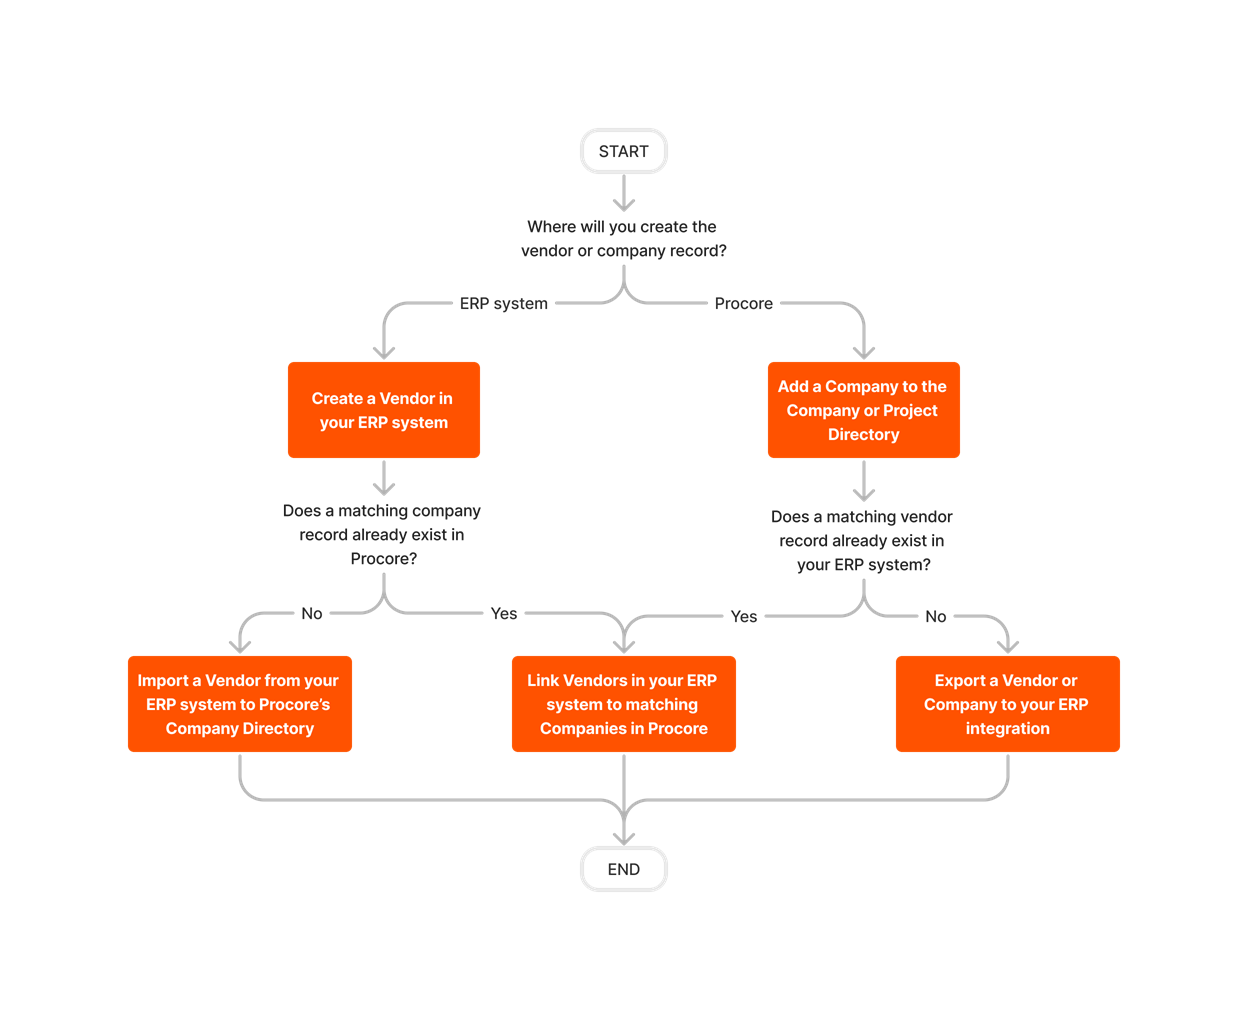
There are two different ways to sync vendor data between Procore and Sage 300 CRE.
Important! Vendors can be created in either Procore or Sage 300 CRE.
Set Up the Subcontractor Invoices Feature
Export Subcontractor Invoices from Procore


