Create Contract Compliance Documents for Commitments as an Invoice Administrator
Important
Author note: Log page changes to JIRA ILR Board: https://procoretech.atlassian.net/browse/ILR-329
- The copy under Steps on this content page is being reused as source content for Procore Pay in the Payor: Invoice Administrator Guide.
General Availability in Select Markets (United States)
 Procore Pay
 Objective
To create a new contract compliance document entry as an invoice administrator to track compliance with Procore Pay and Procore's Invoice Management tools.
Background
When enabled on a Procore project, Procore Pay adds a 'Compliance' tab to the project's commitments. On a subcontractor invoice, the controls in the 'Contract Compliance Documents' card work with the 'Contract Compliant' setting in the 'Payment Requirements' tab of the Company level Payments tool. This allows your team to track and review the status of the commitment contract's compliance document entries (for example, agreements, bonds, licenses, permits, and more). This helps your team ensure that all documents comply with the contract's requirements before your team releases invoice payments with Procore Pay.
Things to Consider
- Required User Permissions
- Additional Information:
- To learn how to manage insurance documents & compliance statuses, see Manage Insurance Documents & Compliance Statuses for a Commitment.
- To preview a file attachment in the Details pane of a contract compliance document entry, you must first click Save to complete the upload.
- You are limited to adding one (1) file attachment per entry.
Prerequisites
- To add the 'Compliance' tab to a project's commitments, enable Procore Pay on the project. See Enable or Disable Procore Pay on Your Projects.
- To track compliance status with Procore Pay, turn the 'Contract Compliant' payment requirement ON. See Configure Payment Requirements: Commitment Requirements.
Video
Steps
- Navigate to the project's Commitments tool.
- In the Contracts tab, locate the commitment to work with.
- Click the Number link to open it.
- In the commitment, click the Compliance tab.
- Scroll to the Contract Compliance Documents card.
- Click Create New.
Note
The Create New button is only visible and available to users granted invoice administrator permissions on the project's Commitments tool. - In the Details pane, enter:
- Name. Type the name of the compliance requirement. For example, type: Surety Bond
- Type. Select a requirement type from the drop-down list. The choices are Bond, License, Master Agreement, Permit, Safety, W-9, or Other.
- Status. Choose a status for the requirement: Compliant or Not Compliant.
- Effective Date. Select an effective date for the compliance requirement.
- Expiration Date. Select an expiration date for the compliance requirement.
- Send Expiration Notification. Mark this checkbox to send a daily email notification to the commitment's invoice contacts when the compliance requirement is within fourteen (14) days of the set 'Expiration Date'.
Note
To stop the email notification, change or remove the expiration date. Procore stops sending notifications sixty (60) days after the Expiration Date passes. - Notes. Enter any relevant comments about the compliance requirement.
- Attachment. Click the Attach Files button or use a drag-and-drop operation to add one (1) file.
Tips
- To cancel your new entry, click the Cancel link or Close button. A 'Discard Unsaved Changes' message appears.
- To remove all data and information from Procore, click Discard. This action cannot be undone and data cannot be recovered.
- Click Save.
Note
If your web browser supports viewing the file type in Procore, a preview appears after you click Save to complete the upload.
A GREEN success banner confirms that the contract compliance document has been added to the table. The add action is also noted in the Change History tab of the commitment.Example
If your web browser supports viewing a file type in Procore, the file appears in the preview window next to the Details pane when you re-open the entry.

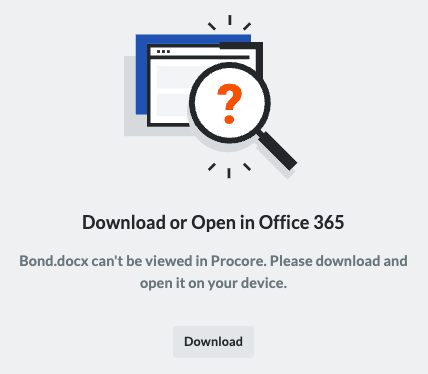
If your web browser doesn't support viewing a file type in Procore, a Download button appears in the preview window next to the Details pane so you can view it on your computer.