Trimble Setup for Android Devices

Unearth OnePlace integrates with Trimble R2 and DA2 devices, providing highly accurate data via a wireless Bluetooth connection. As of Android Version 2.10.0 on the Google Play Store, integrating with the Trimble R2 and DA2 is supported on both phone & tablet. Any other Trimble Devices are not supported. 

Unlike iOS, the ‘Trimble Mobile Manager’ (TMM) app is not required to connect and use the R2 or DA2.

If you are using the DA2 and would like to use the higher accuracy available with a Trimble subscription, you will need to download and log into the TMM app using your Trimble credentials. 

The following steps will be the same for all Trimble devices. If you have a paid Trimble subscription with a DA2, logging into TMM will give you the higher accuracy when connecting in Unearth - but the steps are the same. 

In this article, you will learn how to connect the Trimble device, connect to satellites, and add assets using Trimble accuracy.


Connect Trimble Device -

 
  • Open the Unearth app
Note: Trimble is only compatible in the mobile app, so it does not work if you open Unearth in a mobile web browser.
  • Select a project that you’d like to add assets to via Trimble.
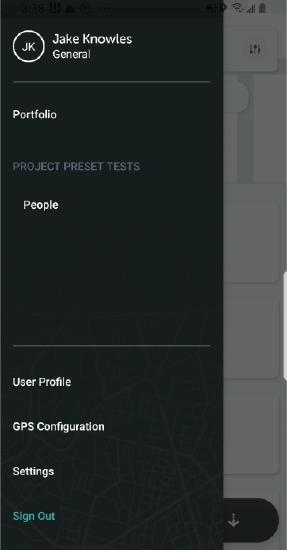
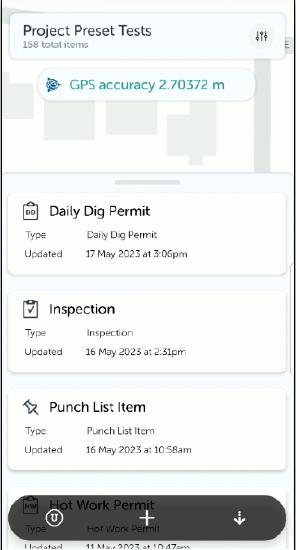
  • Open the side menu by tapping the "U" button in the top left corner, and tap “GPS Configuration.”
undefined-1.jpg
  • Turn on your Trimble device.
    • Trimble DA2 - Once turned on, the blue light should be blinking. This indicates it is on and ready to be paired. If the blue light is not blinking and is a solid blue, this means it’s connected to another device. Make sure you disconnect that before continuing on to the next step.
undefined-2.jpg
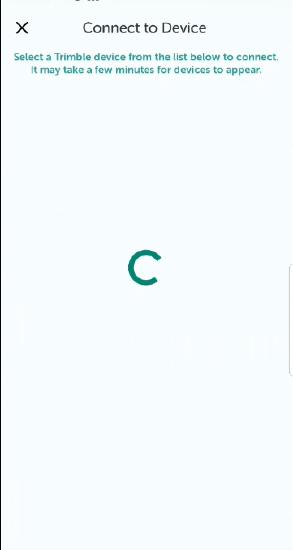
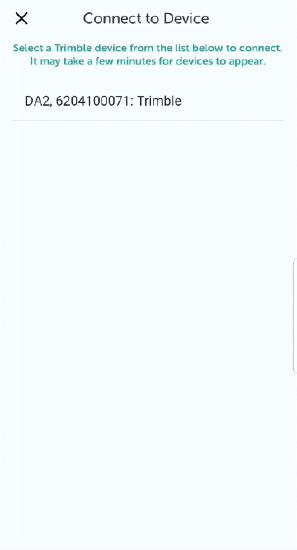
  • “Connect to Device'' screen will appear.
  • Accept Bluetooth permissions, if needed. 
  • Under the list of available Bluetooth devices, tap on the Trimble device you'd like to connect.
    • Searching for Bluetooth devices can sometimes take between a few seconds to a couple of minutes. If the Trimble is turned on and in range, give it a moment to appear if you don't immediately see it listed. 

 
undefined-3.jpg
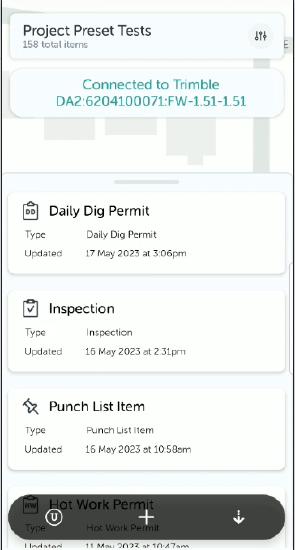
  • You will be directed back to the map, with “Loading Subscription” in a header - the header appears below the project title bar after selecting the Trimble device.
  • Once the subscription is loaded, the header will say "Connect to Trimble [Trimble model]"
undefined-4.jpg


Connecting to Satellites -


  • If the Trimble has not already found satellites, it will next go through a step looking for satellites. This step can take some time as the Trimble is actively looking for satellites to connect to in the sky. 
Note: Connecting to Trimble outdoors is significantly quicker as there is less interference.
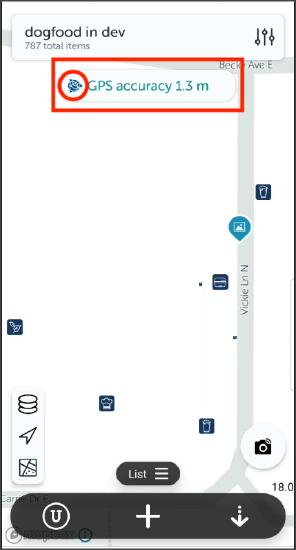
  • Once the Trimble has connected to enough satellites to allow precision accuracy, the header will show GPS accuracy details along with the Trimble logo. This Trimble logo is how you can quickly verify the device is connected. Then you will be ready to add assets
undefined-May-25-2023-09-32-08-7828-PM.jpg
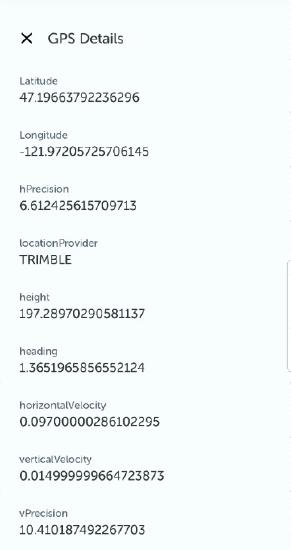
  • At any time you can tap the "GPS accuracy" header to see GPS details. These details will update when a new position update has been received.
undefined-May-25-2023-09-31-57-5743-PM.jpg


Adding Assets - Once the Trimble is connected to Unearth, you can begin adding assets. 
 

The most important step to remember when adding assets with Trimble accuracy is to click "Center on Location" before adding an asset point. Failure to do so will result in an asset being added normally, without Trimble accuracy. Read on to cover the details of how to add assets properly with Trimble accuracy.

  • Whenever the Trimble Icon (blue icon) is in the header, the Trimble is connected and ready to add assets. The GPS accuracy shown in the header is the precise accuracy the device is providing.
android trimble 7 border.jpg
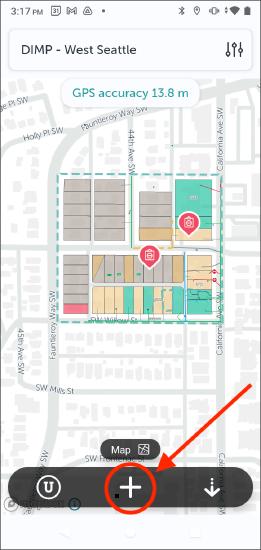
  • To begin adding assets, click the "+" button in the center of the menu bar at the bottom of the screen.
  • Select the tool you'd like to use to add an asset.
android trimble plus button border.jpg
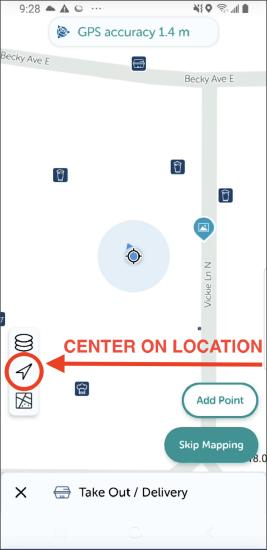
  • Click the location arrow (left side of the screen, between the stacked "filters" button and the map button) to center on location.
Note: Since Trimble is based on where you are physically located on the map, you must tap the "Center on Location" button AFTER selecting a tool and BEFORE adding the point to the map to enable the point as a Trimble point. The order of steps is important when adding points from the Trimble's location.
android trimble 7.jpg
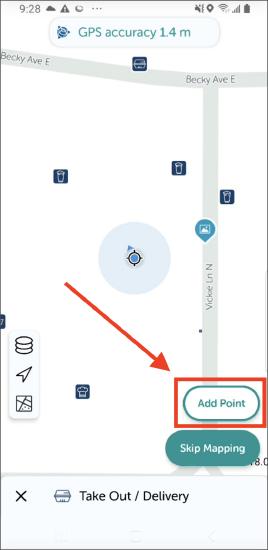
  • Click "Add Point" on the right side of the screen to place the asset at your current location.
android trimble 8 NEW border.jpg
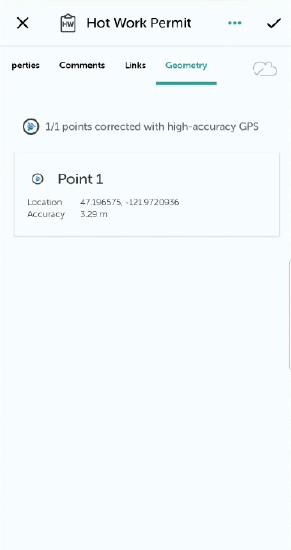
  • Confirm your point was added with Trimble accuracy.
Note: The added point should be marked as having been added via Trimble inside the “Geometry” tab on the asset panel. You can determine if a point was added from Trimble if the following are present: tab states “1/1 points connected with high-accuracy GPS," Trimble icon is located to the left of the point #, and an “Accuracy” field is attached to each point.
undefined-May-25-2023-09-34-36-8009-PM.jpg
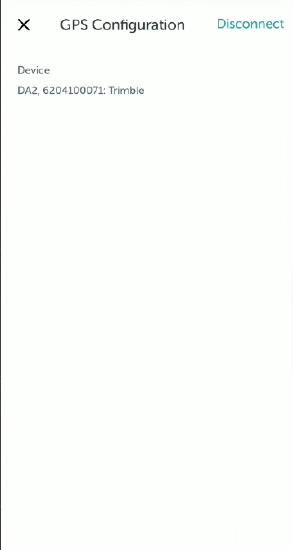
  • Once you are done adding assets with the Trimble device, you can open up "GPS Configuration” once more. Then, tap "disconnect." Any time Unearth is closed, the Trimble will disconnect. Following the connection steps again will get you quickly reconnected.
undefined.jpg


If you run into any issues or have any questions, please reach out to us at unearthsupport@procore.com.


Revised May 2023