Attach a File to an Asset
Within your site, you can add a number of different files to each individual asset. This capability allows you to track assets at a closer level and gives you the ability to store a number of files in one location. Here's how you link files to your assets:
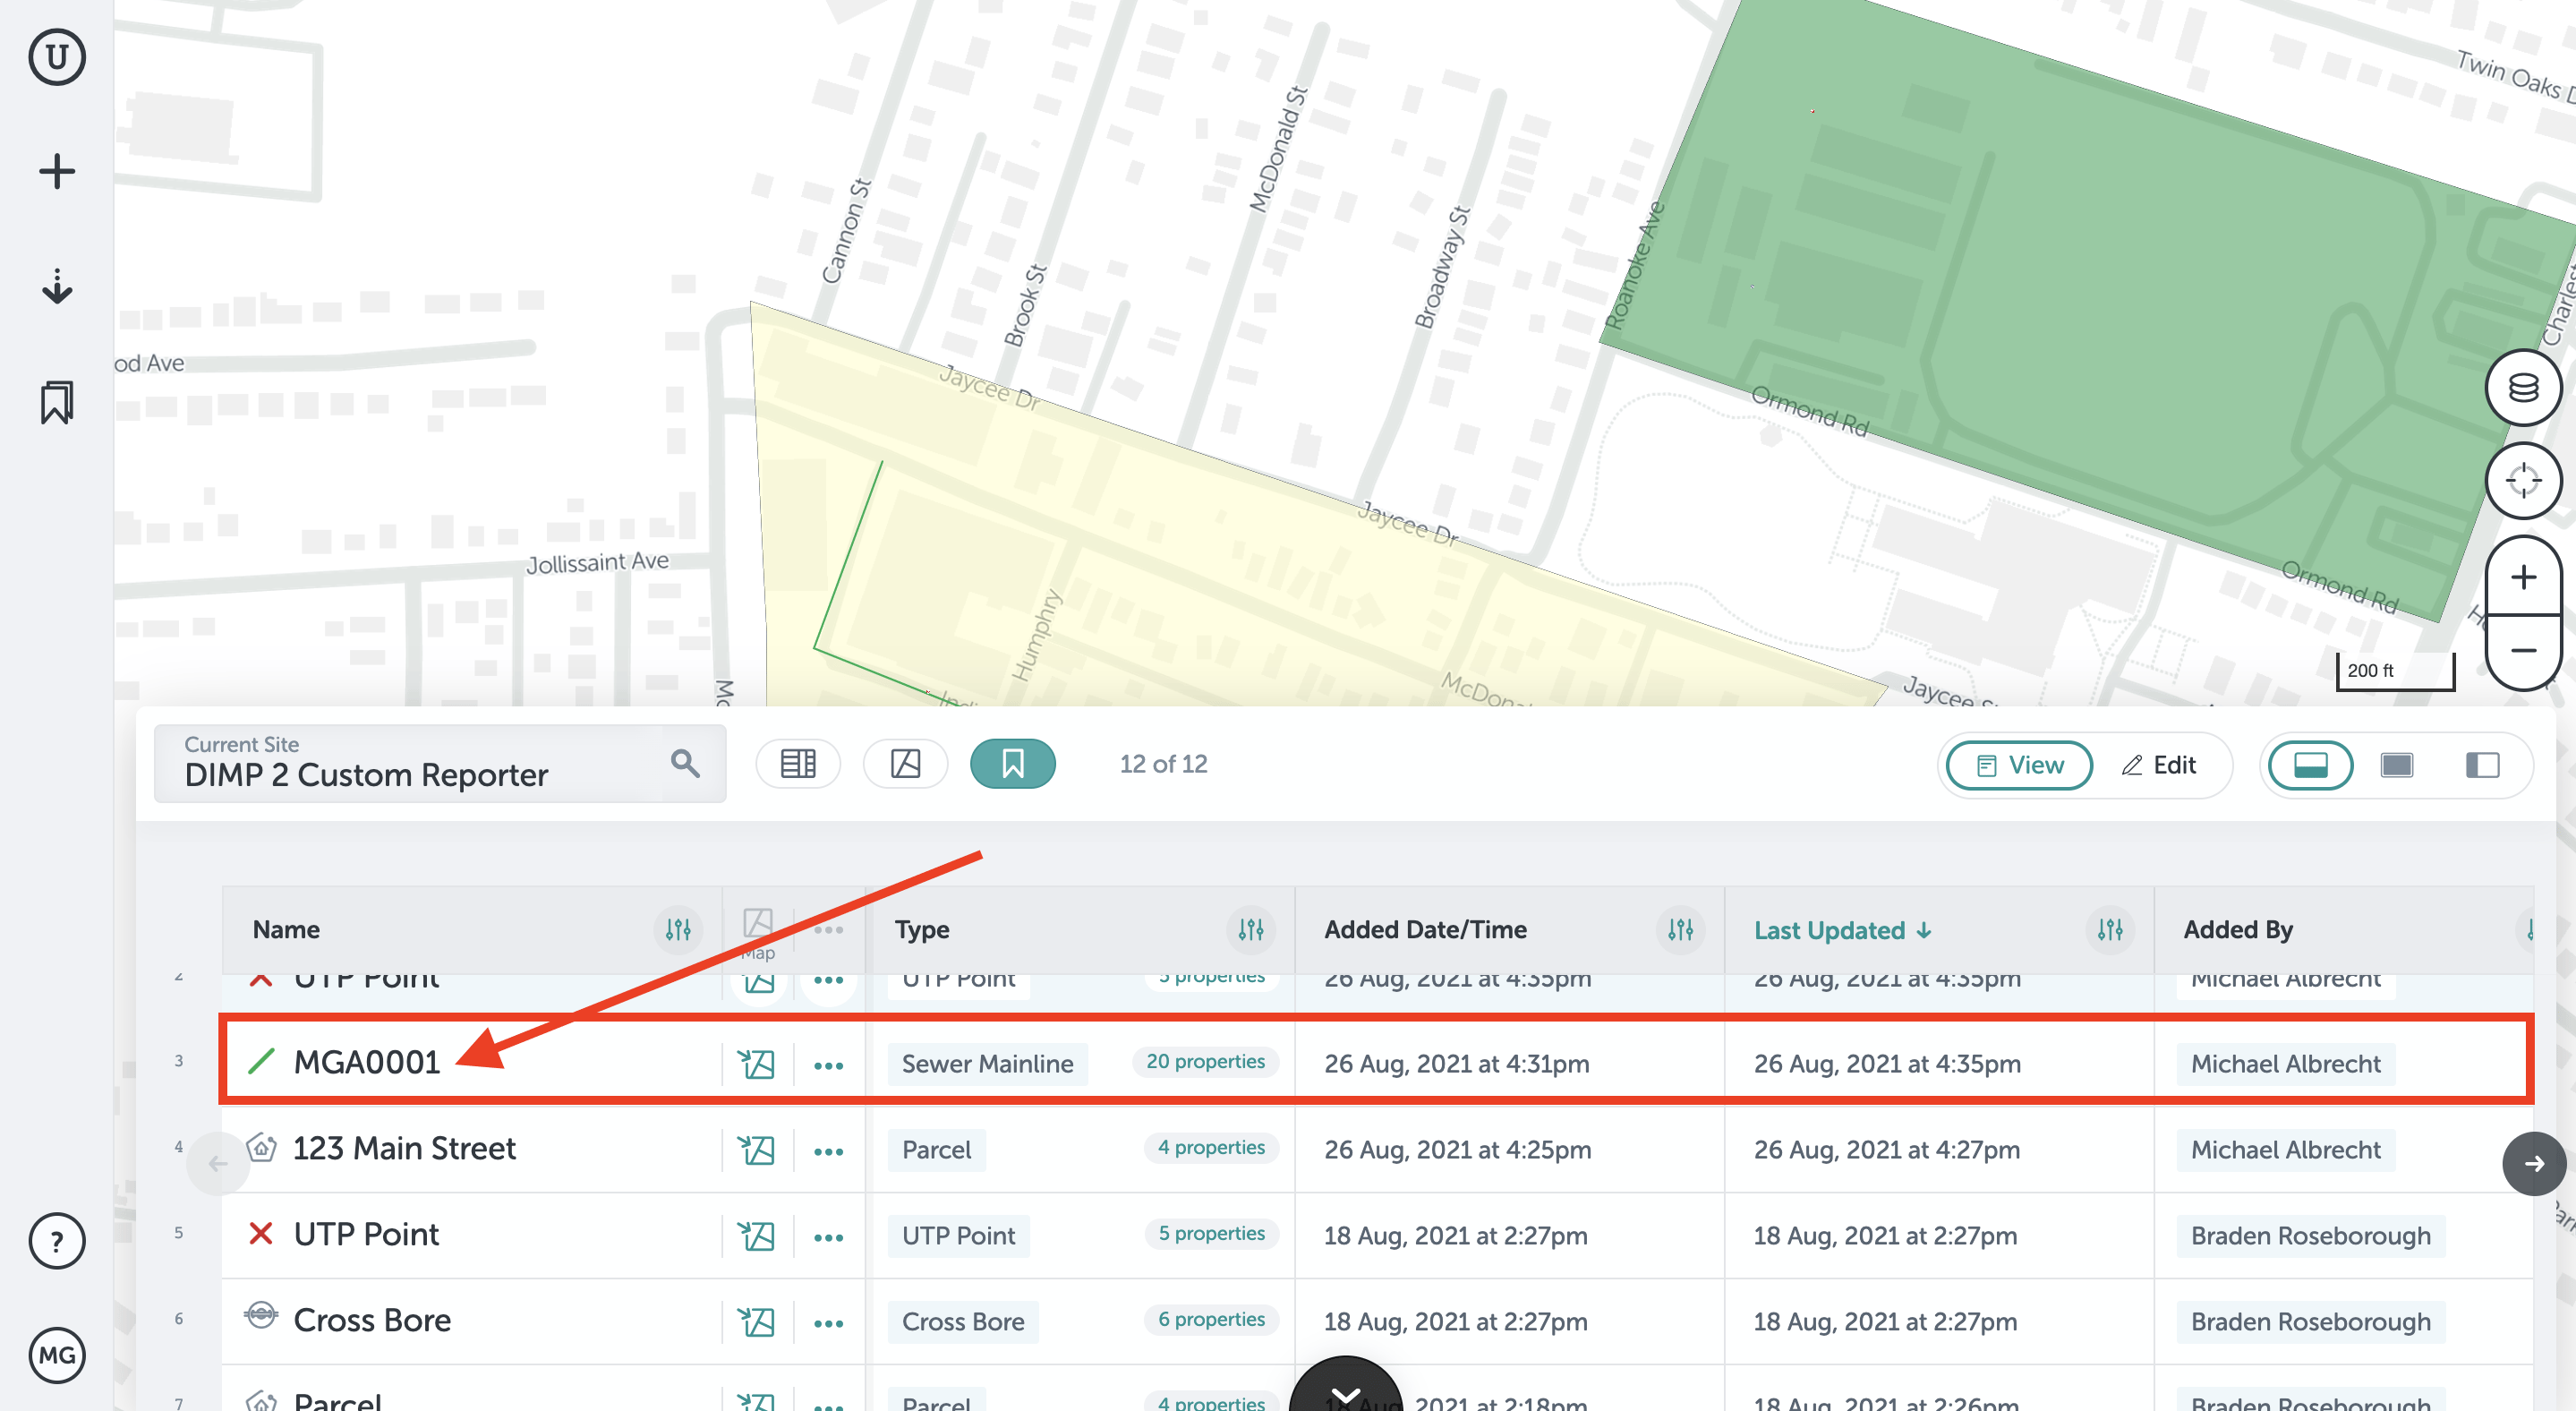
- To attach a file to an asset, scroll through or search in Table View to locate and click on the needed asset. You can also navigate by clicking on the asset on the map and clicking "Links" on the popup menu to take you directly to the "Links" tab.
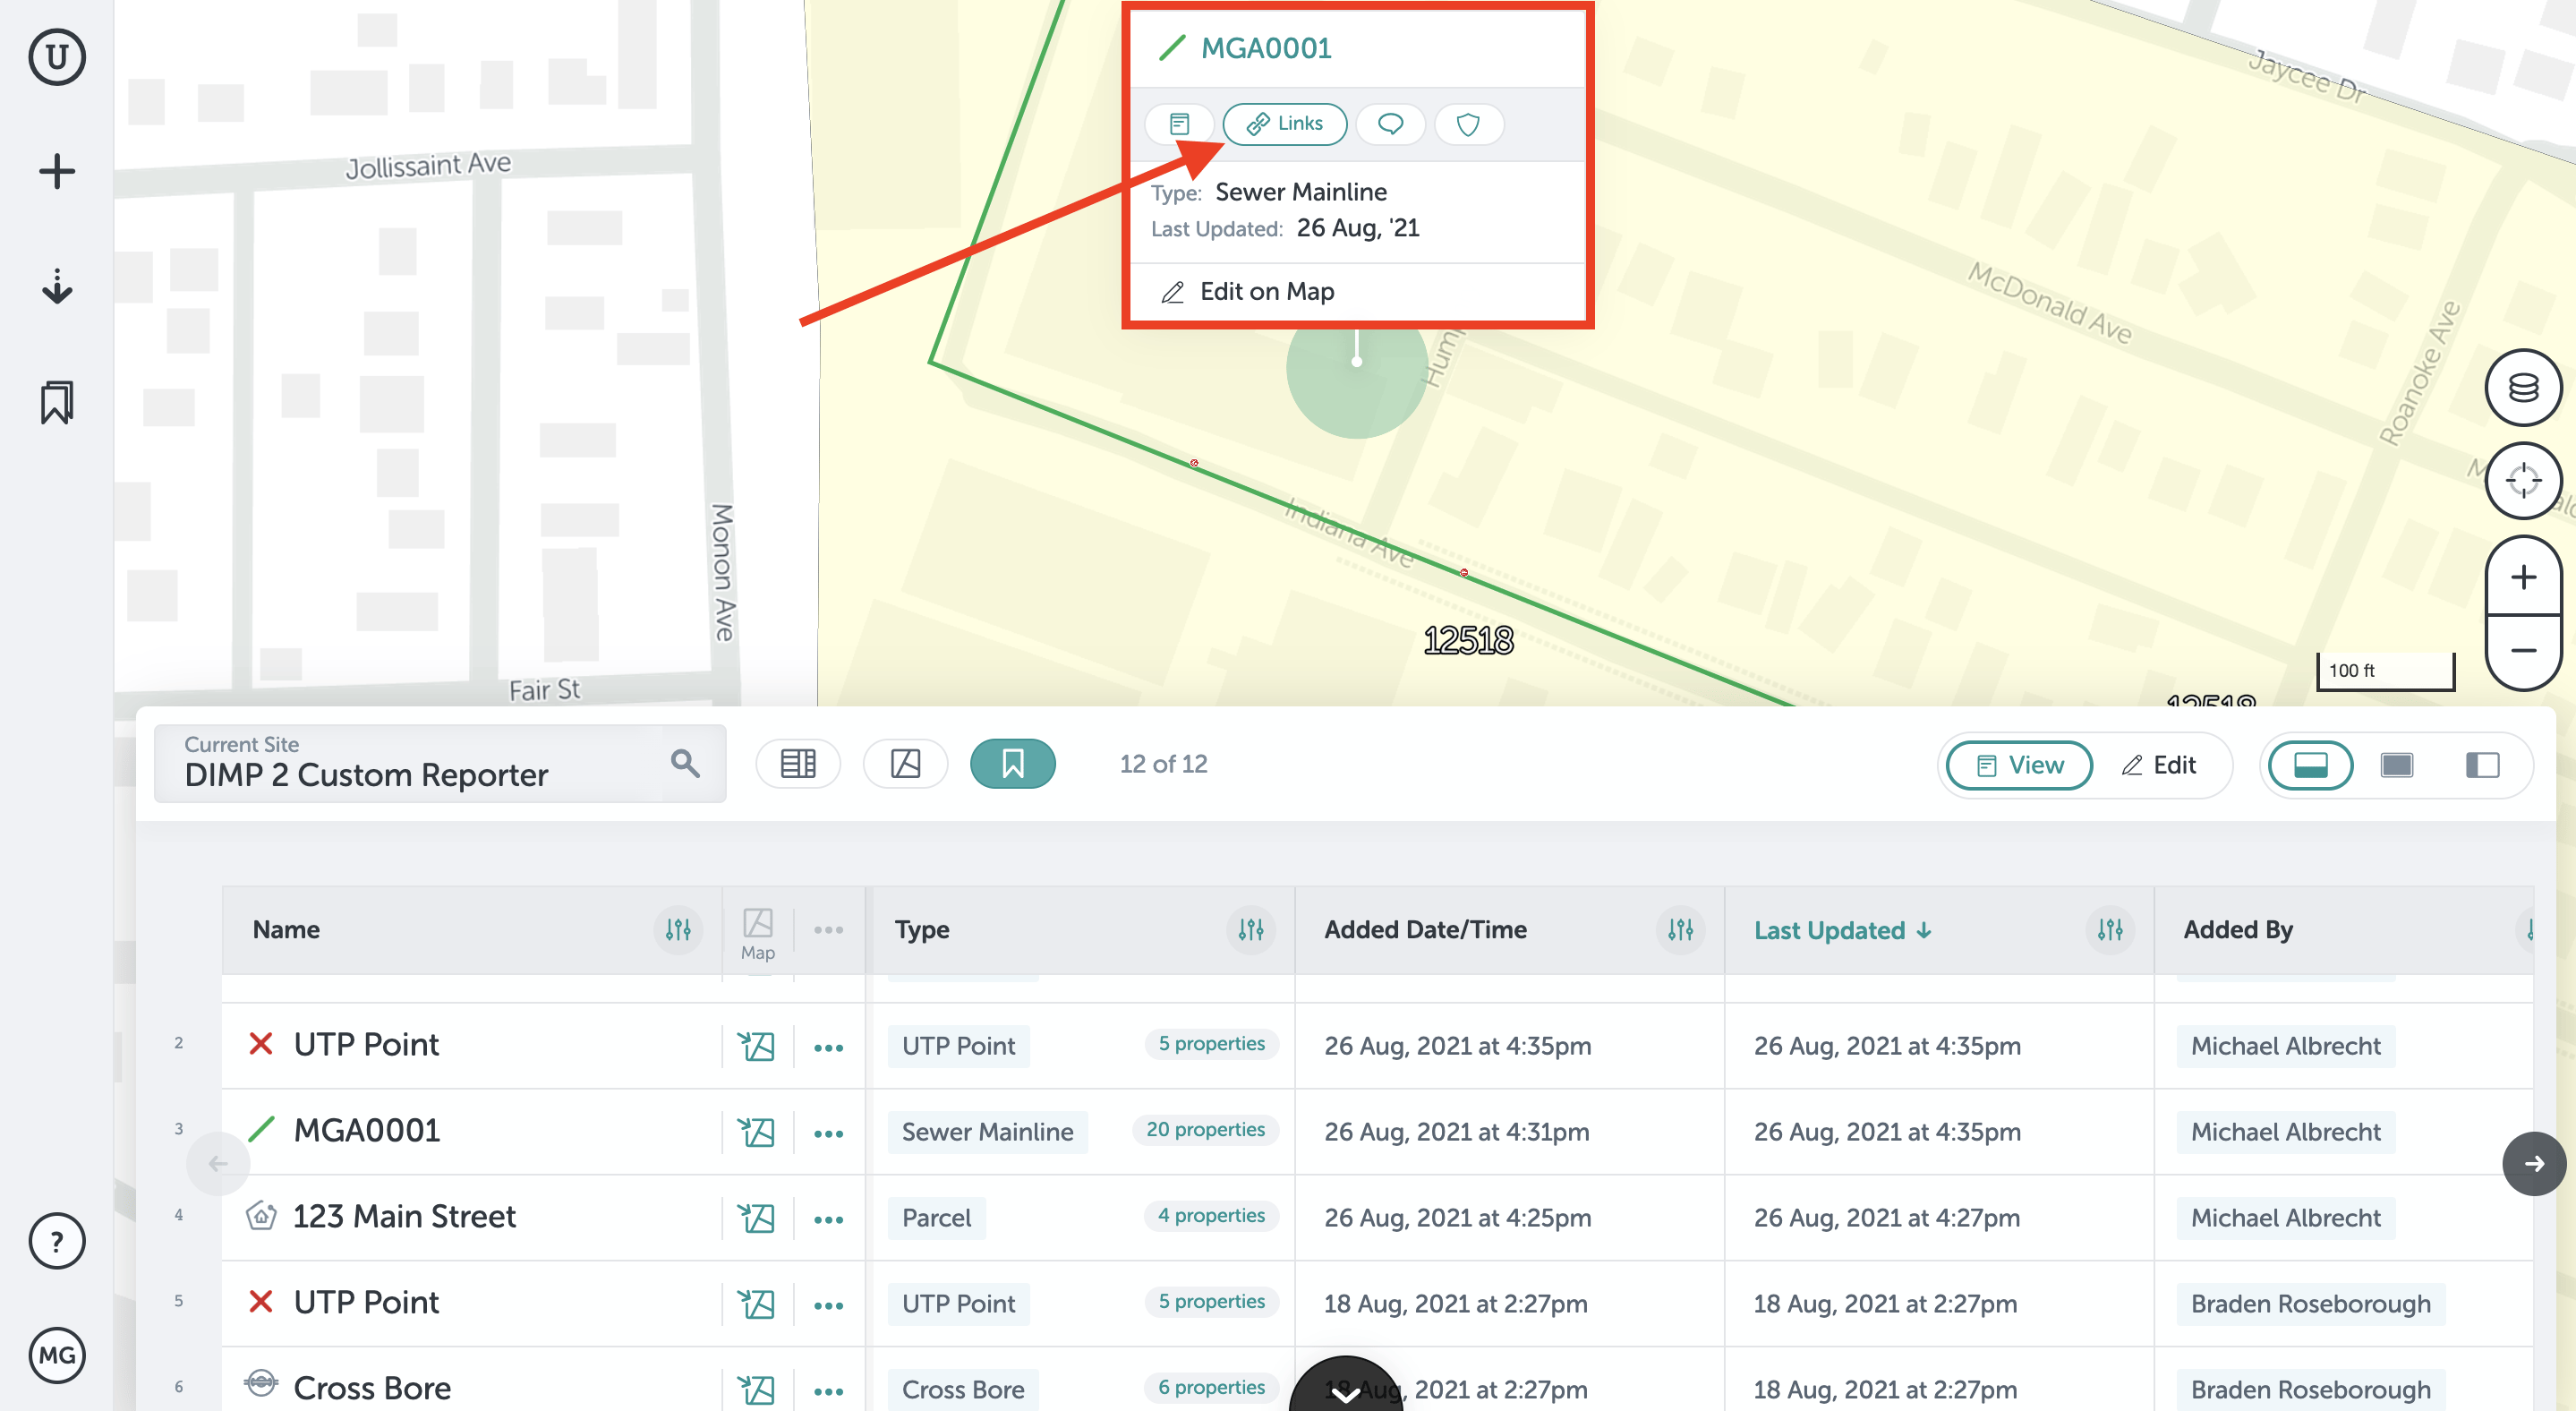
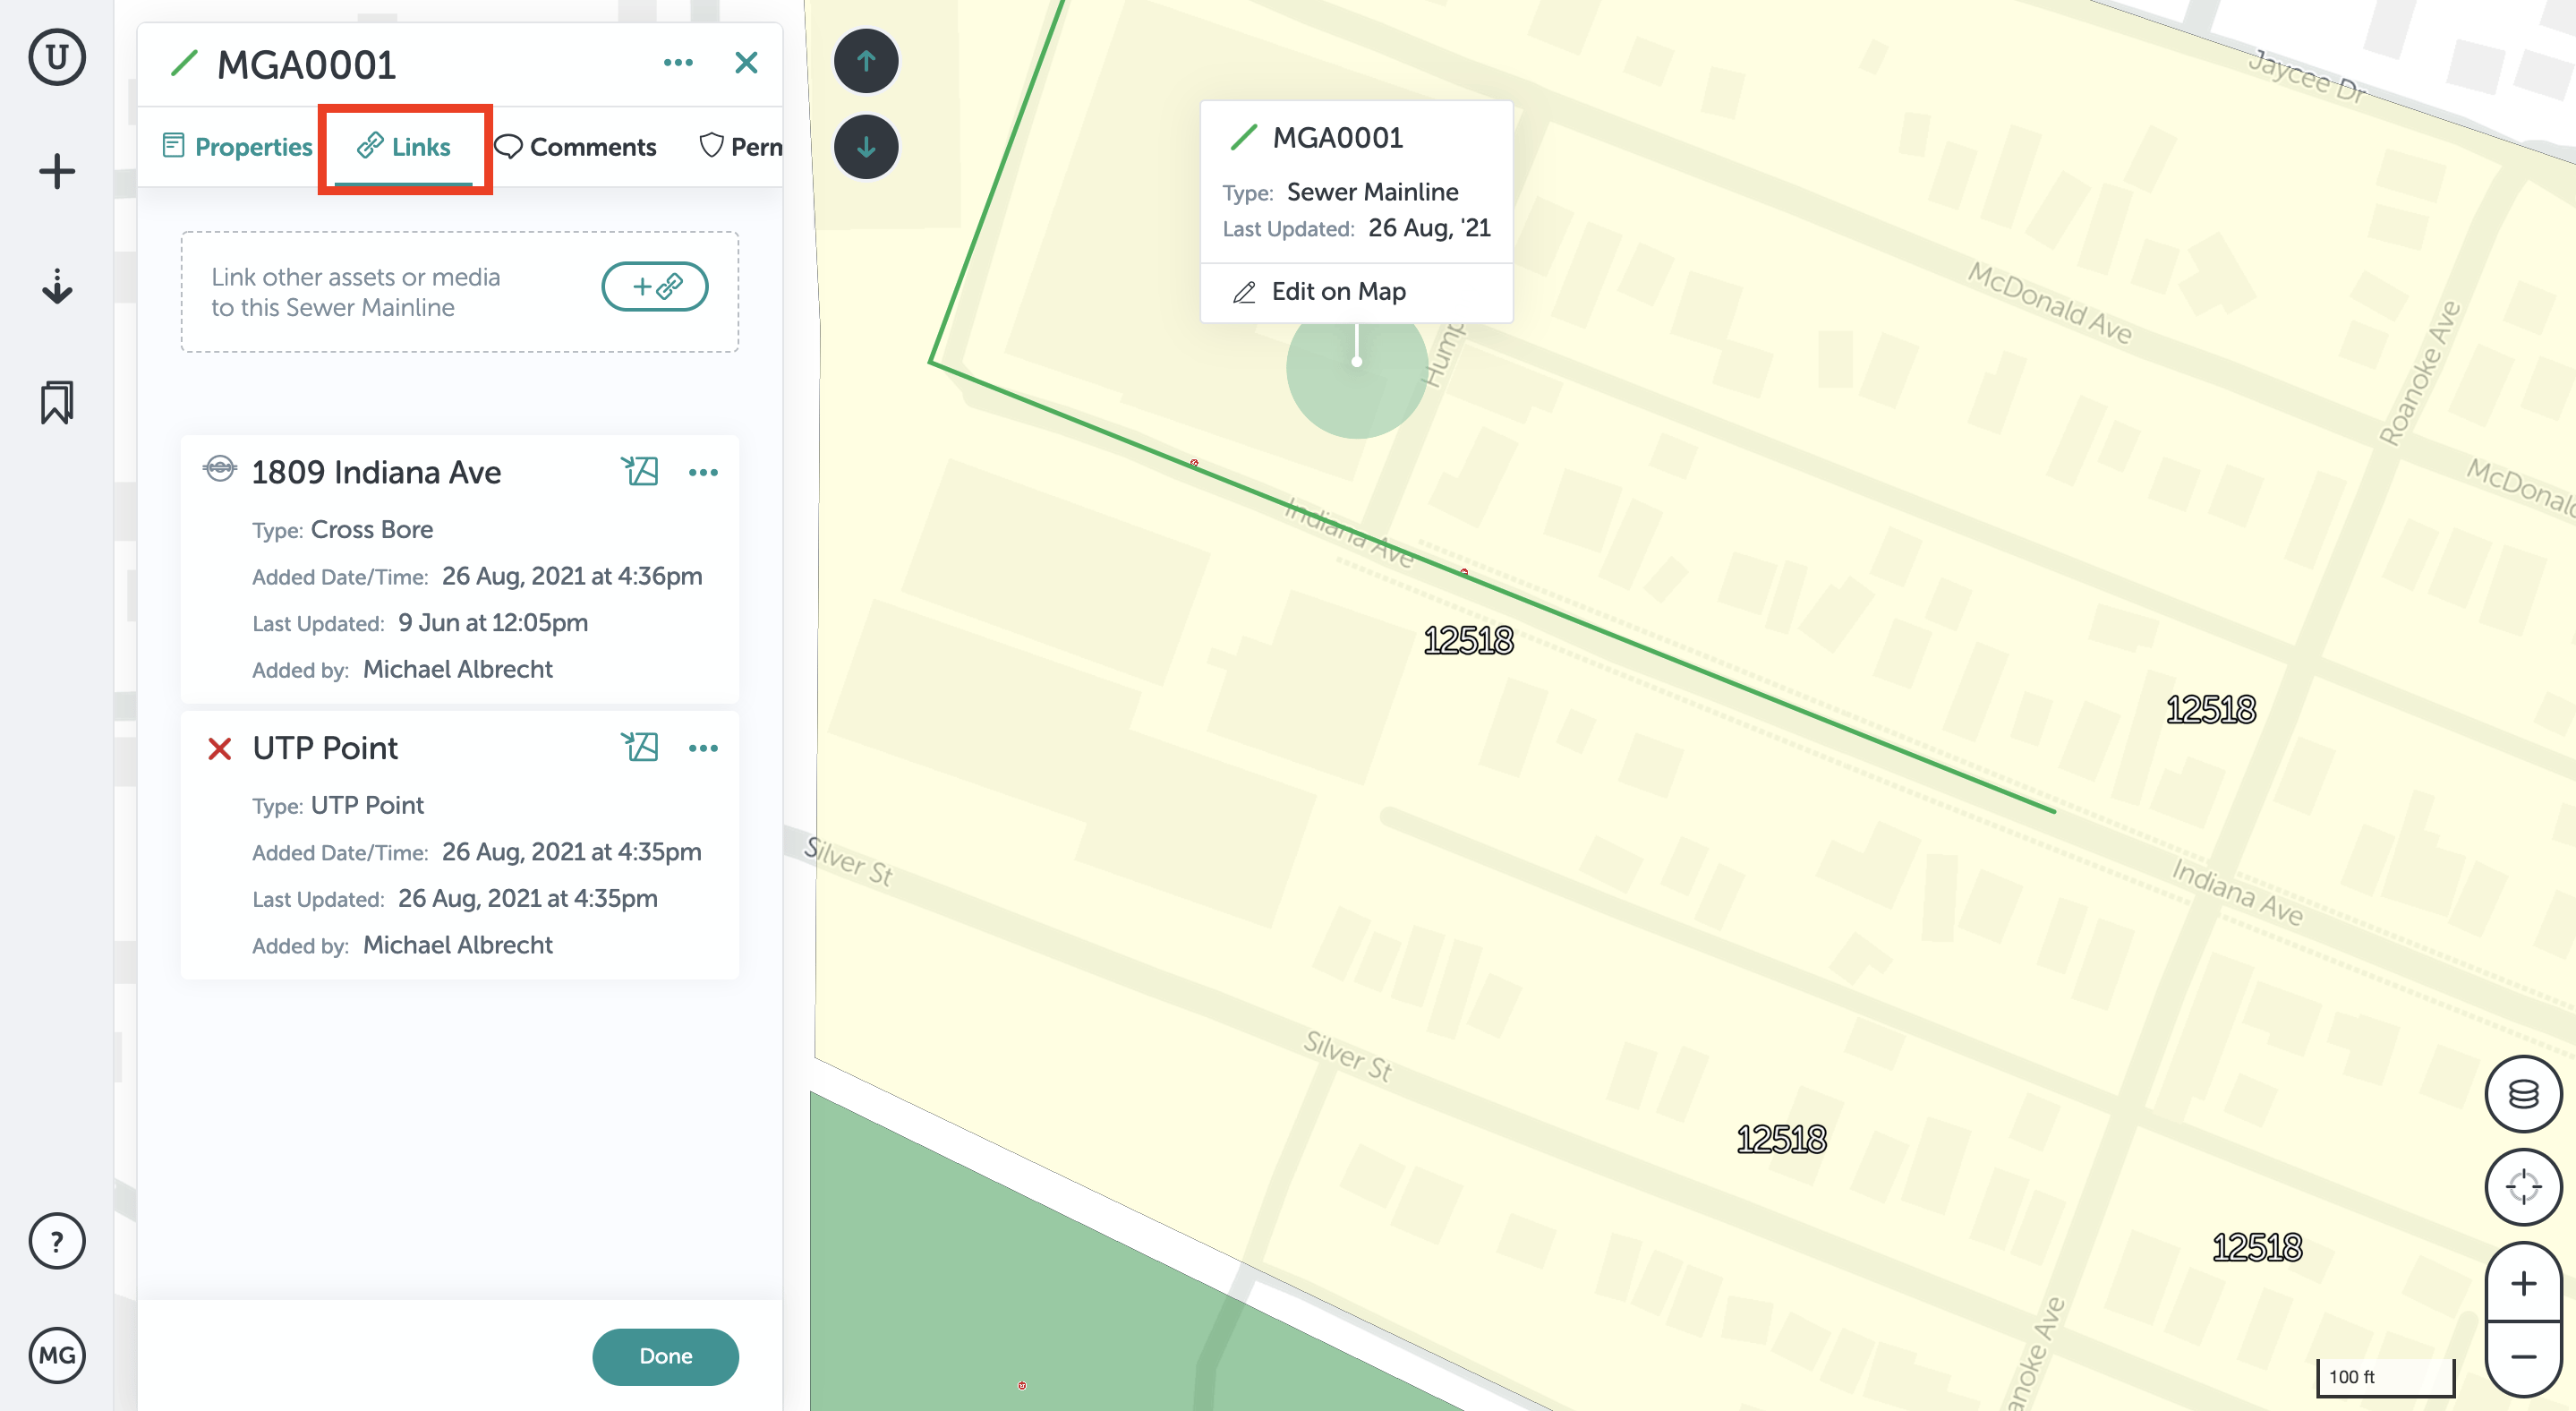
- Click on the "Links" tab in the asset's field form.
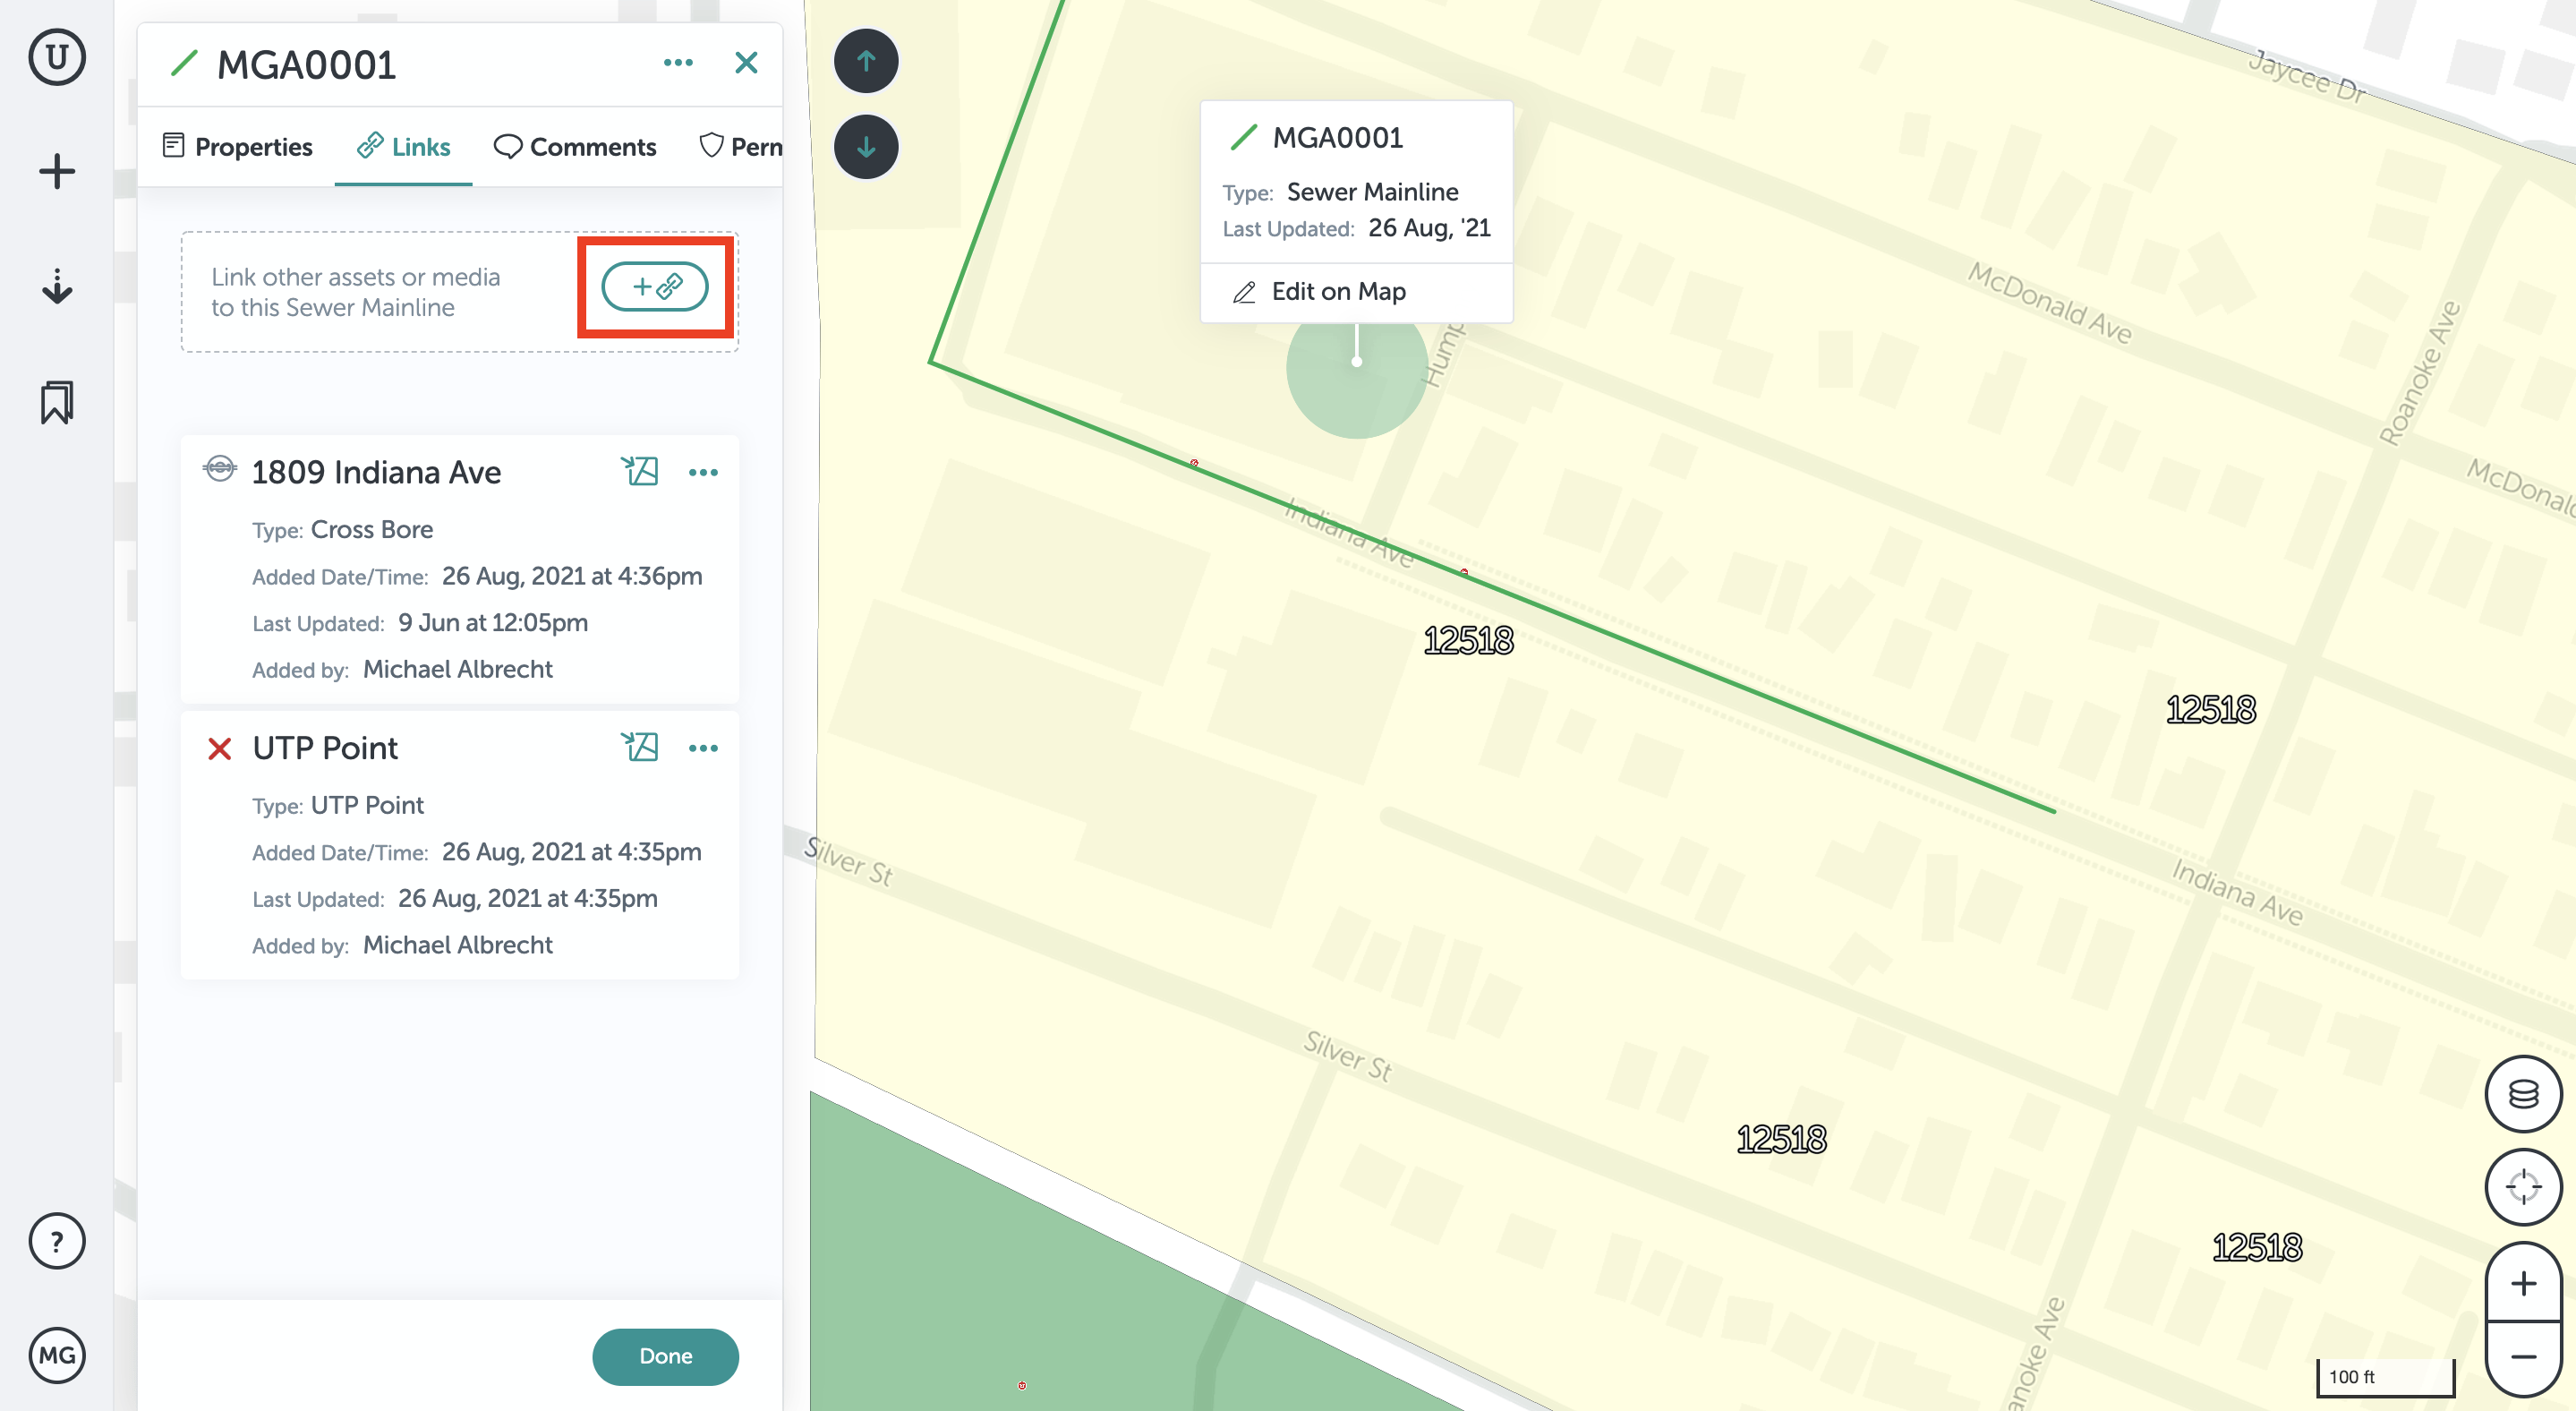
- Next to the “Link other assets or media to this..” message, click on the button with the plus and paperclip.
- You can upload a file from a number of different source locations. Select what file you want in your site. Here, you can also link existing assets existing assets together for quick access to multiple assets across your site.
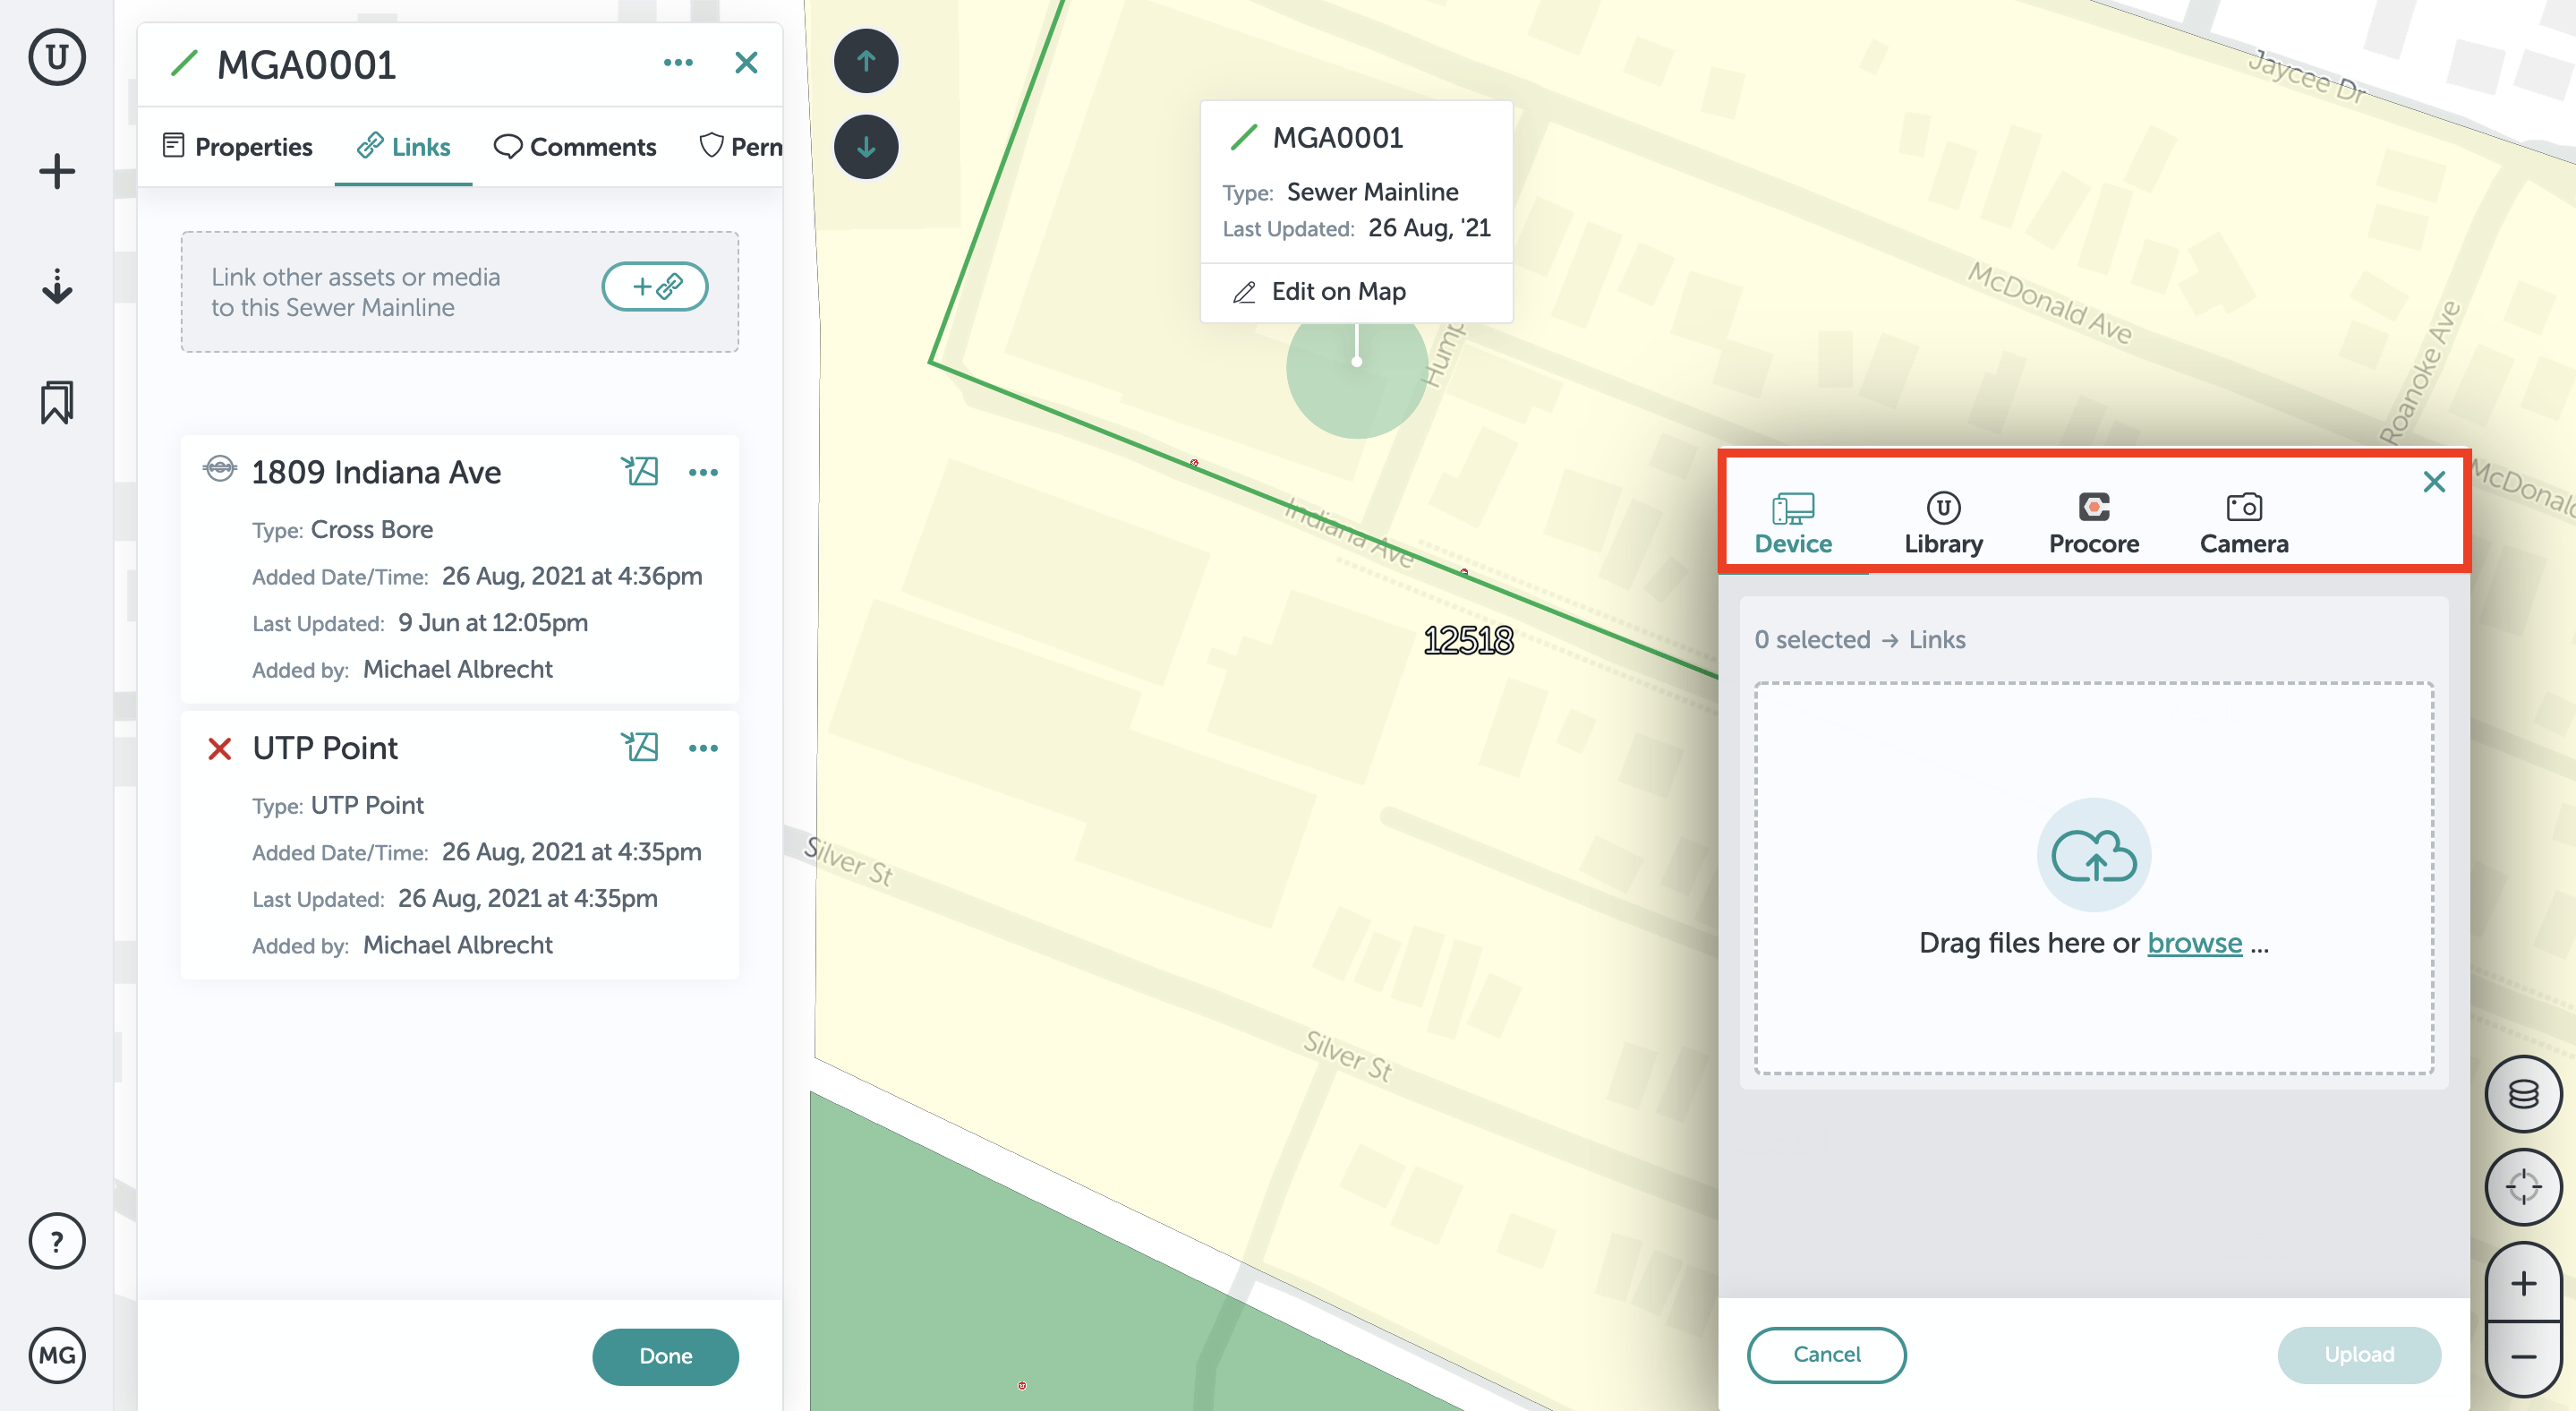
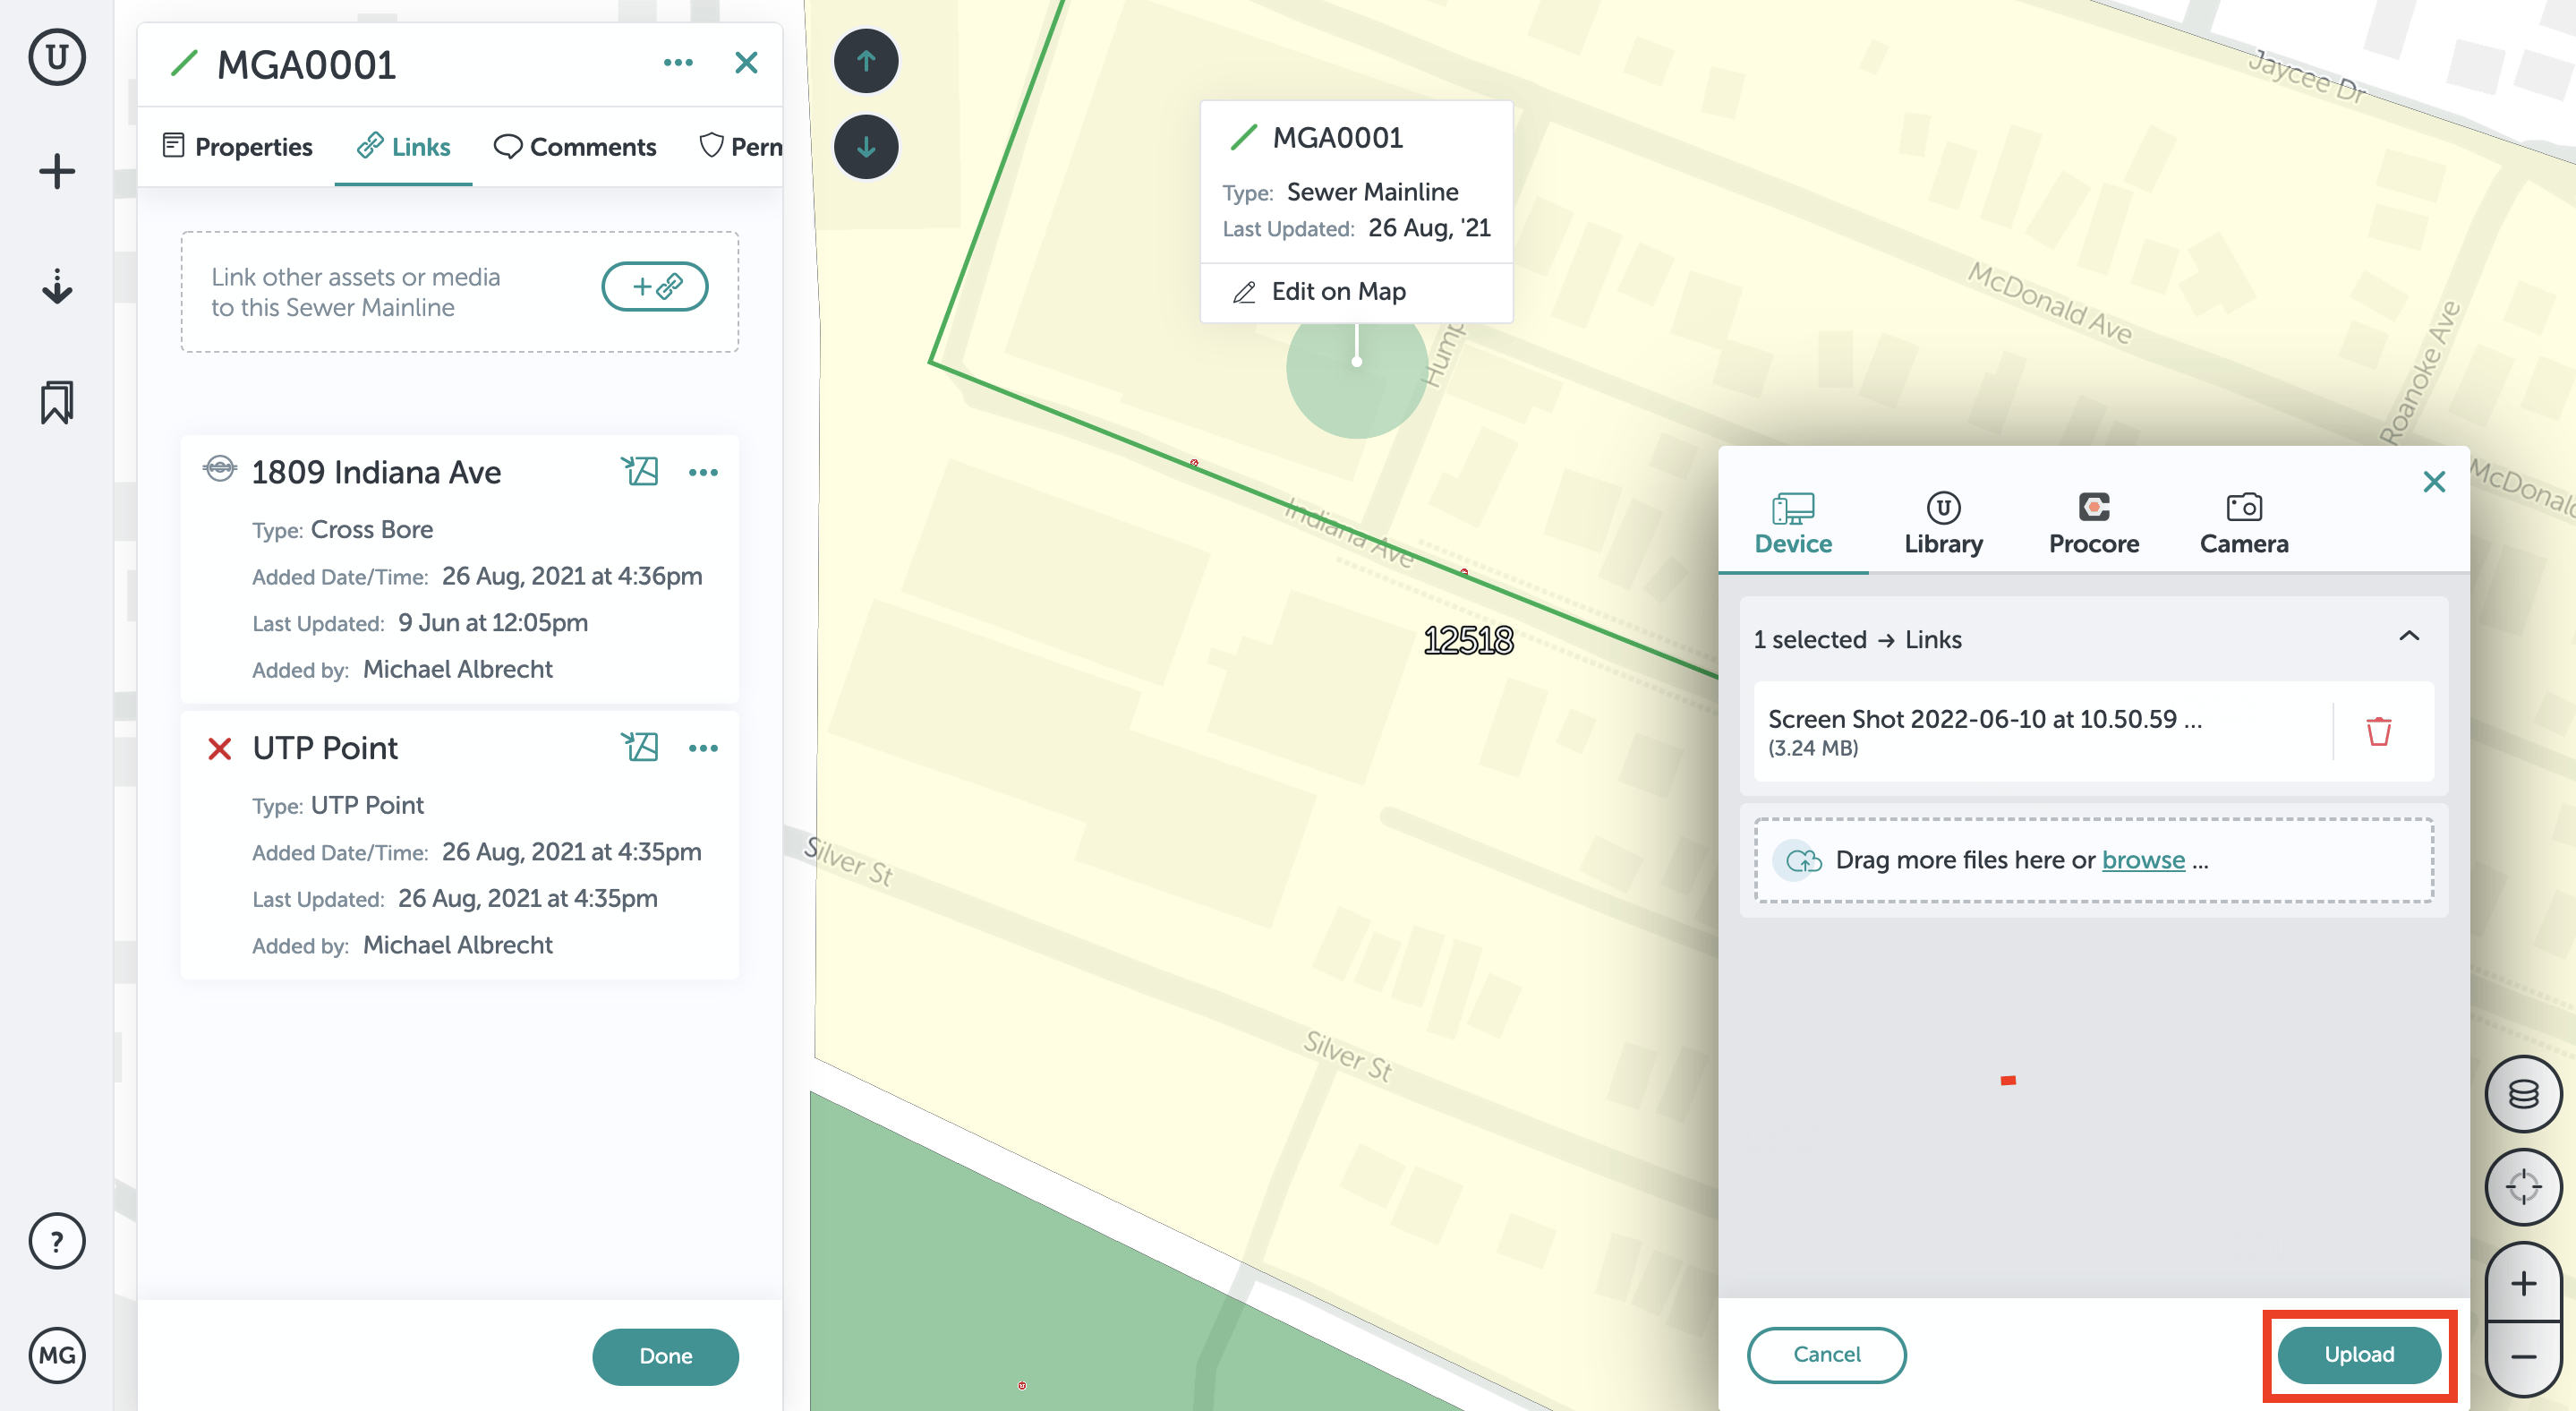
- After you select your file, click upload.
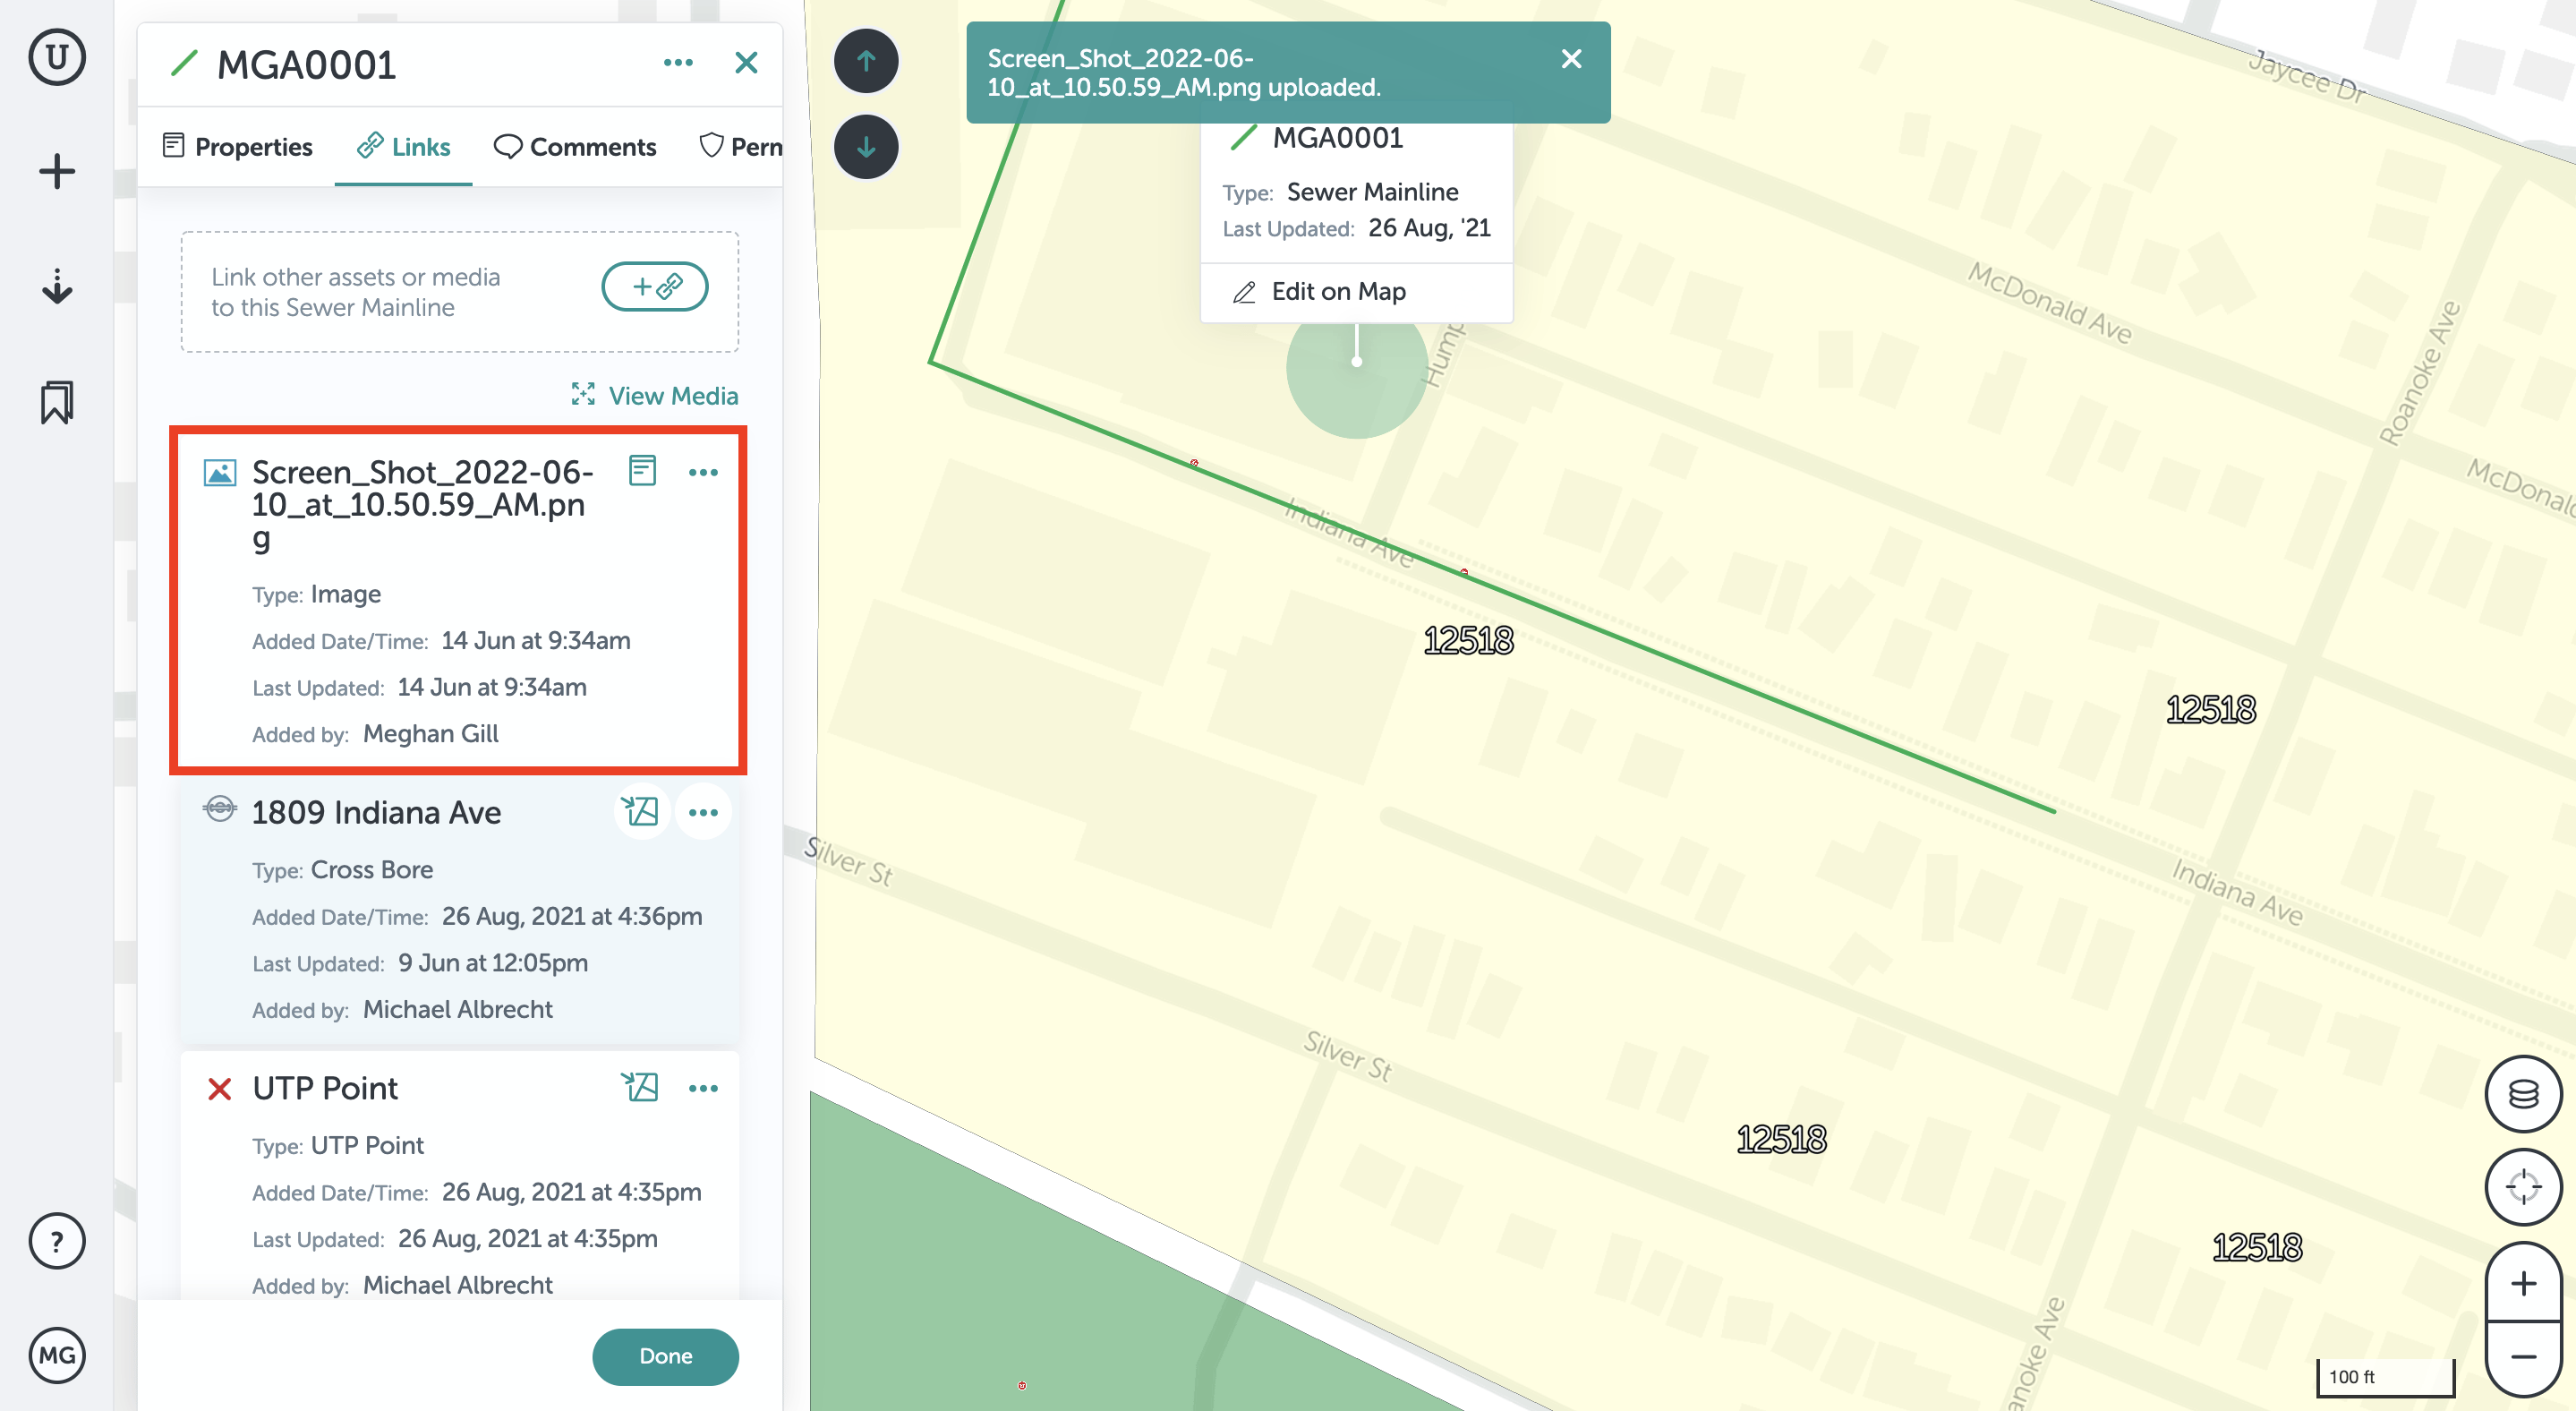
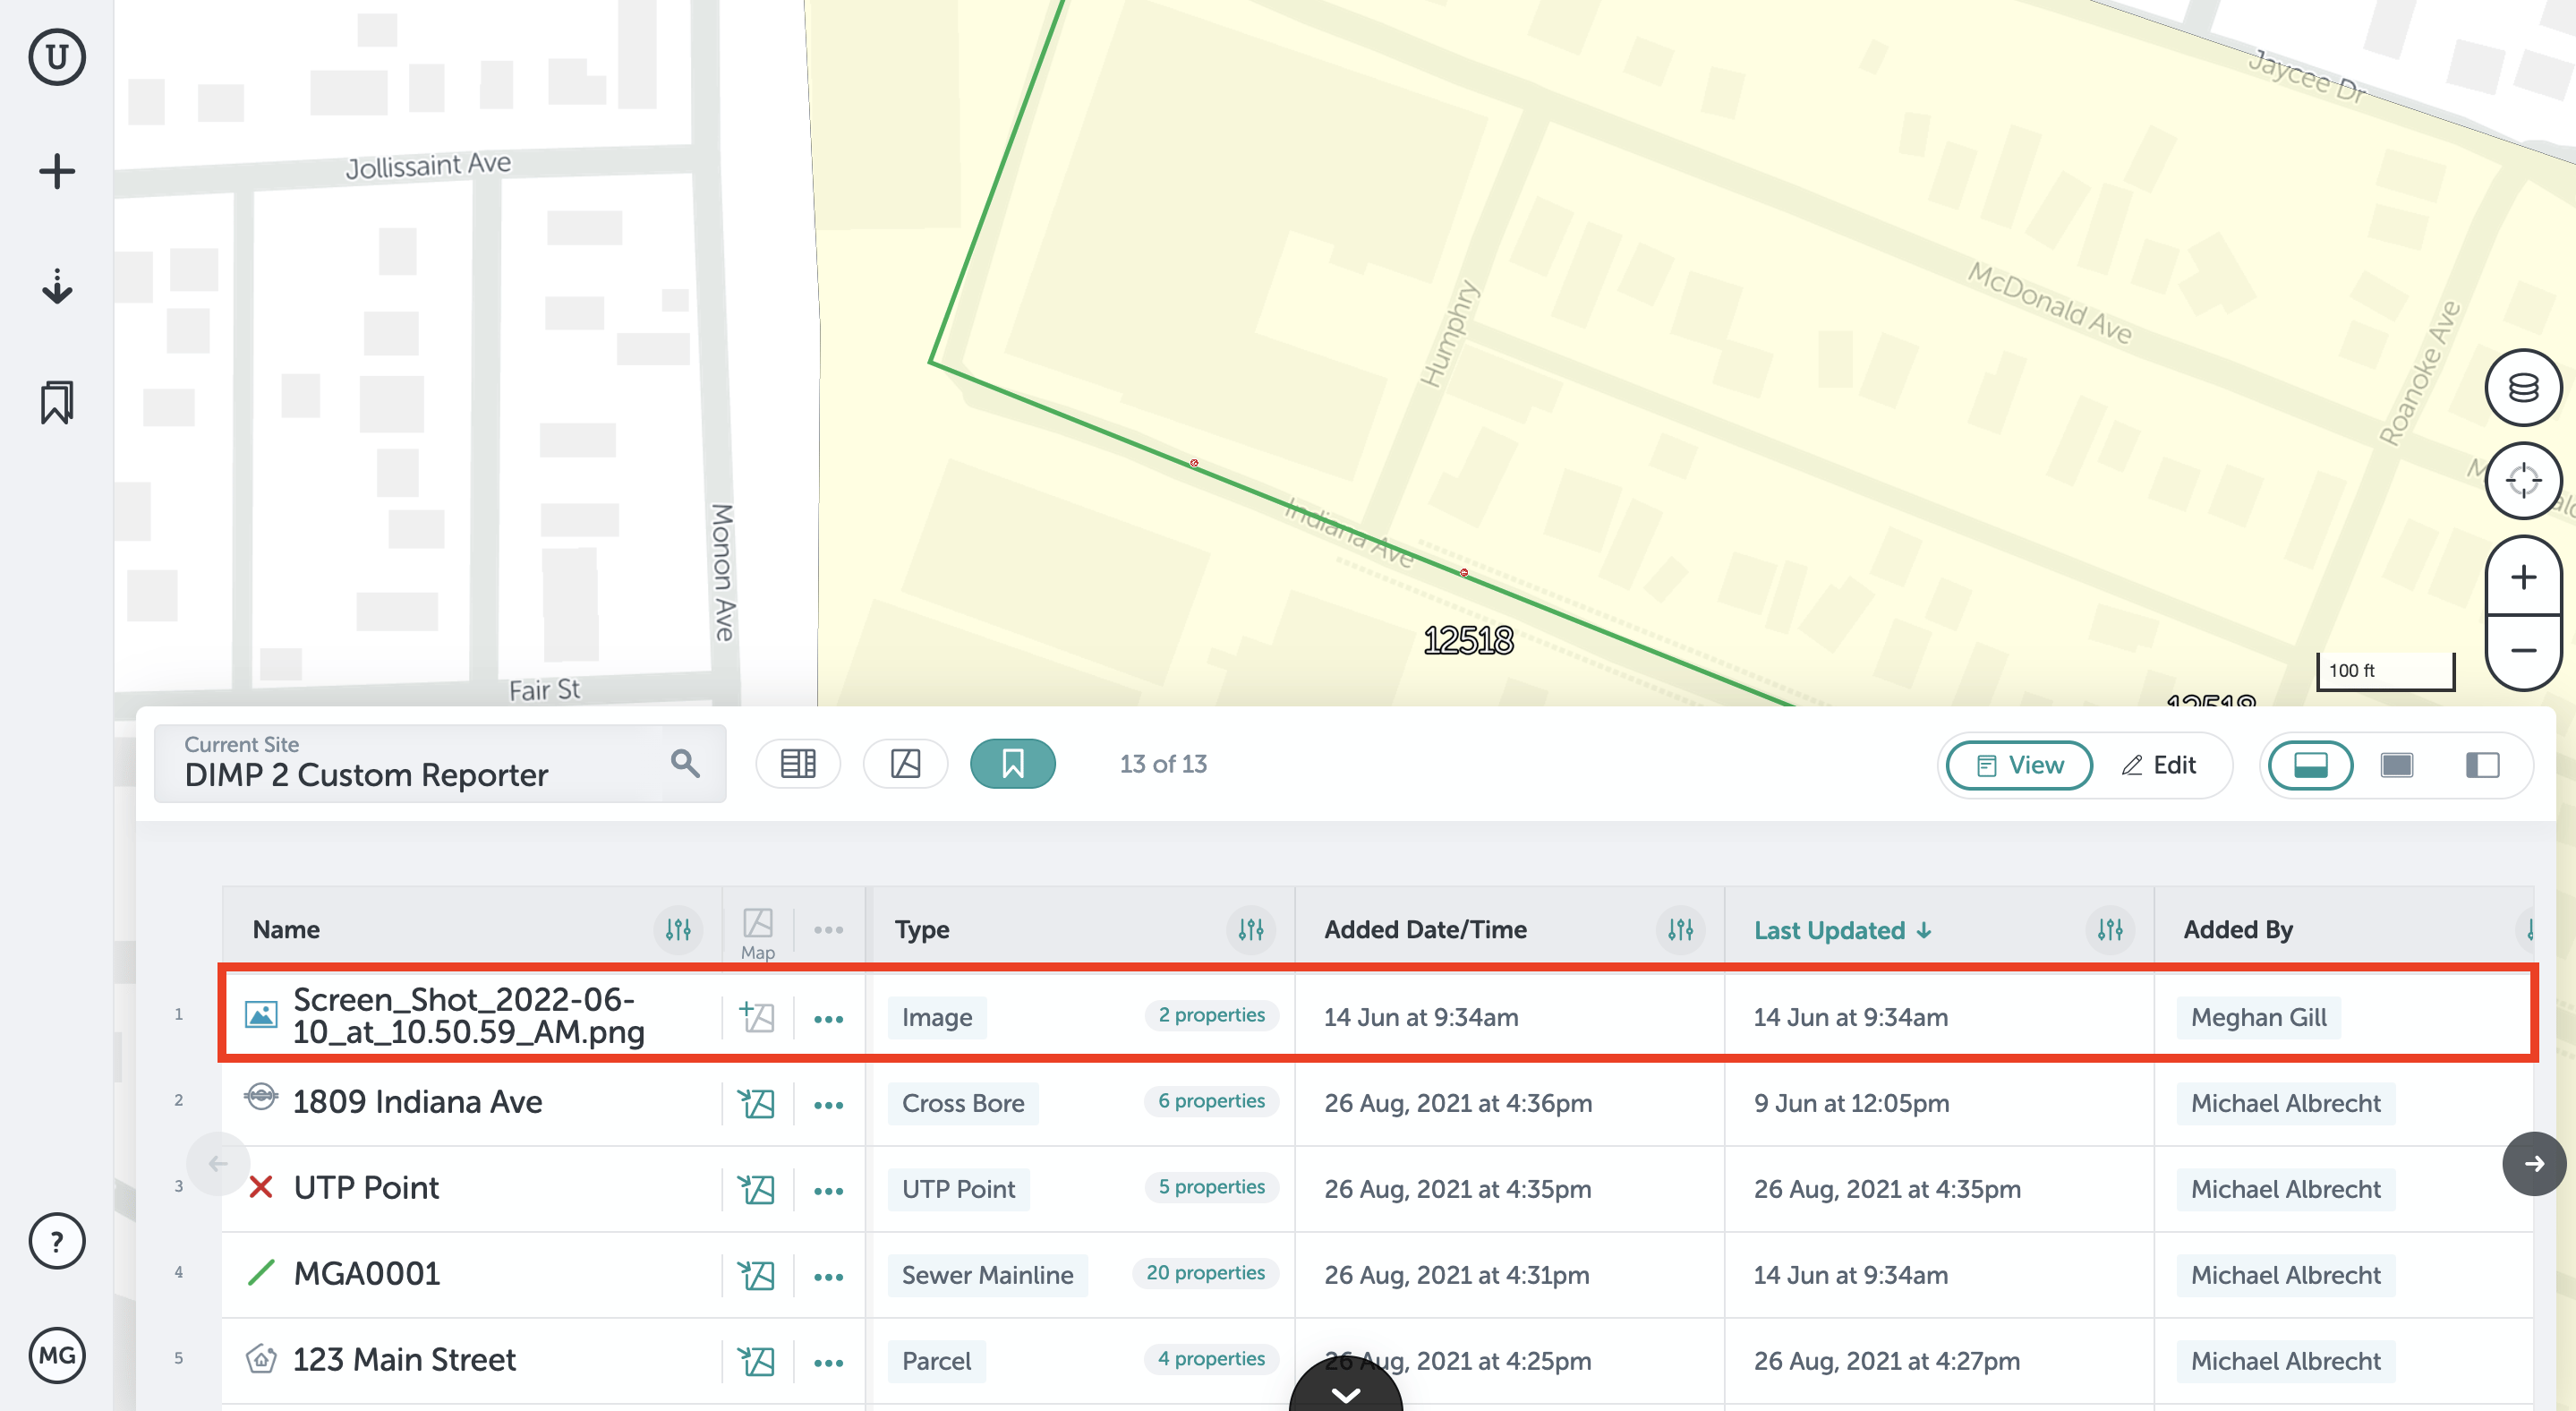
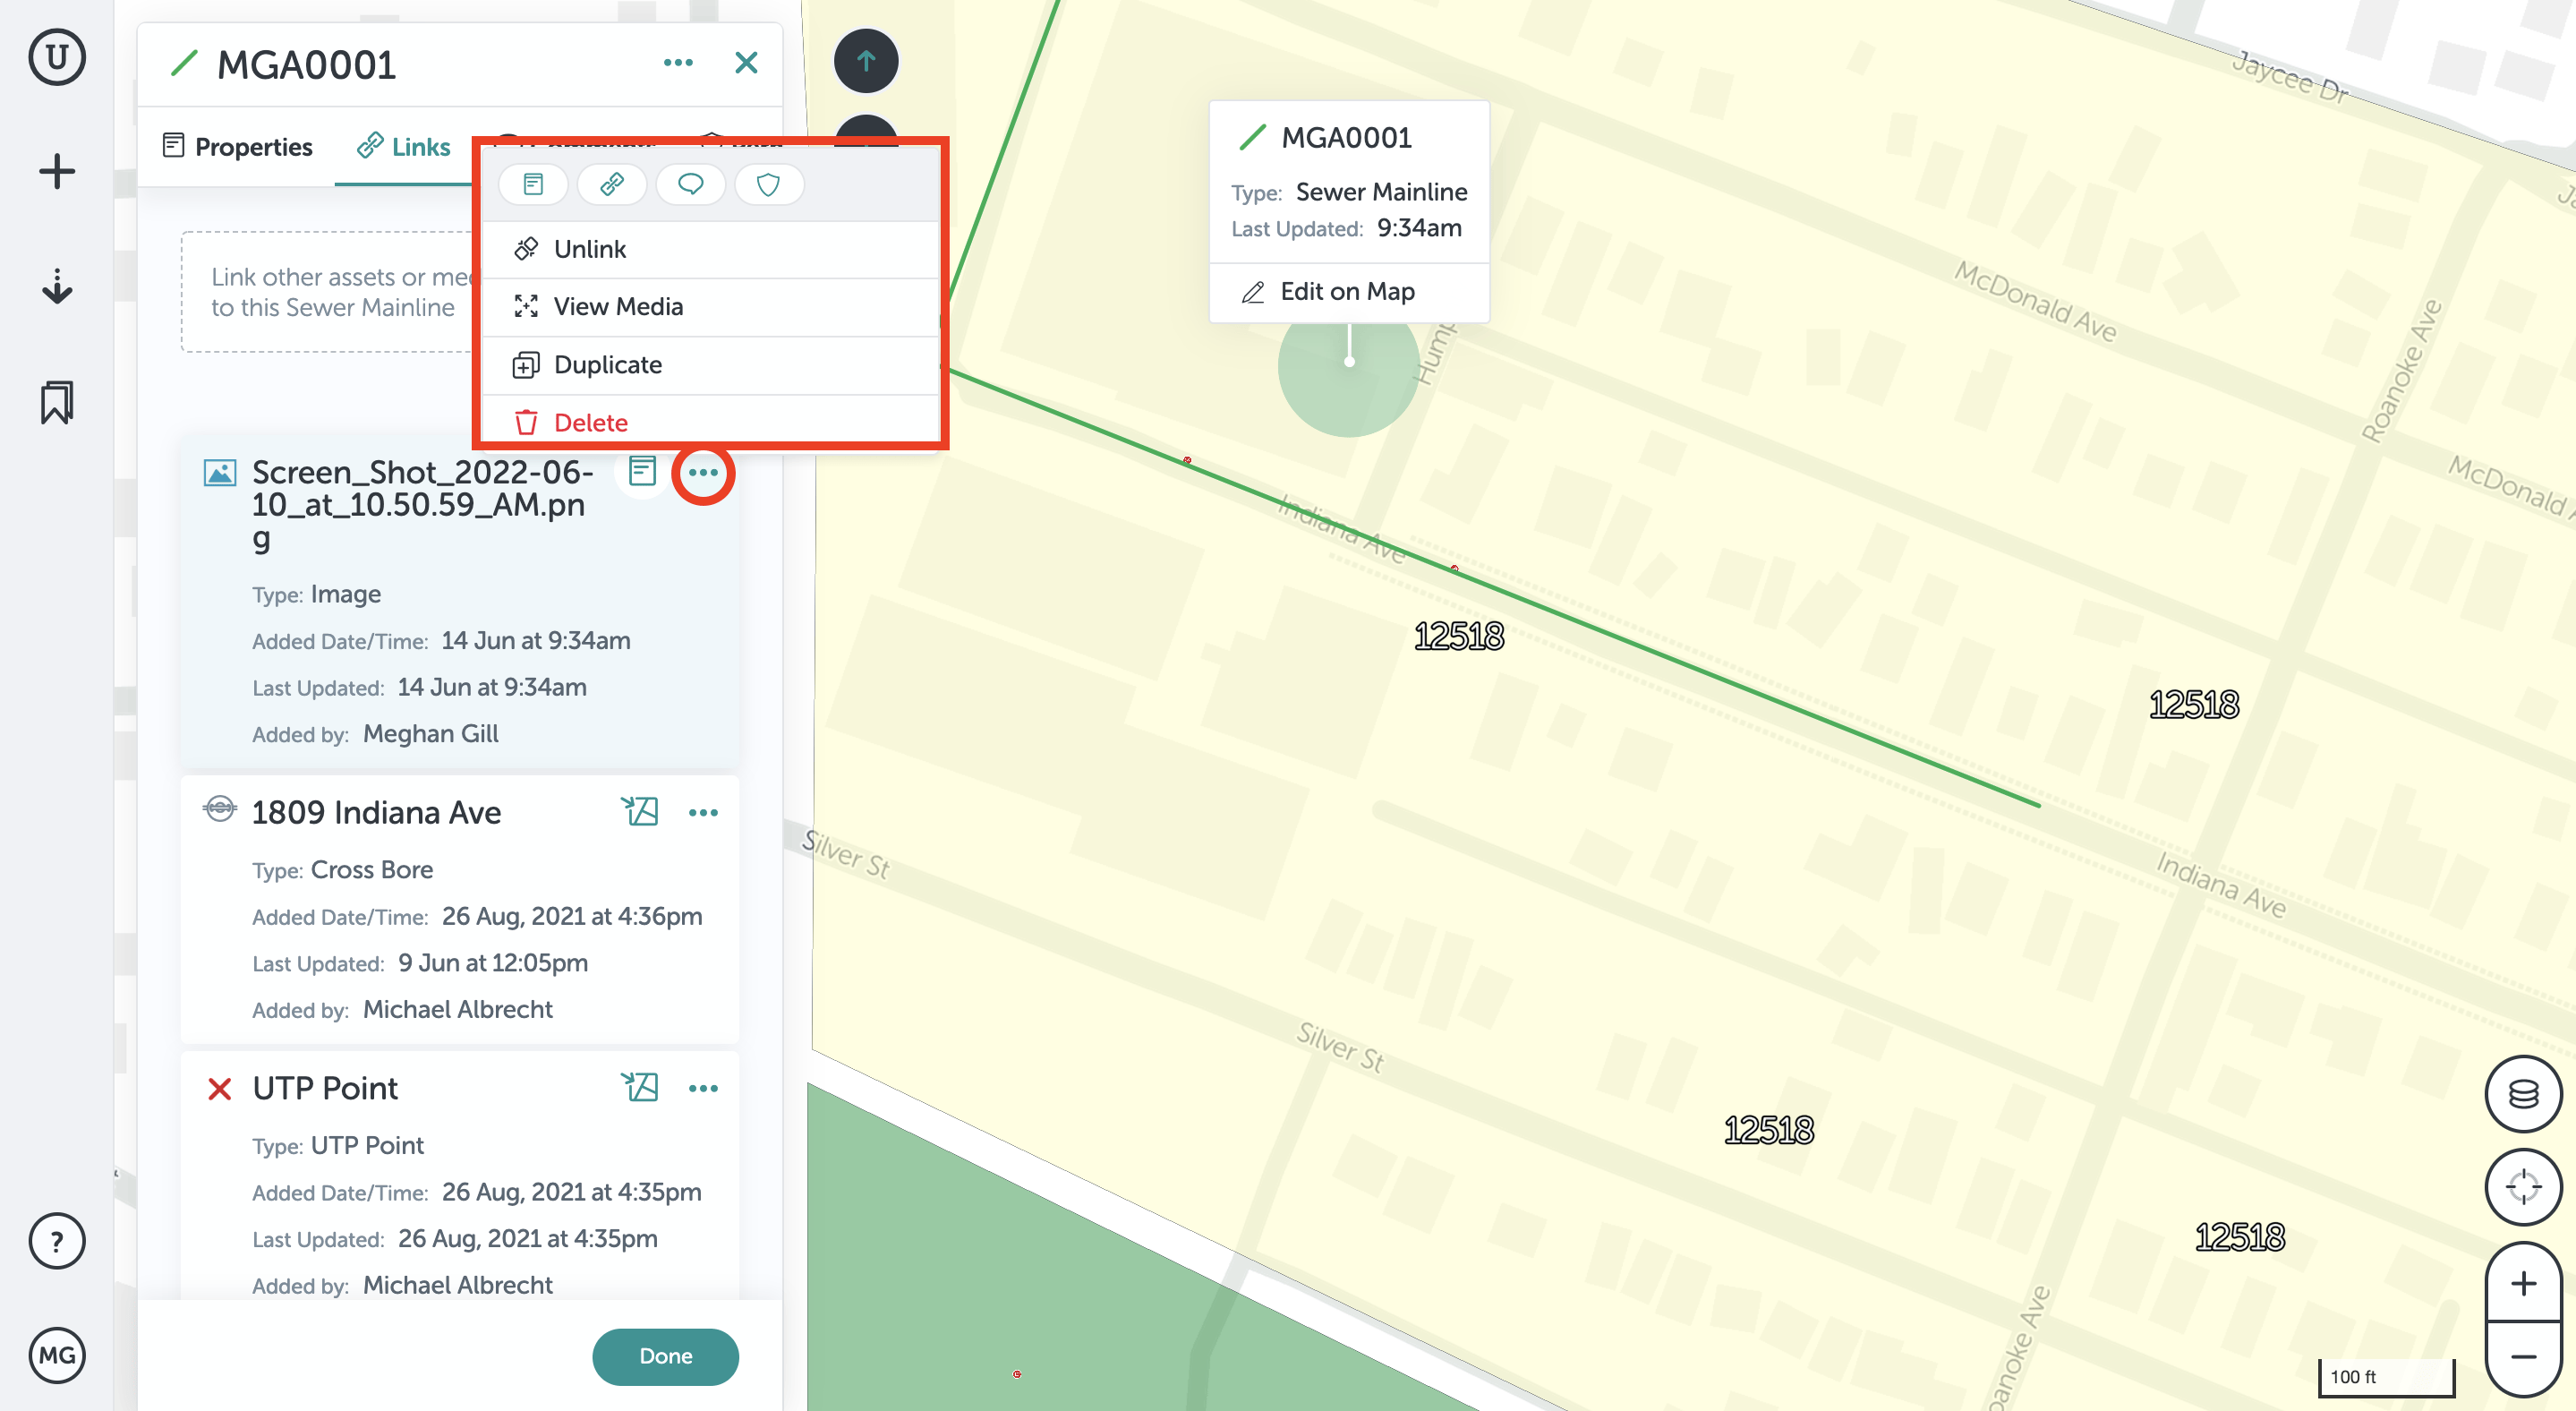
- The file will then appear in both the selected asset's field form under the "Links" tab and in Table View.
- If you click on the three dots next to the file’s title in the "Links" tab, you have the option to unlink the file, view the file on the fullscreen, duplicate the file, or delete it.
If you run into any issues or have any questions, please reach out to us at unearthsupport@procore.com.
Revised June 2022