Request a Schedule Change
Objective
To document a requested change to a schedule task in the project's Schedule tool.
Things to Consider
- Required User Permissions:
- 'Standard' or 'Admin' on the project's Schedule tool.
- Additional Information:
- The Schedule Change feature is only designed to capture proposed changes to the schedule. Requests and approved changes will not take effect on the actual project schedule. All changes must be applied to the project's Schedule's source file using your third-party scheduling software (for example, MS Project or Primavera) and then updated in Procore so that changes appear under the project's Schedule tool, see Update a Project Schedule.
Steps
- Navigate to the project's Schedule tool.
- Locate the task you want to request a schedule change for. See Search and Filter for Scheduled Tasks.
- Click the schedule task from the List, Calendar, Gantt, or Lookahead view.
- On the task items details page, fill out the information under Request a Schedule Change for the Task.
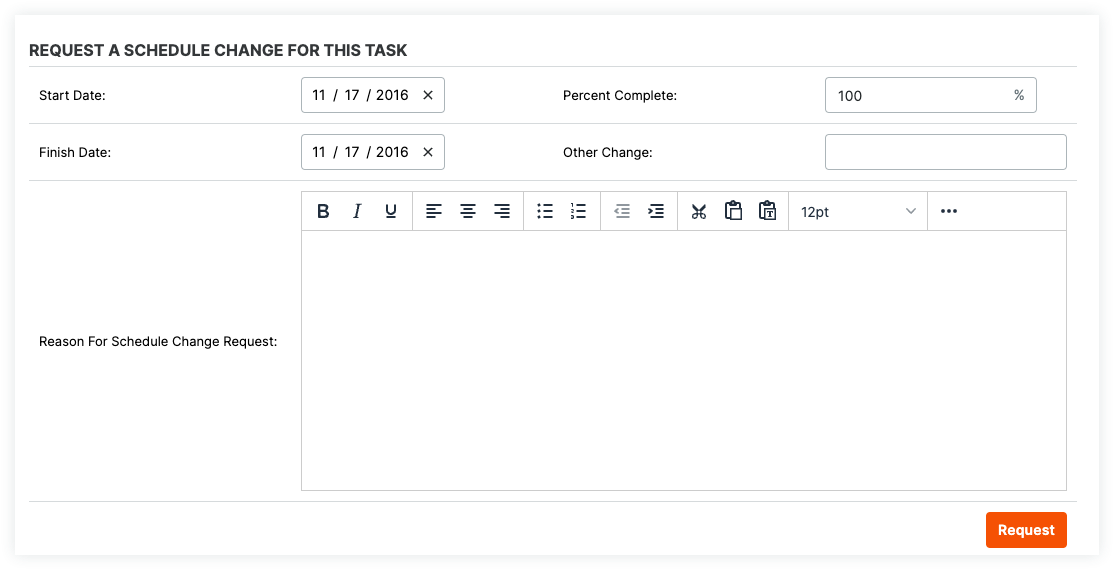
- Start Date: If you would like to request a change to the start date of the task, enter a new start date.
- Finish Date: If you would like to request a change to the finish date of the task, enter a new finish date.
- Percent Complete: If you would like to request a change to the percent complete, click Change, enter in the new percent, and click OK.
- Other Change: If you would like to request a change to something else besides the start/finish date and the percent complete, enter in the details of the change you wish to make.
- Reason For Schedule Change Request: Enter in the reason for the change you are requesting so the Schedule tool Admin user can better understand the change.
Note: Any users who are configured to receive update emails when change requests are made will be notified of the schedule change request. See Configure Schedule Notification Emails Sent to a User.
- Click Request.
A message will appear to confirm that the request has been submitted.
Note: When your change is approved, it will appear as 'Approved in the Schedule Change Request History' section. However, changes to the actual schedule must be performed in your scheduling software.
Next Steps
- The Schedule tool Admin user will need to review schedule change requests. See Review Schedule Change Requests.